Nordic Food & Living

menu icon
go to homepage
  • Breakfast
  • Lunch
  • Dinner
  • Traditional Danish
  • Nordic Bread
  • Nordic Christmas
  • Nordic Dessert
search icon
Homepage link
  • Breakfast
  • Lunch
  • Dinner
  • Traditional Danish
  • Nordic Bread
  • Nordic Christmas
  • Nordic Dessert
×

"Home"

"Home"

The BEST tips how to be more efficient in your kitchen

Throughout the years I have spent countless hours in my kitchen. I have put my blood, sweat and tears into the many recipes here on my food blog. Through the many recipes I have created I have learned many great tips and tricks which can be used to be more efficient in the kitchen. On this page you can find some of my absolute best tips on how to be more efficient in your kitchen.

Guide: How to Clean Oven Proof Pan (The Easy Way)

Categories: Kitchen guides

Guide How to Clean Oven Proof Pan (The Easy Way)


Guide: How to Clean Oven Proof Pan


Here on this page I am going to share the absolutely best way to clean a burned oven pan.

Everybody knows the feeling of trying to clean an oven proof pan after it has burned Lasagna, meat, sauce or other food.

Normally, it is easy to remove most of the burned food using soap and a brush. Sometimes, it is necessary to pour water inside the pan or maybe soak the entire pan overnight. Even though, sometimes it might contain tough burned food which is just impossible to remove.

I know that there are many different ways, tips and tricks on how to clean a burned oven pan. Soak the pan in water like described above, cover it with dish soap, using boiling hot water and so on - the common thing for all of these tricks is that I have tried them all.

Every time I keep coming back to the same solution which I think is the absolutely best way of cleaning an oven pan which is covered in burned food.
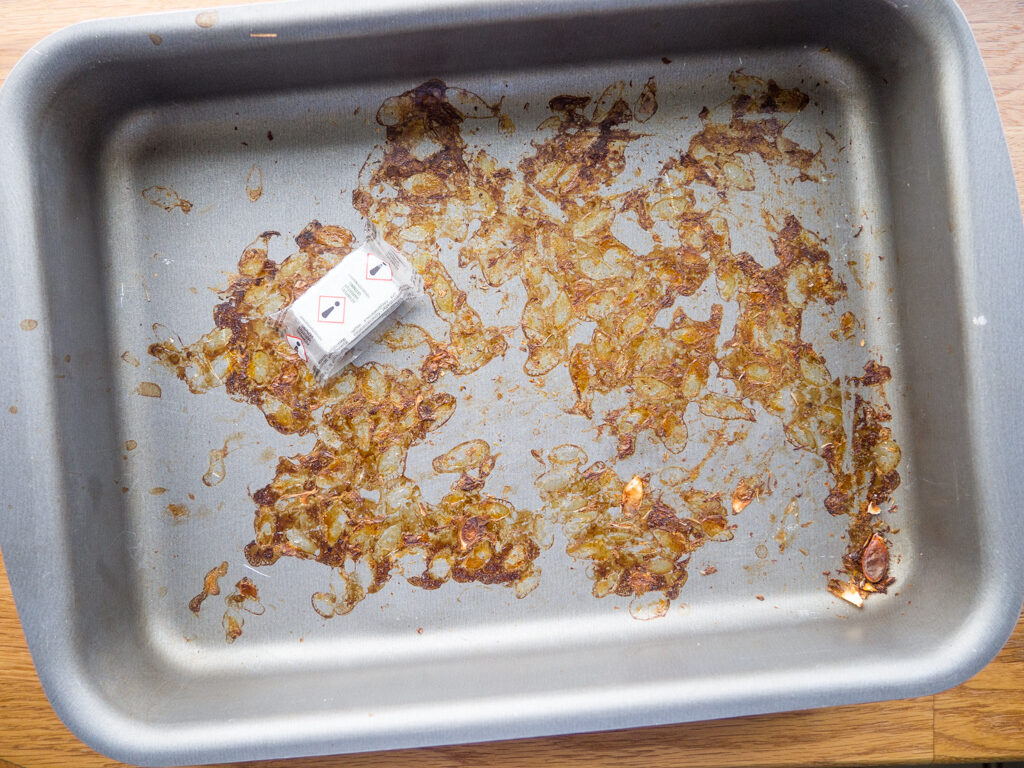
Guide How to Clean Oven Proof Pan (The Easy Way)

The Best Way to clean an oven pan

The one and best method, I always uses when I want to clean a burned oven pan, is actually super easy.

The trick is to use a dish washer soap tablet. I am not sure why this soap is so good but my experience is that it does dissolve and remove all burned food from your oven pans.

The way it works is that you break one soap tab in half and then uses one of the halves to clean the pan, the other half you can save for another time.

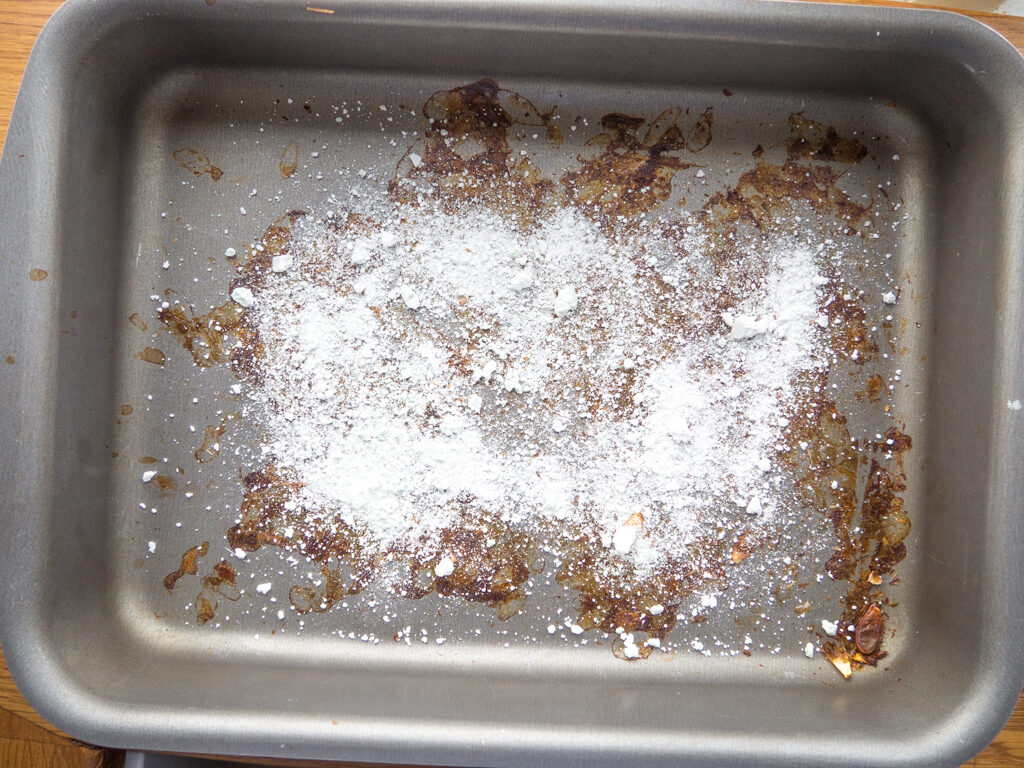
You take the soap, break it into many smaller pieces and distribute it across the bottom of the pan. Then you fill it with water and let it sit in the kitchen sink for about 8 hours or longer if the burned food is really tough.

After this time you simply just clean and wash the pan like you normally would.

It is that simple and it works!
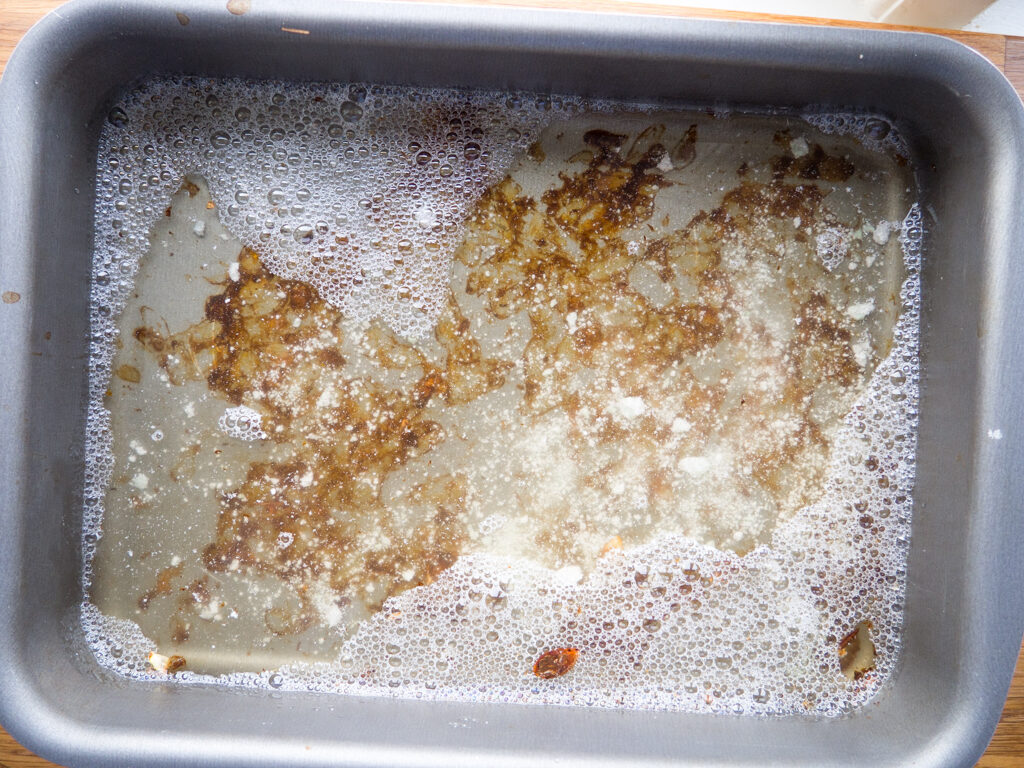
Guide How to Clean Oven Proof Pan (The Easy Way)

Waste of soap when cleaning an oven pan?

Of course, normally half a dish washer soap tab is designed to clean half a dishwasher full of dirty plates, knife, forks, cups and glasses.

Using half a tab for only one oven pan can be considered a little waste. However, sometimes it is just so difficult to clean it the normal way and in this case I think it is okay as long as you do not use this method every day.


Guide: How to Clean Oven Proof Pan (The Easy Way)

Level of difficulty: Easy

You’ll Need:
Half dishwasher tablet

Directions:
1. Start by removing as much of the burned food from the dirty oven pan as you possibly can.
2. Place the pan in the kitchen sink
3. Break a dishwasher soap tablet in half and continue breaking of the parts in very small pieces and distribute it across the bottom of the pan. Save the other part of the soap tab for another time.
4. Pour water into the pan until it is completely full. Stir a little in the water to make sure all soap is dissolved.
5. Let the soap water work for minimum 8 hour but preferred longer.
6. Finish by cleaning the pan the way you normally would do it.
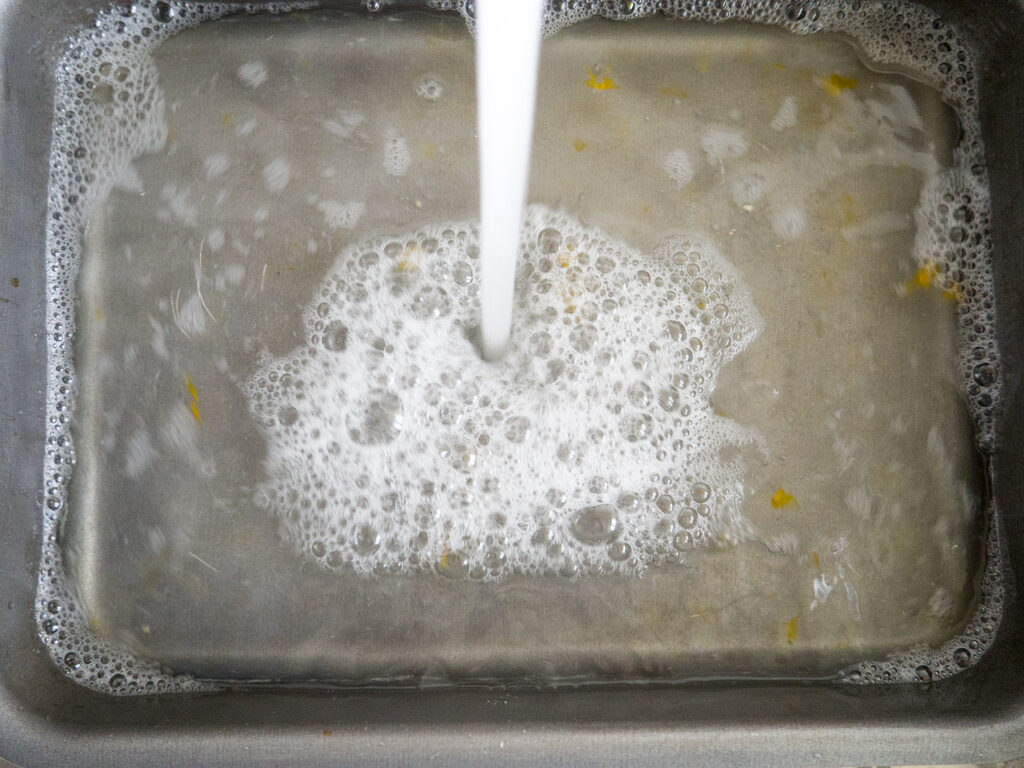
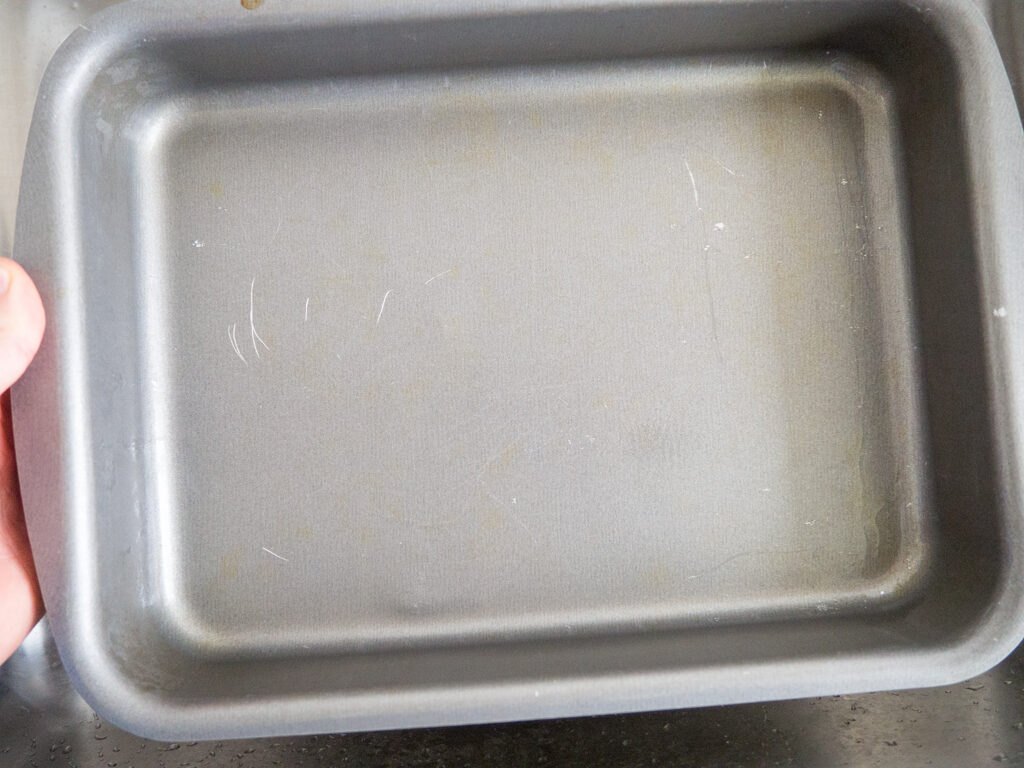
Guide How to Clean Oven Proof Pan (The Easy Way)

Guide How to Clean Oven Proof Pan (The Easy Way)

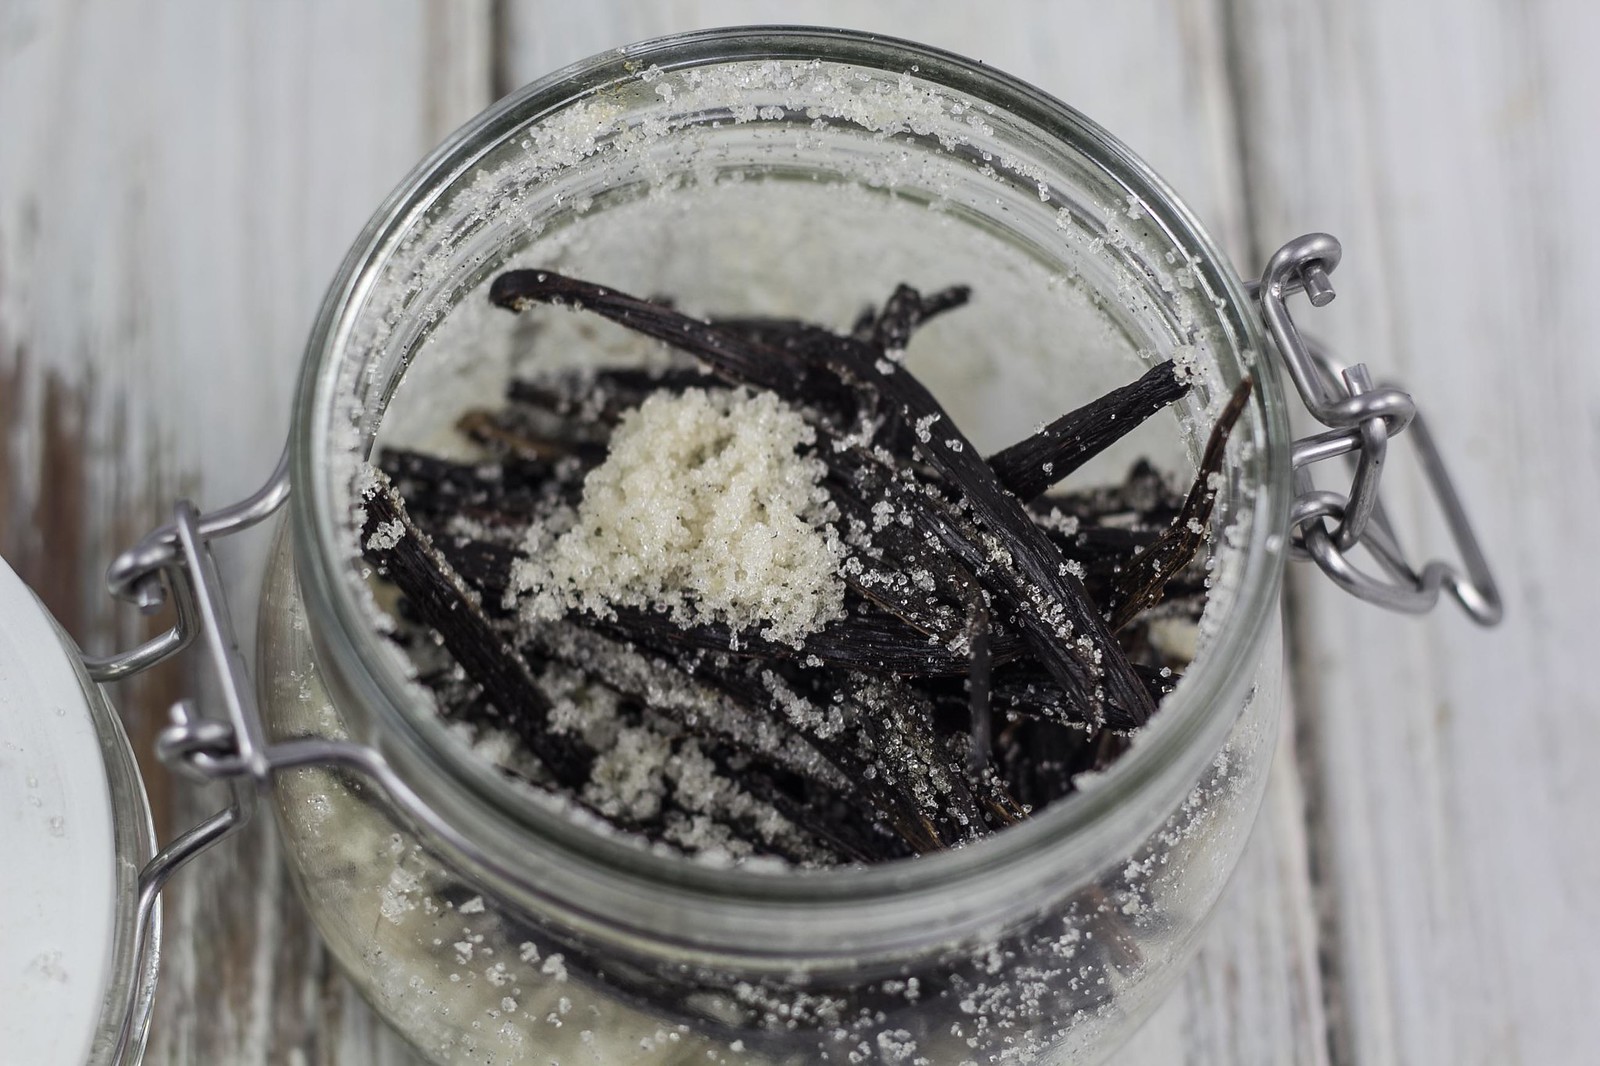
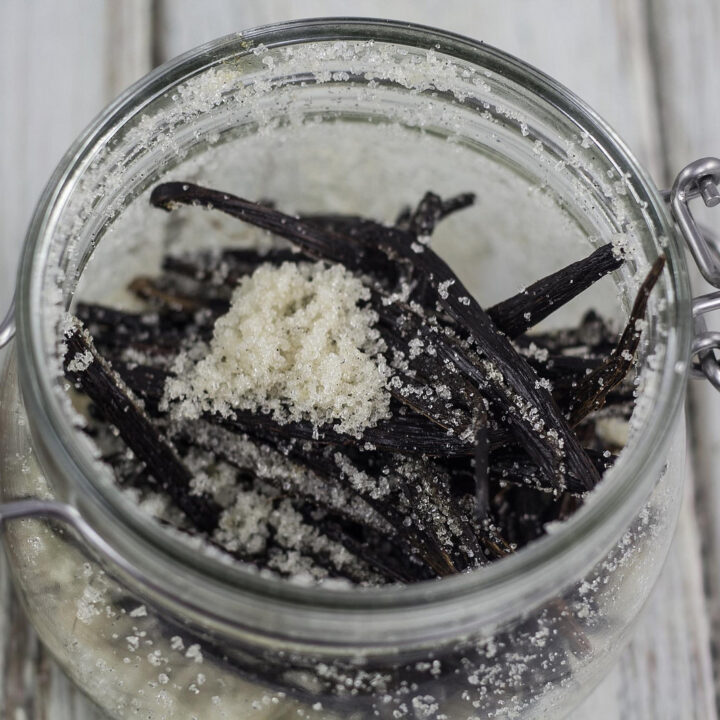
Homemade Vanilla Sugar

Categories: All Recipes/ Cake/ Desserts/ Kitchen guides


Recipe for Homemade Vanilla Sugar

After I have started this international food blog I have realized that ingredients which is a common thing, for instance, in the USA is almost impossible to get a hold of in Denmark or any of the other Nordic countries. However, this also applies the over way around. In many of my recipes, especially the desserts, I uses what we in Denmark calls vanilla sugar. After having been asked that question several times 'what vanilla sugar is?' I have made the conclusion that it must be an European ingredient. [Read more...]

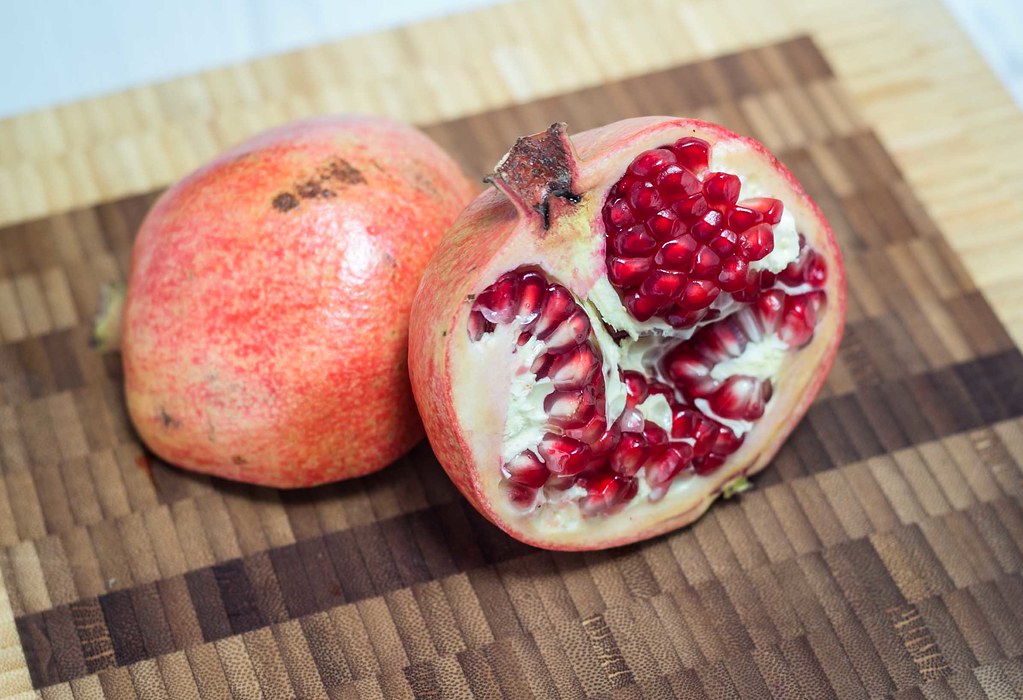
How To: Seed a Pomegranate the Easy Way

Categories: Kitchen guides

Guide How To: Seed a Pomegranate the Easy Way

In this simple guide we will show you, step by step, how to cut open and remove the seeds from a pomegranate. There are several different ways of doing this, however, we think this is the most easy and least messy way of doing it. Many people simply just cut the pomegranate in two pieces and use a wooden spoon to knock on the outside shell of the pomegranate. This way the seeds are supposed to fall out - we both don't like this method. First; because we don't think the method is that effective, [Read more...]
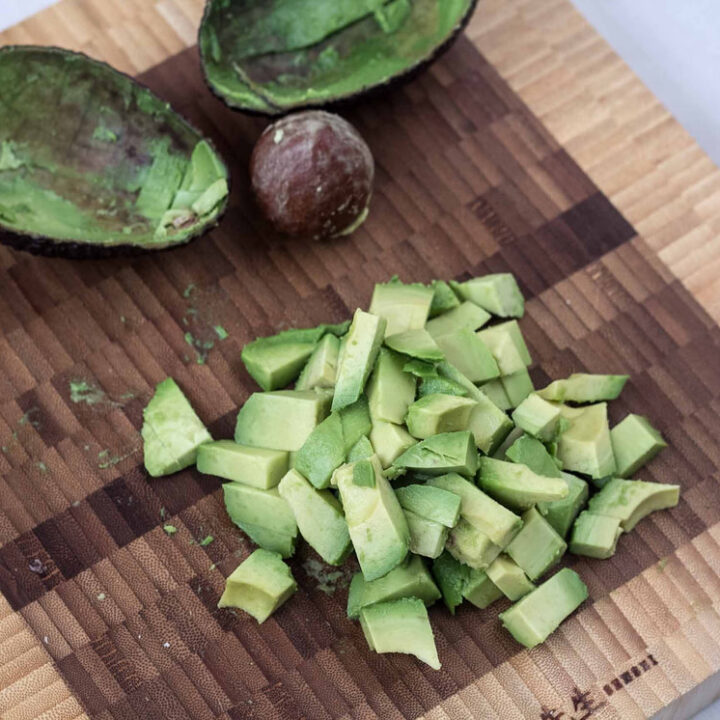
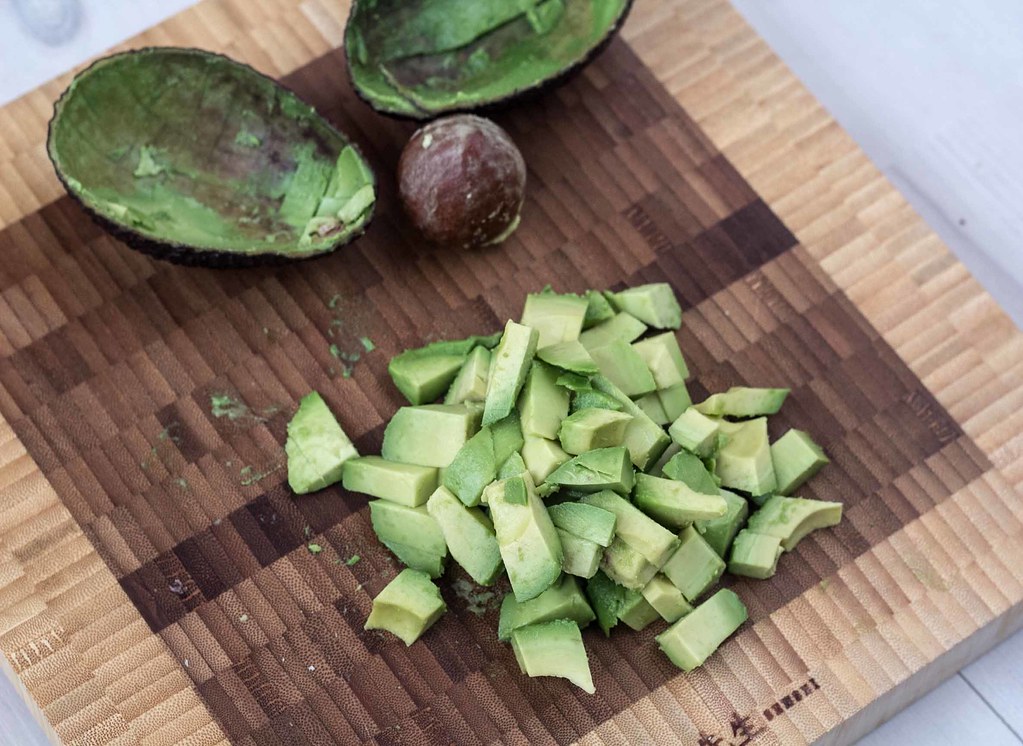
How To: Cut and Dice an Avocado

Categories: Kitchen guides

Guide How To: Cut and Dice an Avocado

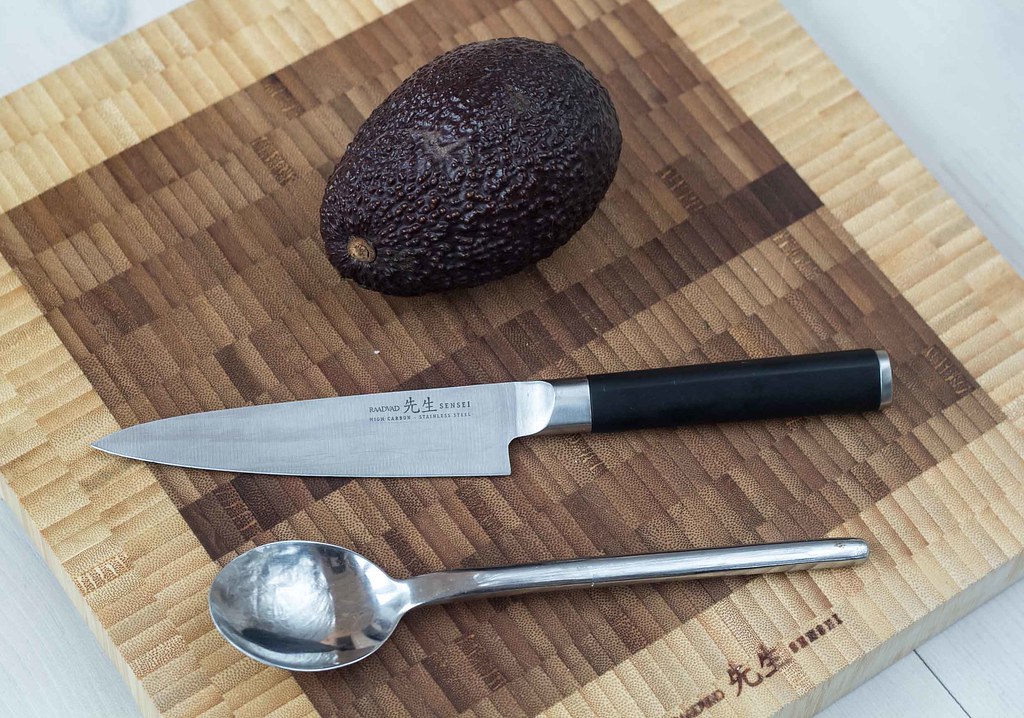
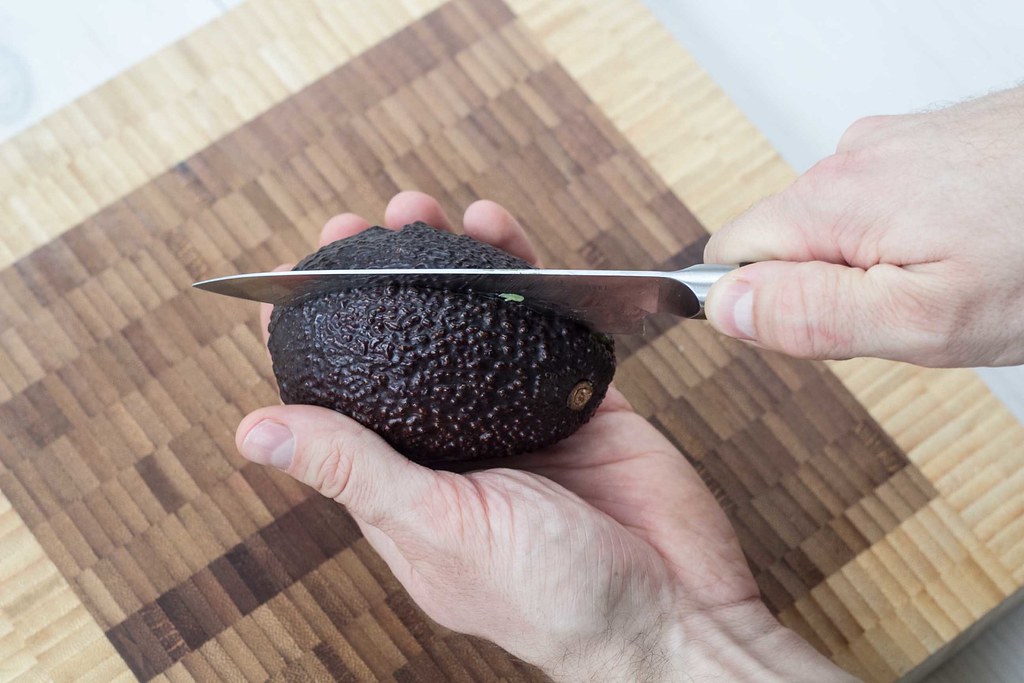
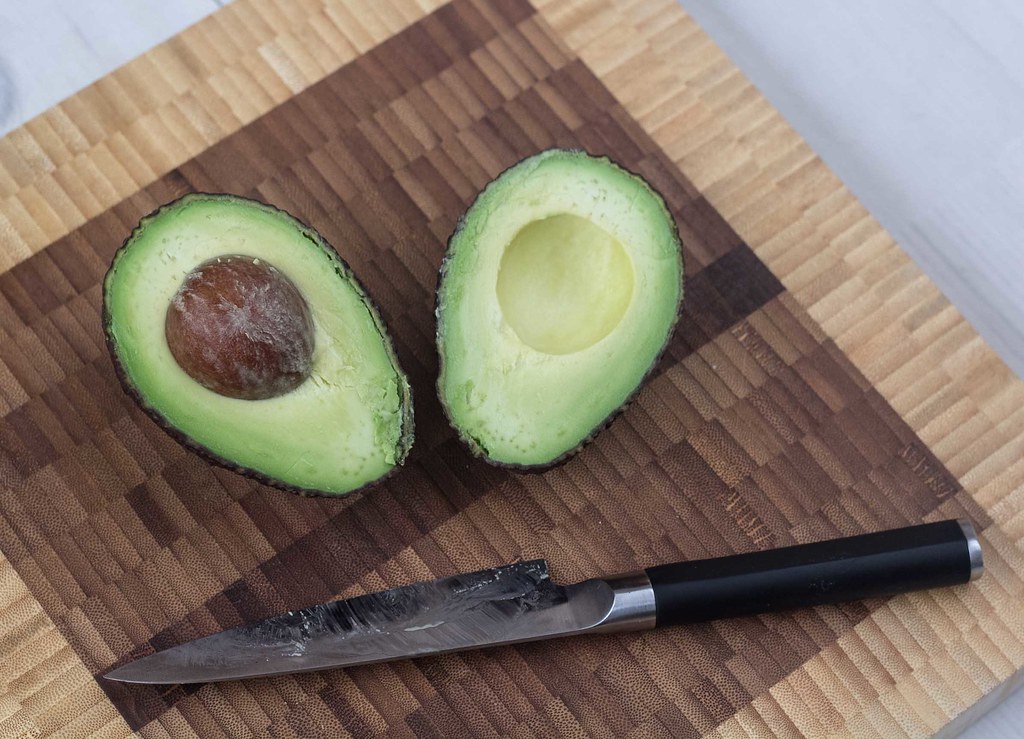
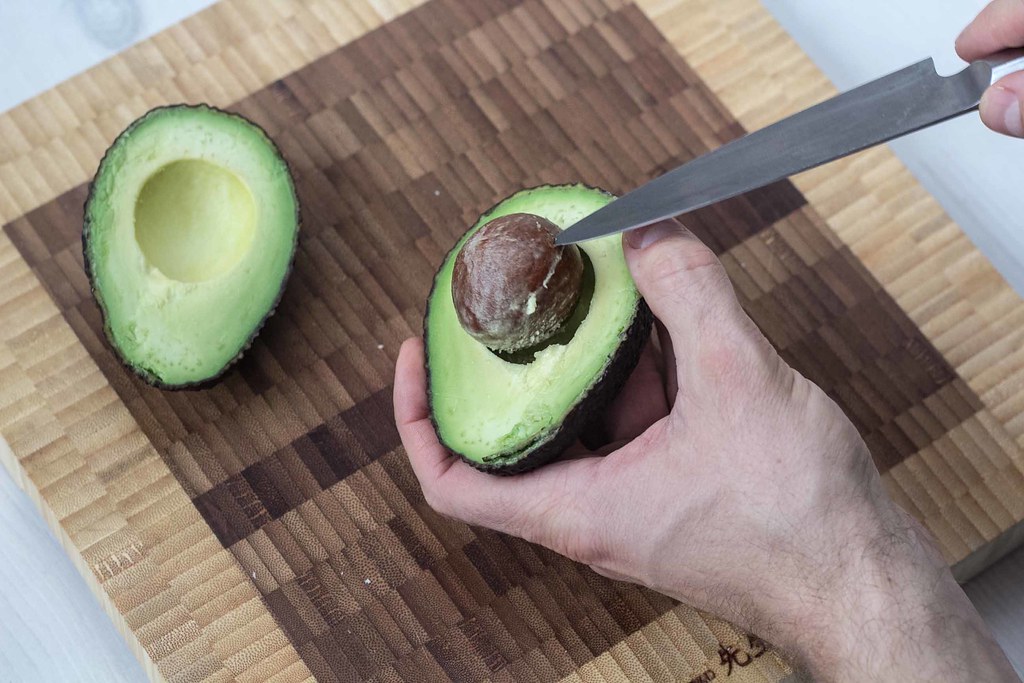
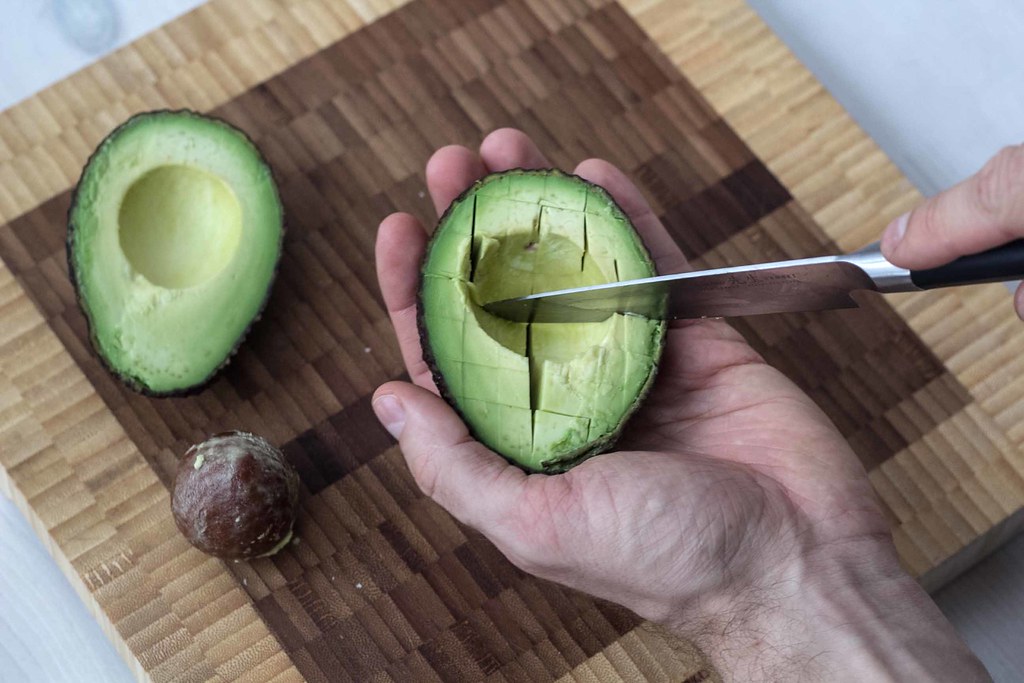
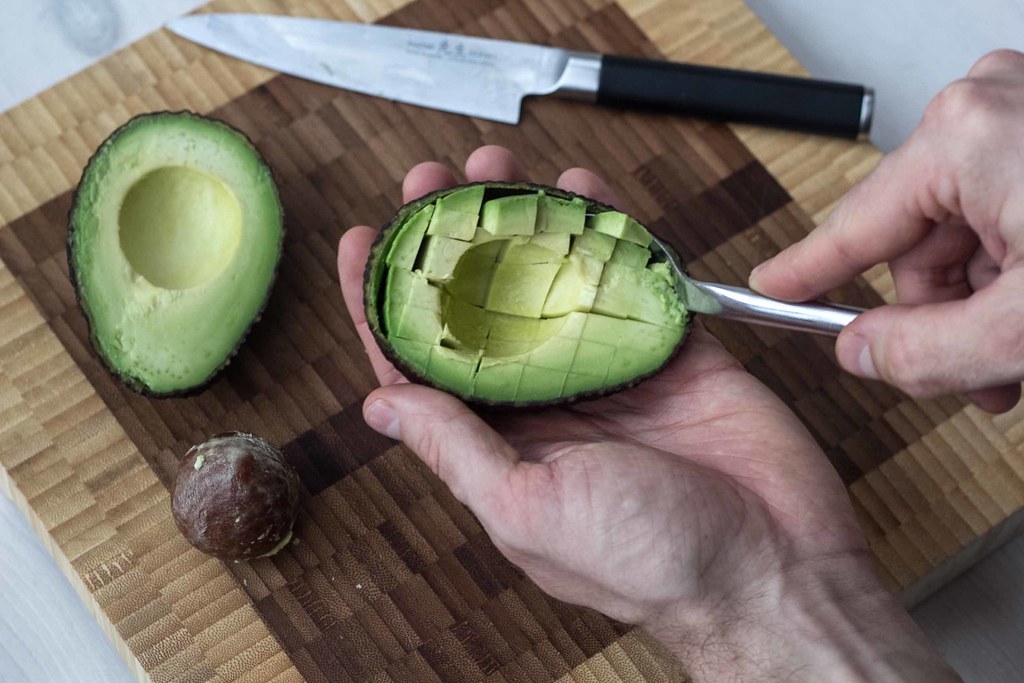
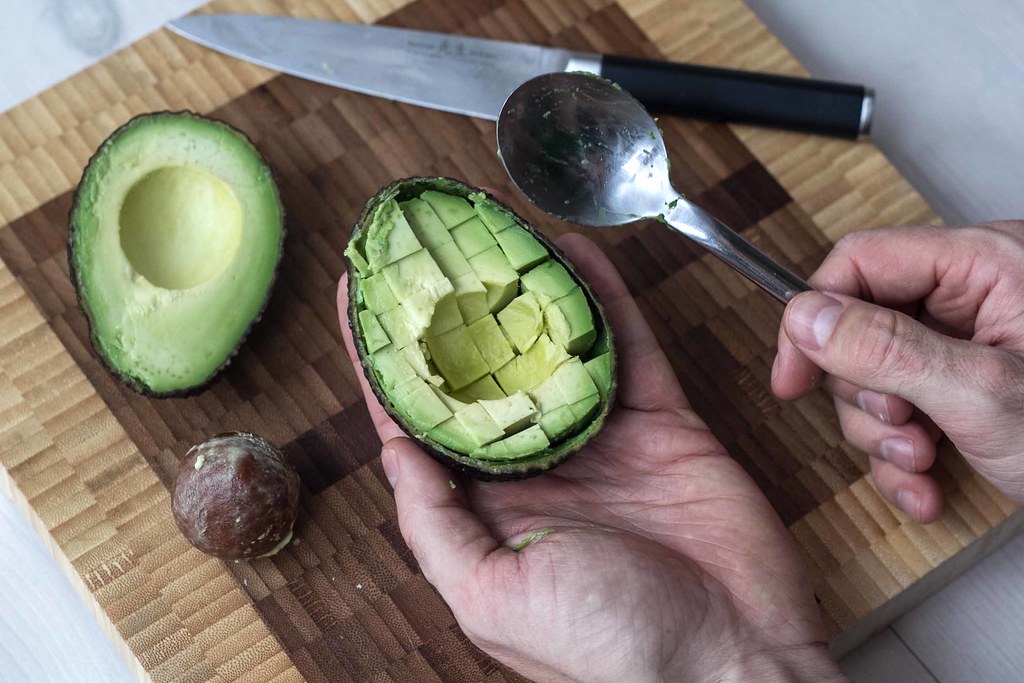
In this guide we will show you how to cut and dice an avocado the very easy way. We normally use avocado everywhere we can because it taste so delicious and because it's supposed to contain many great vitamins and oil that are good for your body. Some people peel the avocado and cut it into pieces on a chopping board. However, you don't need to peel the avocado before you cut it. You simply start by cutting the avocado into two pieces and remove the large seed. Then you use a knife to cut a grid in the avocado and then use a tablespoon to scrape along the inner shell/peel of the avocado so that all the avocado pieces falls out.


How To: Cut and Dice an Avocado

Preparation time: 5 minutes
Danish title: Guide: Skære avocado i tern

You'll Need:
1 ripe avocado
Chopping board
Knife
Tablespoon

Directions:
Step 1: Start by cutting the avocado into two pieces. Make one long cut into the seed all way round the avocado.
Step 2: Use the knife to remove the seed.
Step 3: Use the knife to cut a grid in the avocado meat. Cut through the meat but not through the peel/shell.
Step 4: Use a tablespoon to scrape along the inner shell/peel of the avocado. The diced avocado pieces will fall out.


Guide How To: Cut and Dice an Avocado

Guide How To: Cut and Dice an Avocado

Guide How To: Cut and Dice an Avocado

Guide How To: Cut and Dice an Avocado

Guide How To: Cut and Dice an Avocado


Guide How To: Cut and Dice an Avocado

Guide How To: Cut and Dice an Avocado

Guide How To: Cut and Dice an Avocado

How To: Bag and Save Ripe Bananas

Categories: Kitchen guides

Guide How To: Bag and Save Ripe Bananas

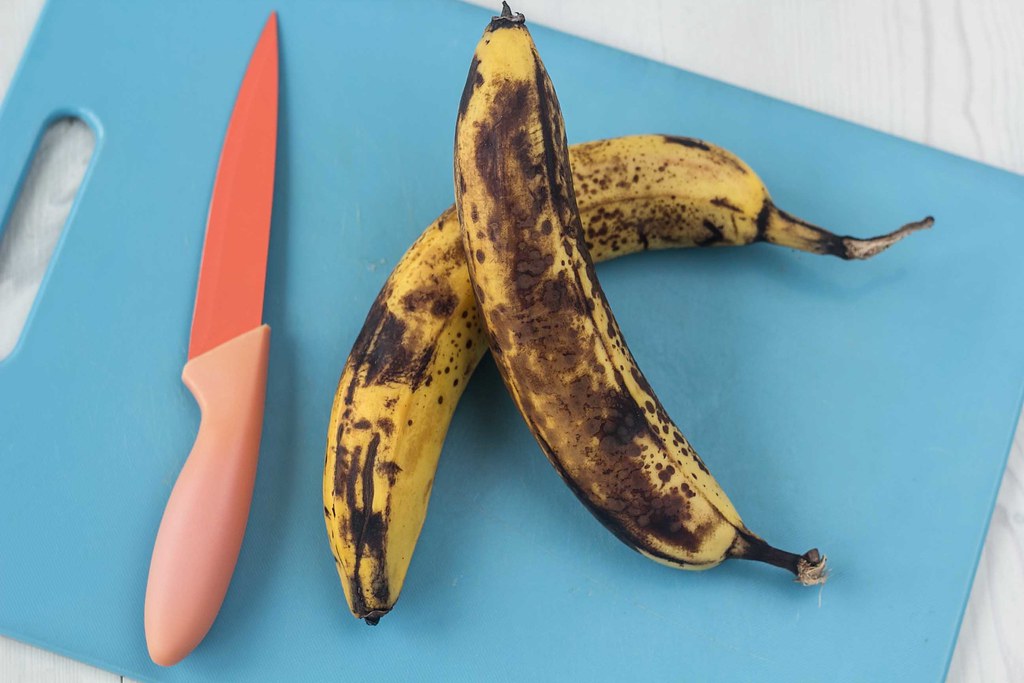
This simple how to guide describes how you can easily bag and freeze your overripe bananas, and what you can later use them for. Using this guide you never have to throw out bad bananas anymore. Ripe bananas are really great fruits and it's properly one of the most popular in the world.

For many families this fruit is a common fruit to have in their fruit baskets. However, one of the downsides of a banana is that it has a relatively short expiration date. If you leave them in the fruit basket for too long, the peel will turn brown and the bananas start to get soft - and eventually they will turn bad. When this happens many people don't think the bananas are delicious anymore and they will throw them out. We think this is kind of sad - first, it's important that we use as much as the food we have available and by that save the worlds resources, and secondly overripe bananas can be used in many recipes and turned into delicious food.

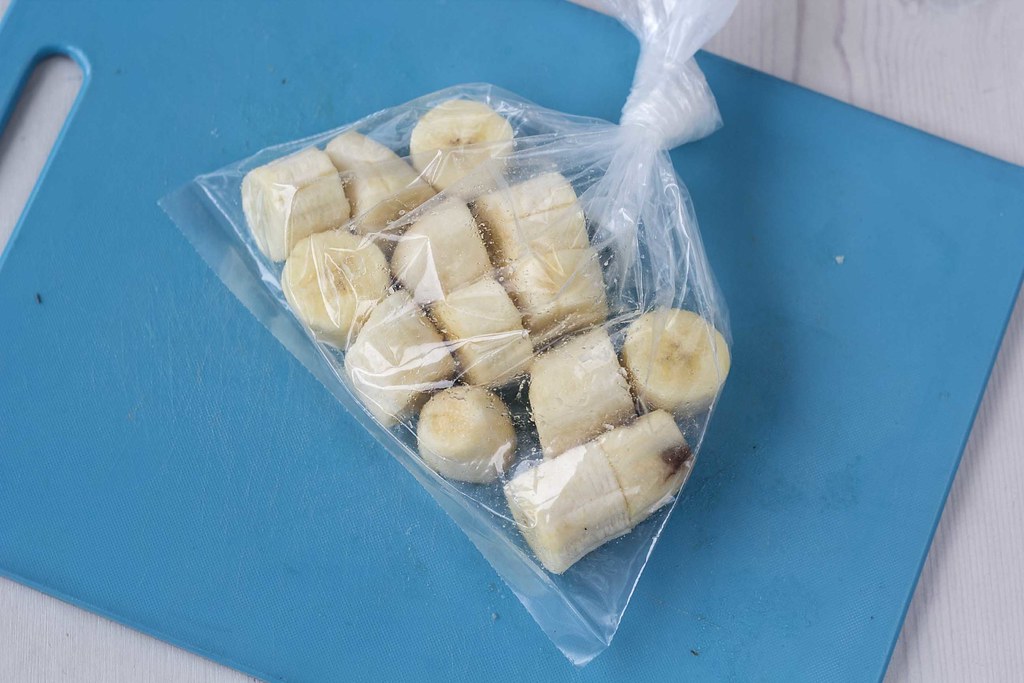
If you follow this guide you will never have to throw out bananas which have gone bad. The guide is very easy - you simply just peel the overripe bananas, bag them and store them in the freezer. A frozen banana can be stored way longer and it can be used in so many different recipes. We can recommend to take a look at our recipes where bananas are an ingredient - in many of the recipes you can use frozen bananas.

Top-3 Banana Recipes:

This is our top-3 recipes where you can use overripe and frozen bananas:
-1- Banana cake with chocolate
-2- Healthy banana pancakes
-3- Banana and chocolate shake


How To: Bag and Save Ripe Bananas

You'll Need:
1. Ripe bananas
2. Plastic bags
3. Knife
4. Chopping board

Directions:
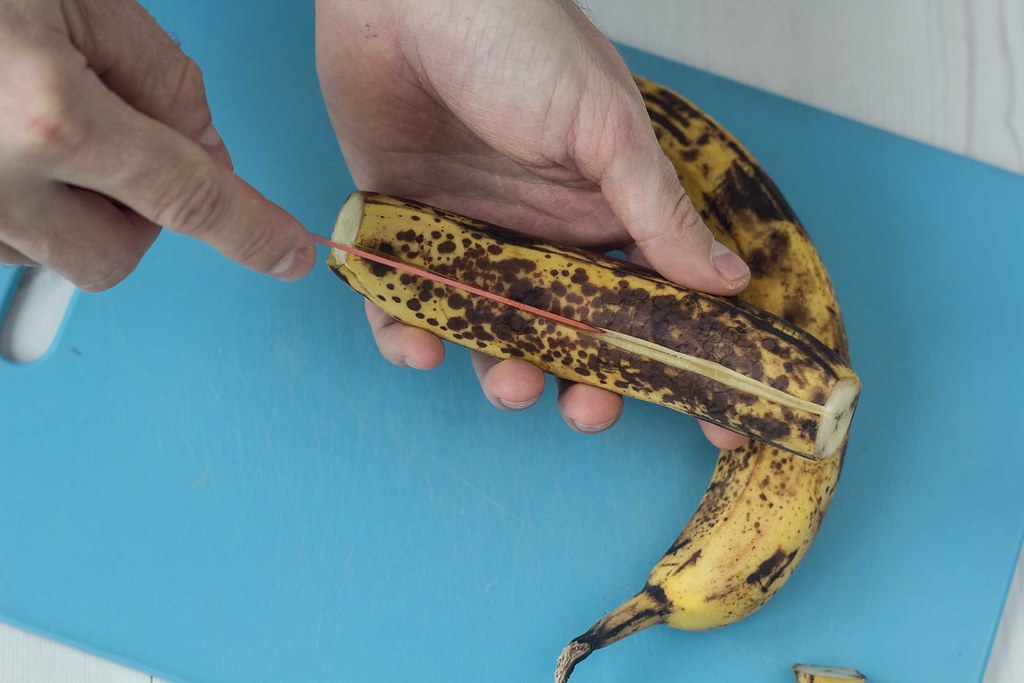
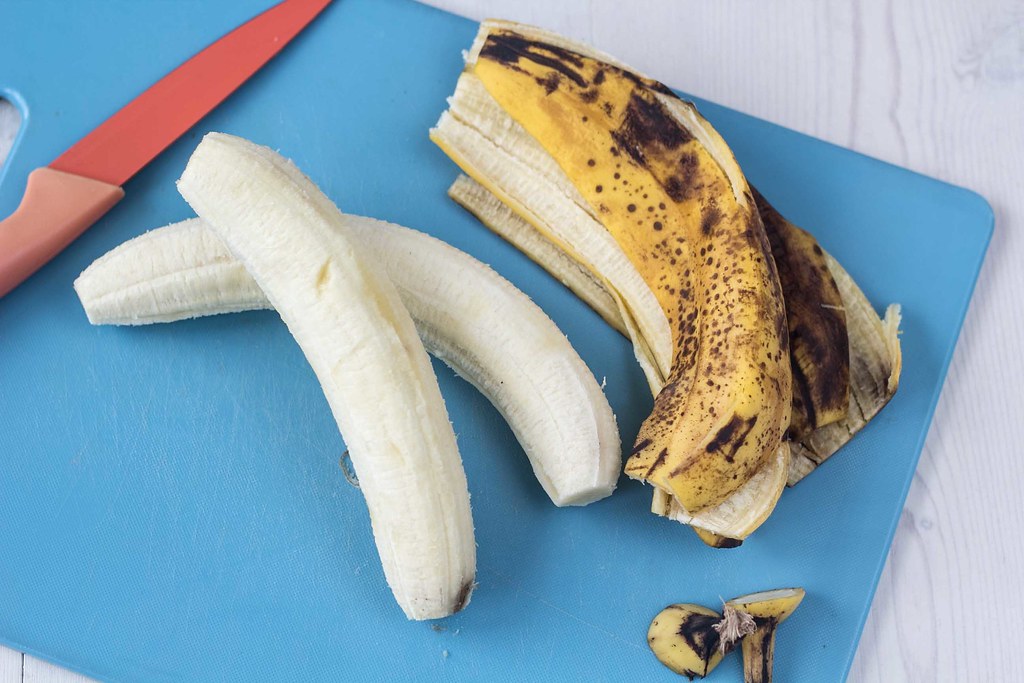
Step 1: Peel the bananas. You can with advantage use a knife if the bananas are a bit soft.
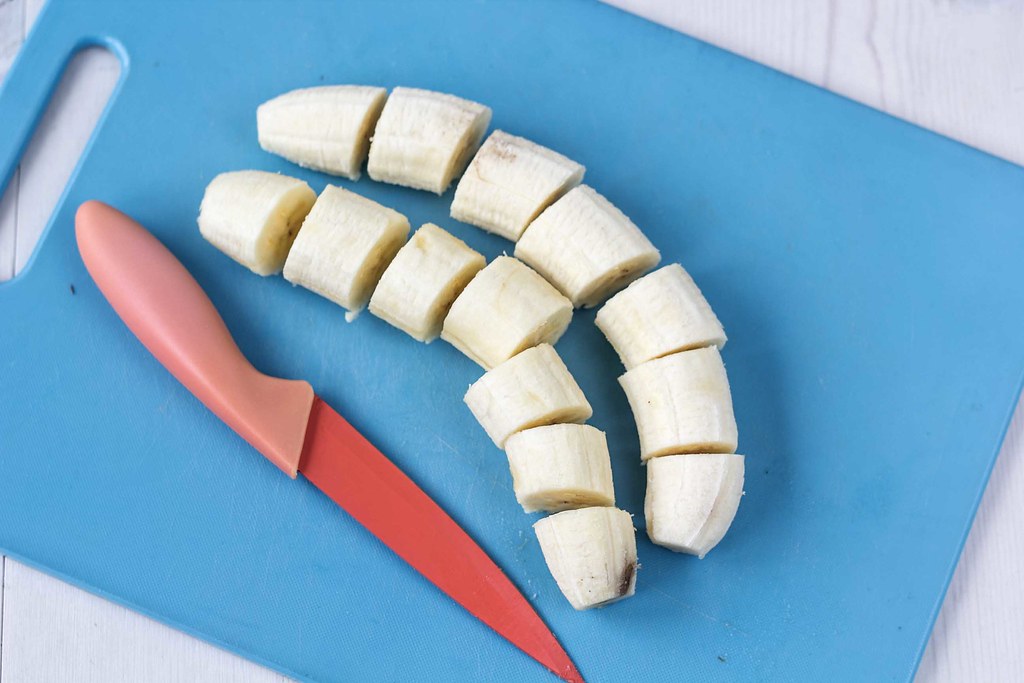
Step 2: Use a knife to cut the bananas in smaller pieces.
Step 3: Bag the banana pieces and put them in the freezer. Remember to write the date on the plastic bag so that you always uses the oldest bananas first.


Guide How To: Bag and Save Ripe Bananas

Guide How To: Bag and Save Ripe Bananas

Guide How To: Bag and Save Ripe Bananas

Guide How To: Bag and Save Ripe Bananas

Guide How To: Bag and Save Ripe Bananas

How To: Clean and Cut Iceberg Lettuce the Fast Way

Categories: Kitchen guides/ Salads

How to clean and cut Iceberg Lettuce the fast way
Guide How To: Clean and Cut Iceberg Lettuce the Fast Way

This is a simple but effective guide how to clean and cut iceberg lettuce very easy. Iceberg lettuce is nice and crisp, and is perfect for a hamburger or a tortilla wrap.

The iceberg you can buy at the grocery store is normally plastic warped so that it's protected from most dirt during transport. In general iceberg doesn't contain much dirt, but iceberg are grown directly on the ground and may contain some dirt that you need to wash off before you can use it in your food.

Using this guide it only takes about 2 minutes to wash and cut an entire iceberg.


How To: Clean and Cut Iceberg Lettuce the Fast Way

Level of difficulty: Easy

You’ll Need:
Iceberg lettuce
Chopping board
Knife

Directions:
Step 1: If the iceberg has some bad leaves on the outside, start by removing these.
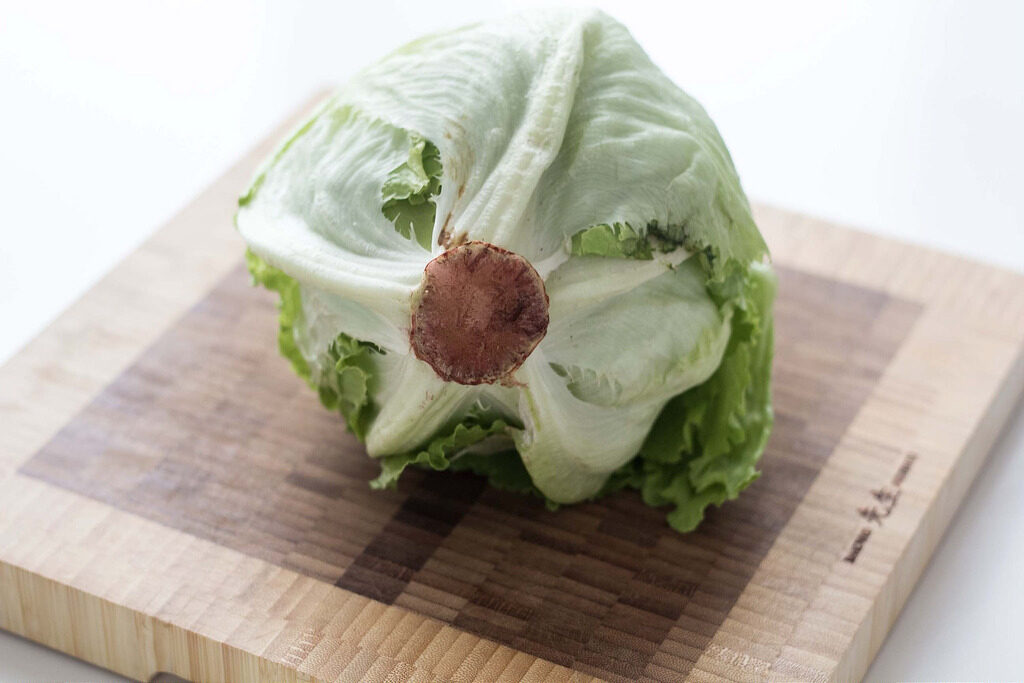
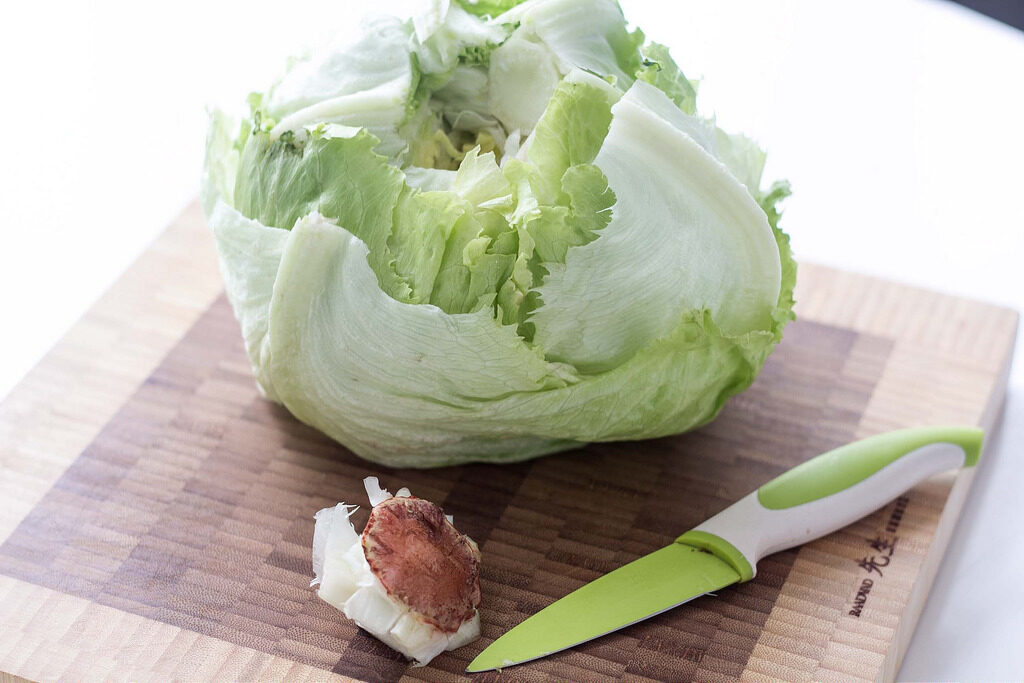
Step 2: Turn the iceberg over and make a circular cut around the root/core. Take out the core and widen the hole by breaking the lettuce from the center and out.
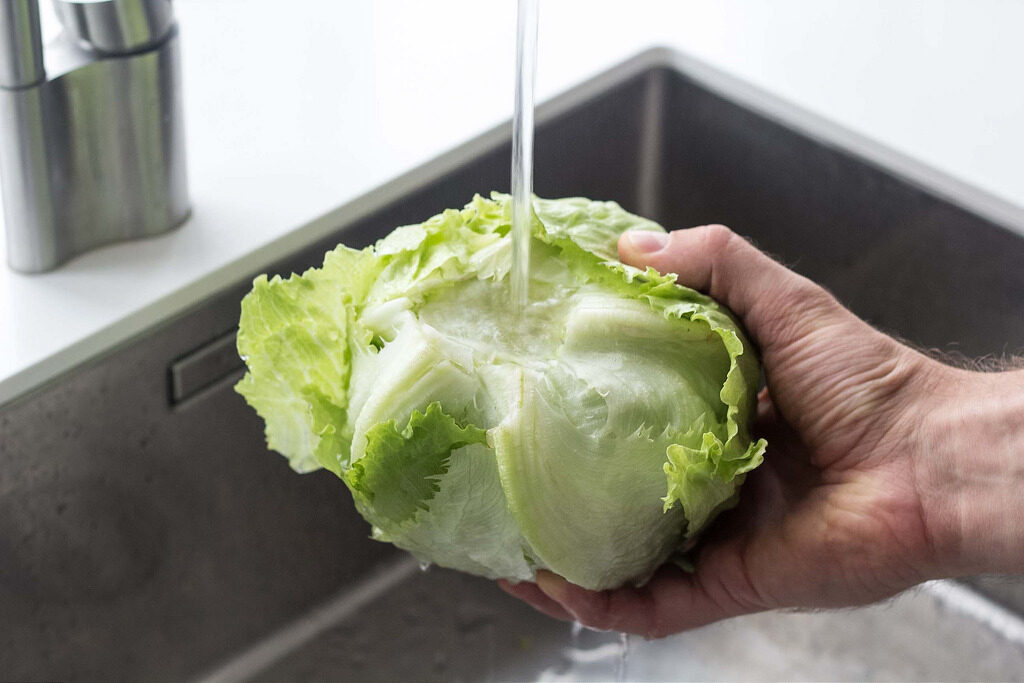
Step 3: Turn on the water and fill water inside the iceberg through hole where the core was.
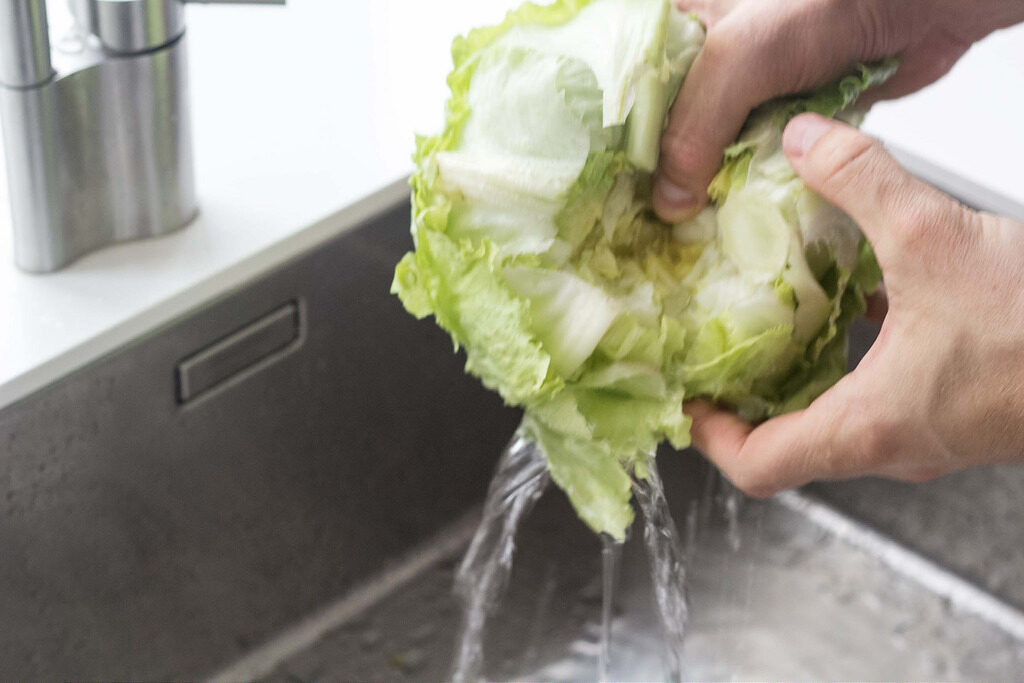
Step 4: When the iceberg is filled with water (it can contain a lot), shake it a little and then flip it over and let the water run out.
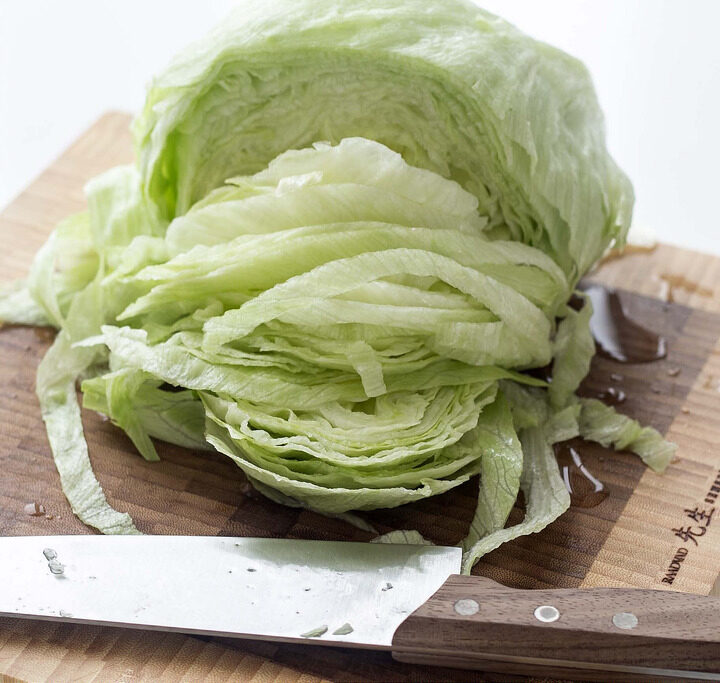
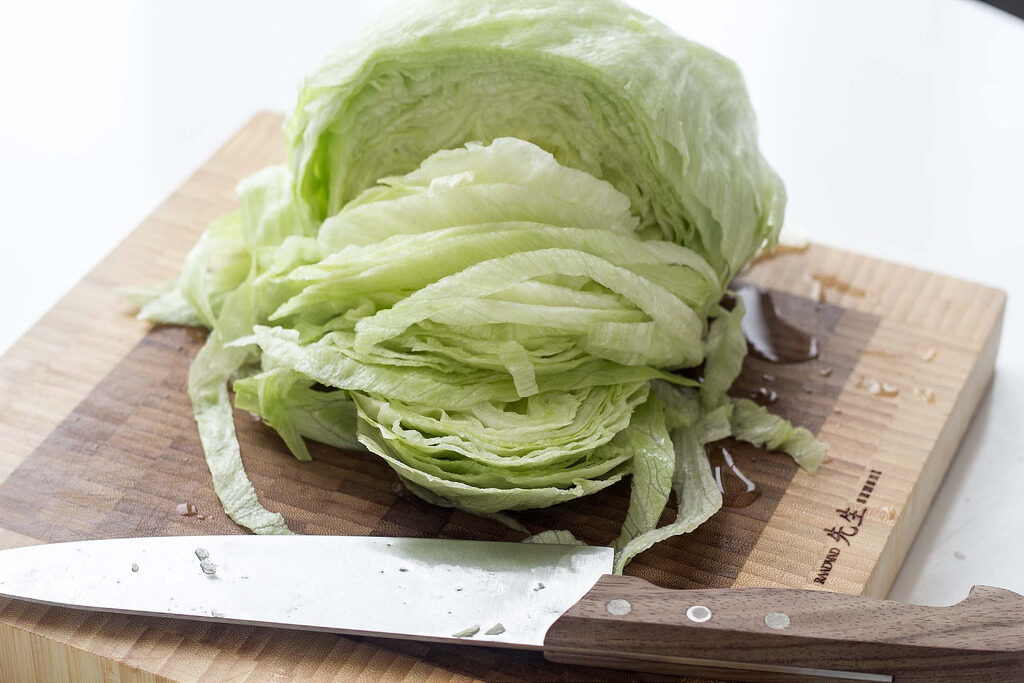
Step 5: Let the iceberg drip off a bit before you cut it on a chopping board.
Step 6: If you think the lettuce is a bit wet, then use a salad spinner to dry it.


Guide How To: Clean and Cut Iceberg Lettuce the Fast Way

Guide How To: Clean and Cut Iceberg Lettuce the Fast Way

Guide How To: Clean and Cut Iceberg Lettuce the Fast Way

Guide How To: Clean and Cut Iceberg Lettuce the Fast Way

How To: Clean your Blender in under 60 Seconds

Categories: Juice and Drinks/ Kitchen guides

Guide How To: Clean the Blender the Easy Way

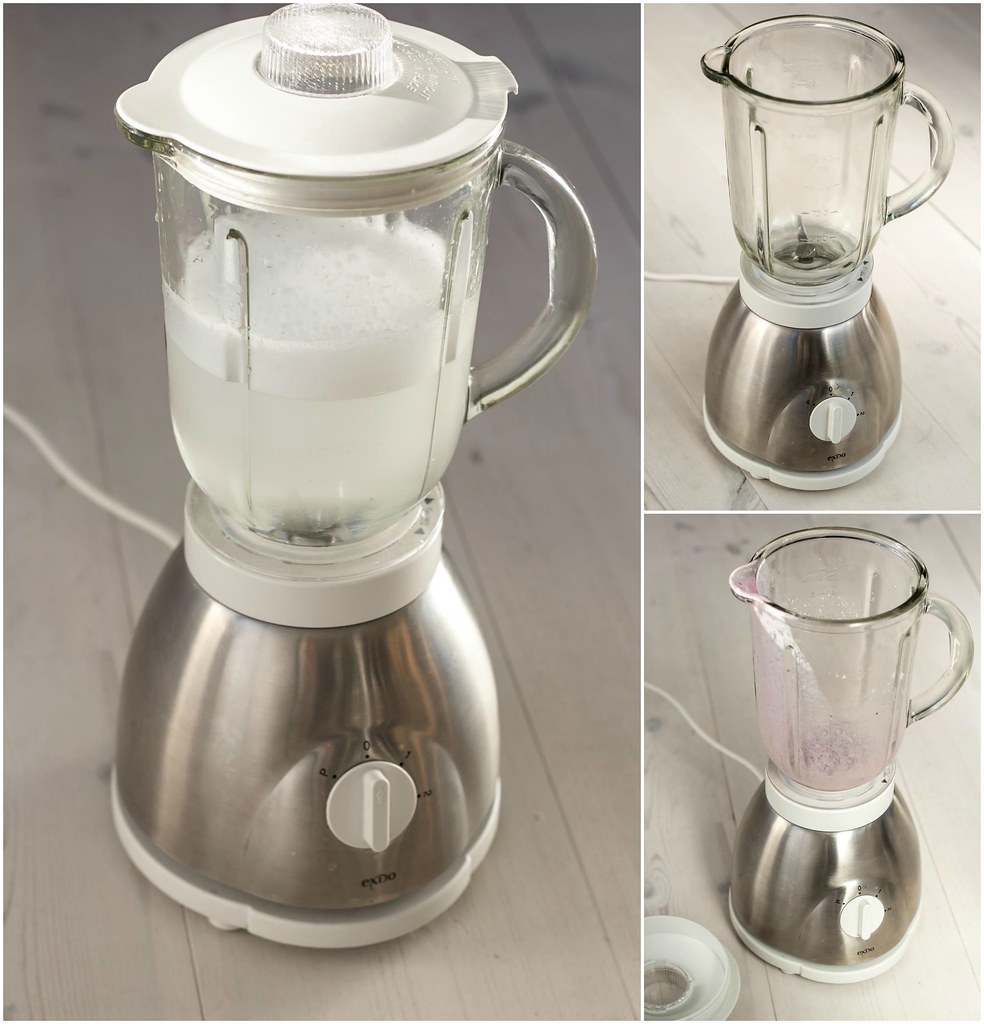
This is a simple guide how to clean your blender in under 60 seconds. Smoothies and shakes are now a days very popular whether it's a healthy banana smoothie or a less healthy chocolate milk shake with vanilla ice cream. The great thing about a blender is that it's easy to use and very convenient when you want to chop or blend some ingredients fast. The down side by using a blender is that [Read more...]

How To: Clean your Sink the Easy Way

Categories: Kitchen guides

Guide How To: Clean your Sink the Easy Way

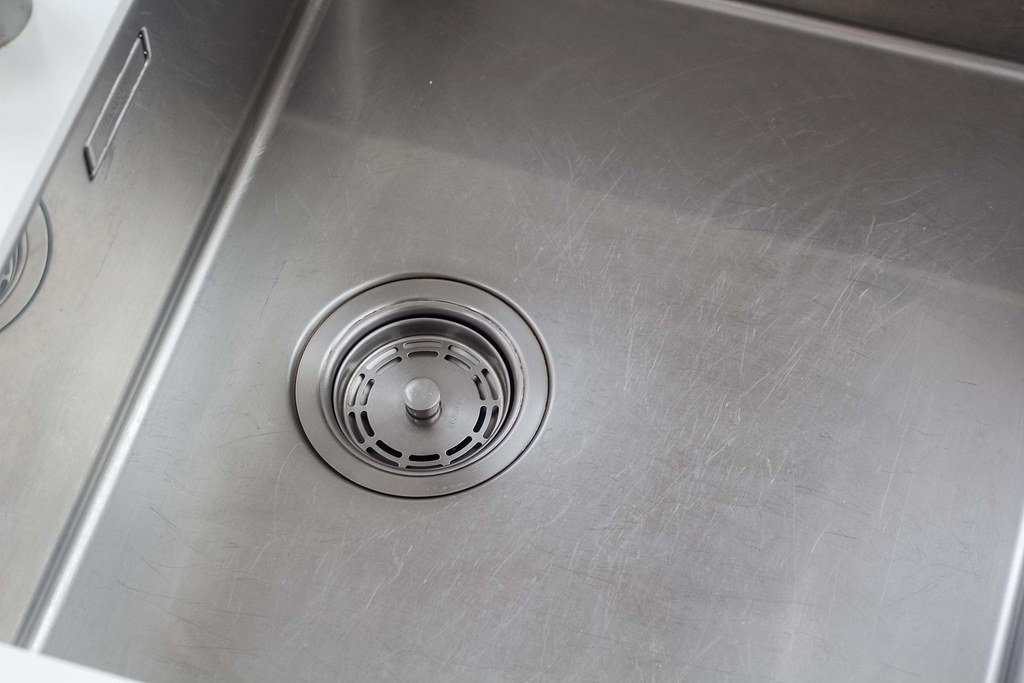
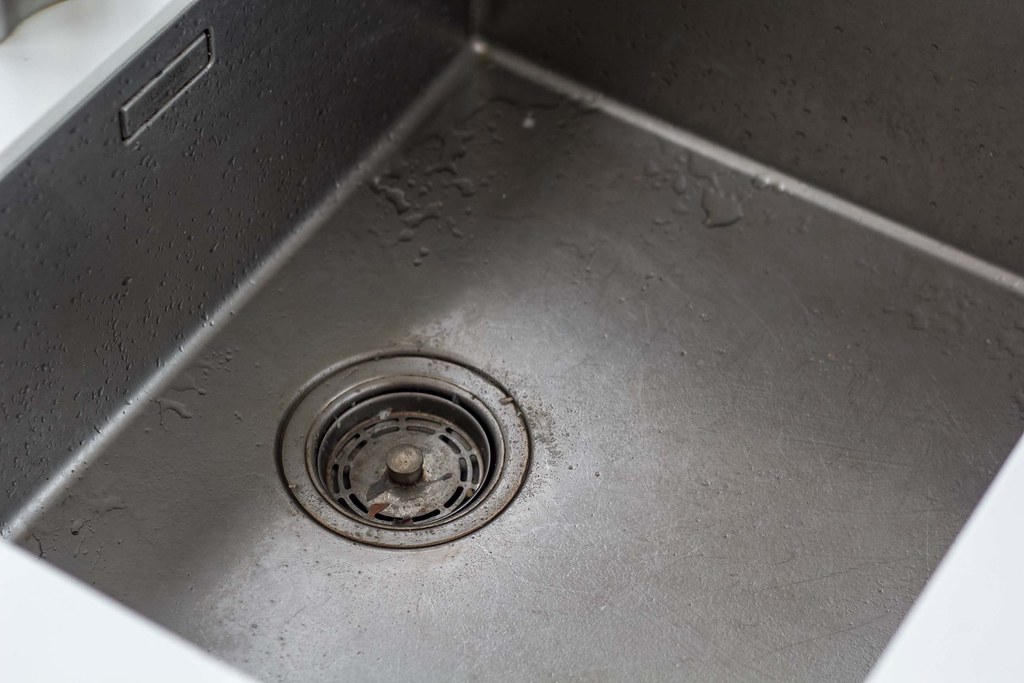
This simple guide illustrates how you can easily clean your sink in a few and very simple steps. Cleaning your sink on a regular basis, and especially right after you have used it, will make the process of having a clean sink easier. However, if you leave pieces for dirt in the sink for longer time, it'll dry out and stick to the sink and later be difficult to clean. In general a clean and smooth surface will be difficult for dirt to stick to, while a dirty surface will attract dirt and exacerbate the problem.

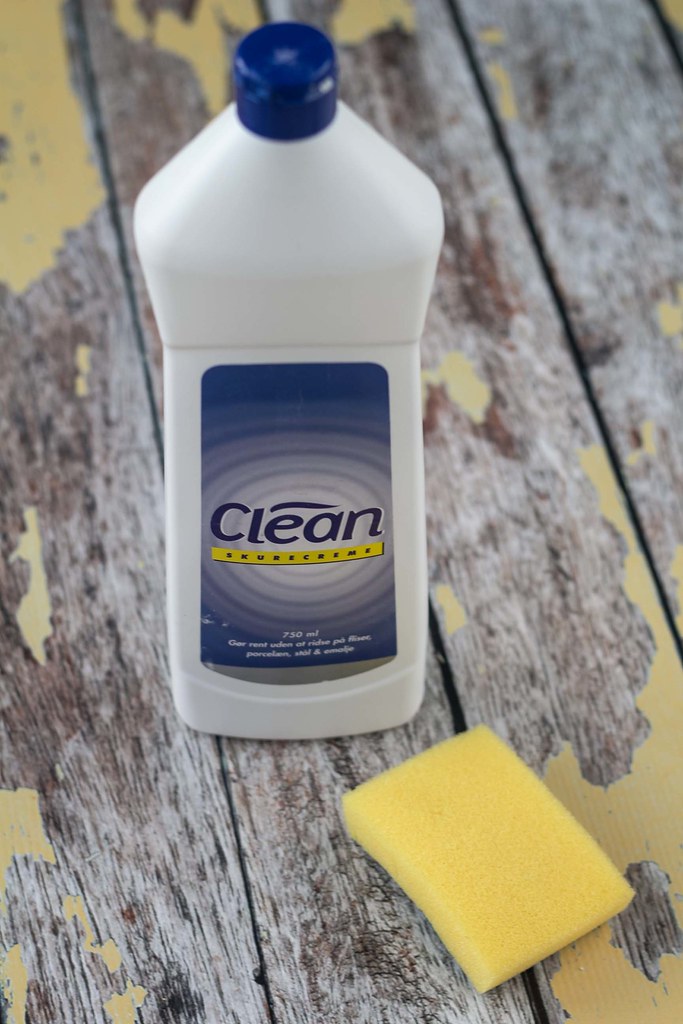
On a daily basis it'll be enough to remove the dirt from the sink and rinse it with cold water, and sometimes with some dish wash soap. Then once a week, or every second week, it's a good idea to clean the sink more thoroughly using soft scrub cleaner. Scrub cleaner normally contains tiny scrubbing grains which will gently and effectively grind of dirt from your sink. This way you'll be able to keep your sink clean all the time.

How To: Clean your Sink the Easy Way

Level of difficulty: Very easy

You'll Need:
soft scrub
sponge

Directions:
Step 1: Start by reading the instructions on the scrub cleaner you have, and make sure that it'll work on the material that your sink is made of. If your are using a new brand of cleaner or having tried it before, then test it on an inconspicuous area first. Typically the soft cleaners from the grocery stores can be used on most surfaces, except from aluminum, plastic, chrome plated and other sensible surfaces.

Step 2: Remove all large pieces of dirt and rinse the sink with cold water.

Step 3: Pour some of the cleaner inside the sink and use a sponge to scrub it around. Be thoroughly in the corners and around the drain.

Step 4: Rinse the sink with cold water and your are done.


Guide How To: Clean your Sink the Easy Way

Guide How To: Clean your Sink the Easy Way

Guide How To: Clean your Sink the Easy Way

Guide How To: Clean your Sink the Easy Way

How To: Clean your Sink Faucet Aerator / Filter

Categories: Kitchen guides

Guide How To: Clean your Sink Faucet Aerator / Filter

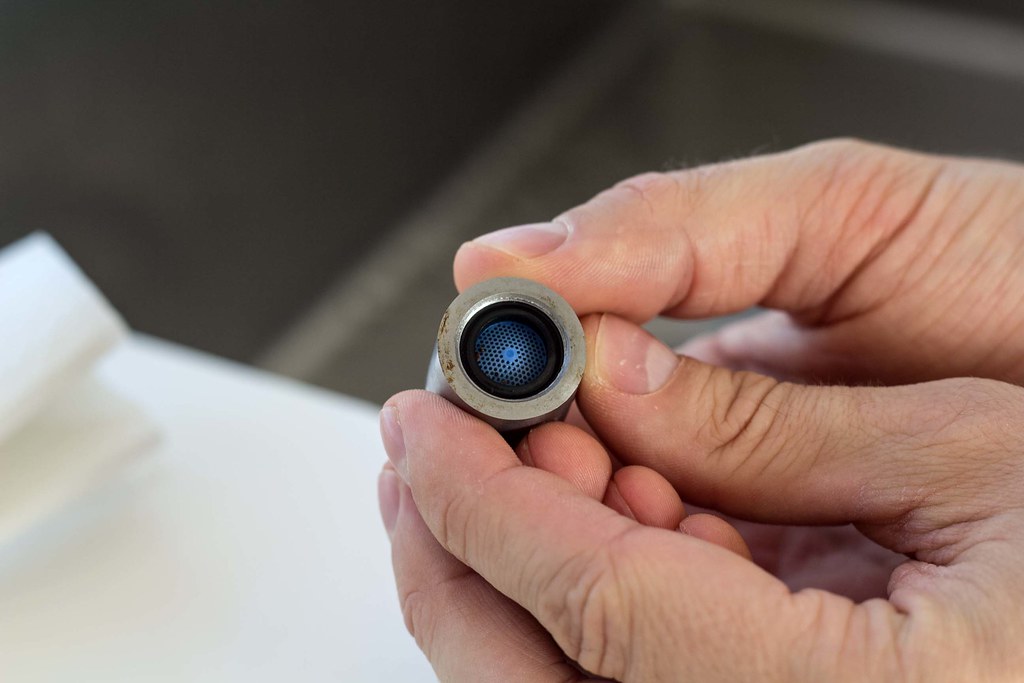
Sometimes you experience that the water flow in your sink faucet is slowing down over time, uneven or maybe it's spraying/splashing water all over the sink. Then it's properly time to clean the sink faucet aerator. An aerator is a small filter insert typically located at the tip of the sink faucet. The main functions of an aerator are to create an even and non-splashing water flow, and to conserve the water use, and reduce the energy costs, by mixing the water with air.

Normally, before the water is coming out of the tap is has been going through kilometers (miles) of pipes, water treatment systems, heaters, pipe connections, valves and so on. Of course these constructions have been built with a good sanitary design. However, it's almost impossible to avoid that small pieces of rust and rocks find its way through all these systems and finally end up blocking your sink faucet aerator.

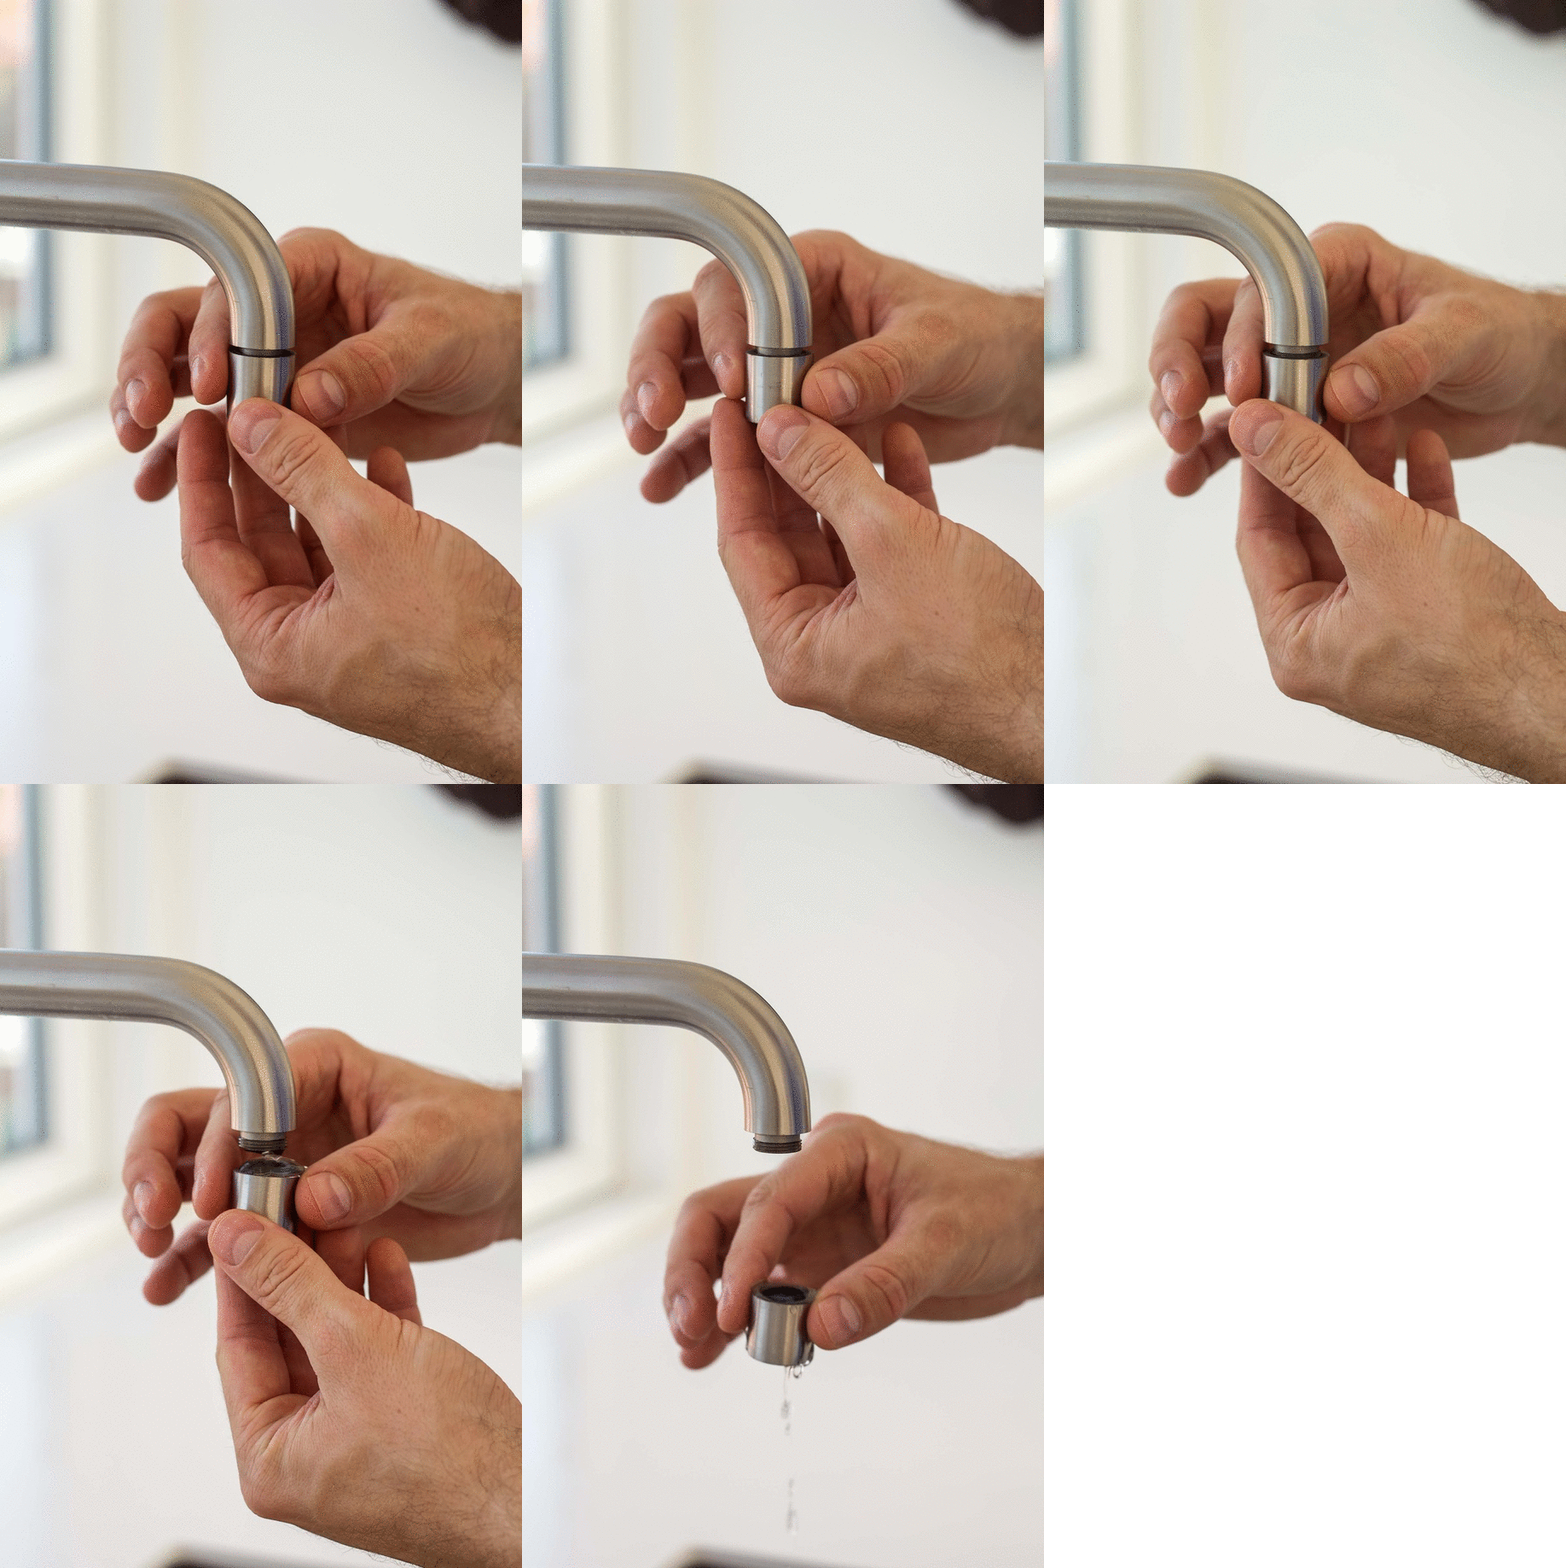
This simple guide describes how to disassemble a sink faucet filter/aerator and clean it.

How To: Clean your Sink Faucet Aerator / Filter

Level of difficulty: Medium

You'll Need:
Groove-joint pliers (or pipe wrench)
cloth or masking tape

Directions:
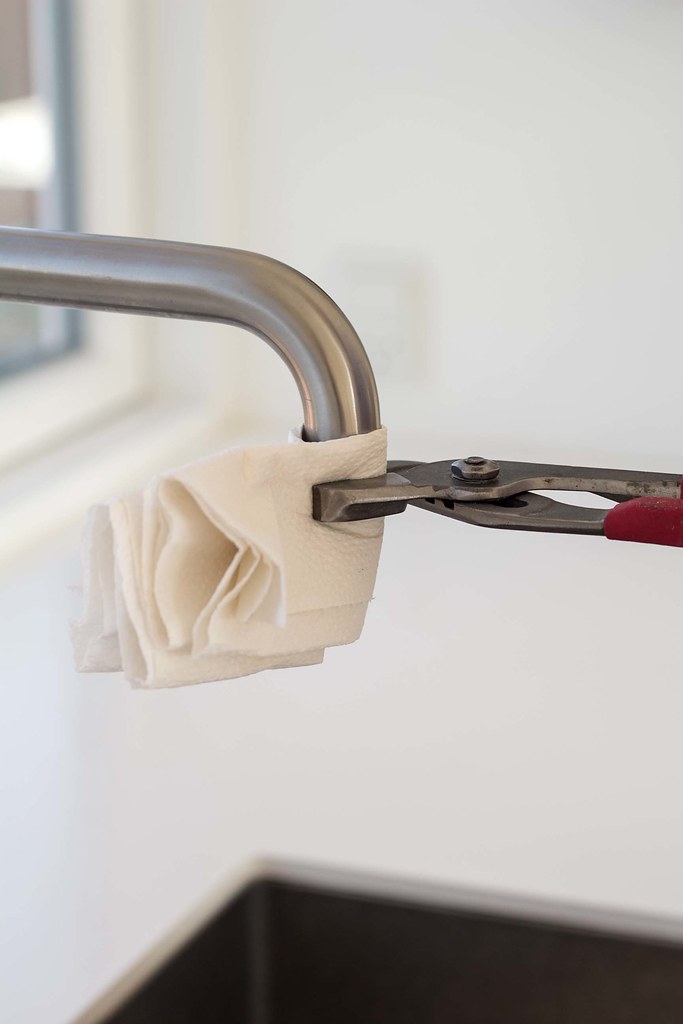
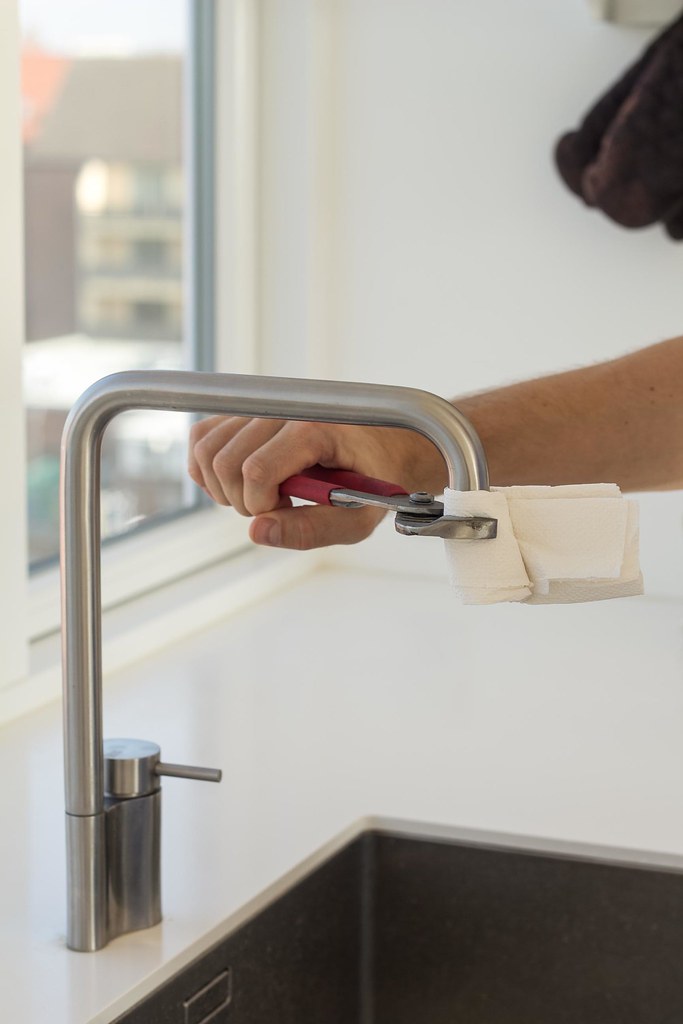
Step 1: Start by wrapping some masking tape around the faucet aerator or on the jaws of the groove-joint pliers. You can also just wrap a cloth between the groove-joint pliers and the faucet aerator. This way you don't make any marks or scratches on the faucet when you screw off the aerator.

Step 2: Use the groove-joint pliers to turn the aerator clockwise and loosen it. When it's loosen, use your fingers to screw it completely off.

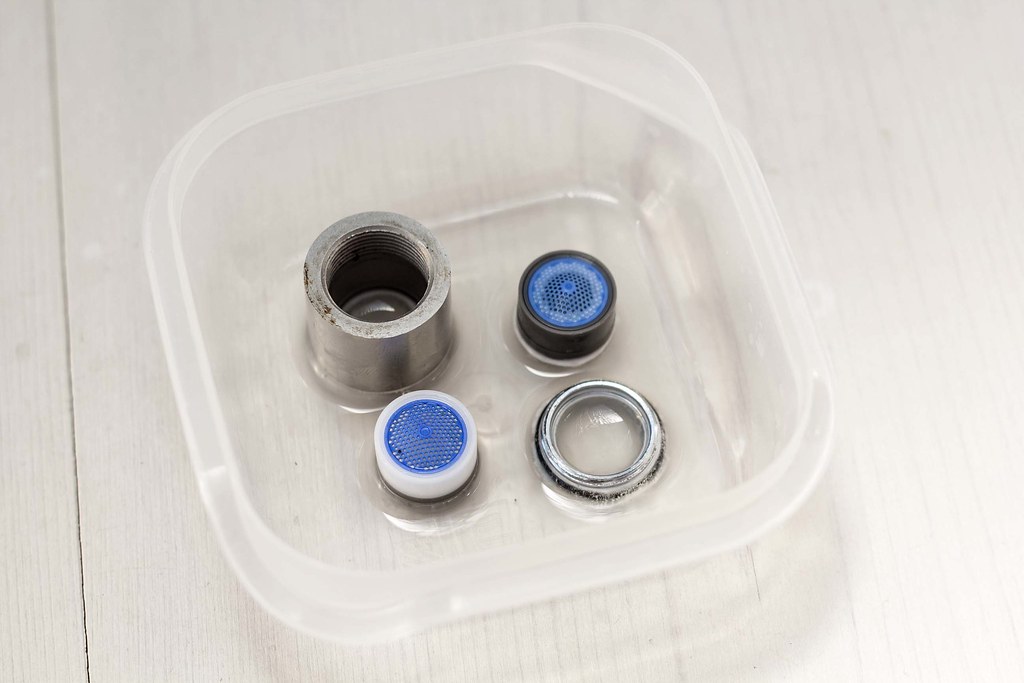
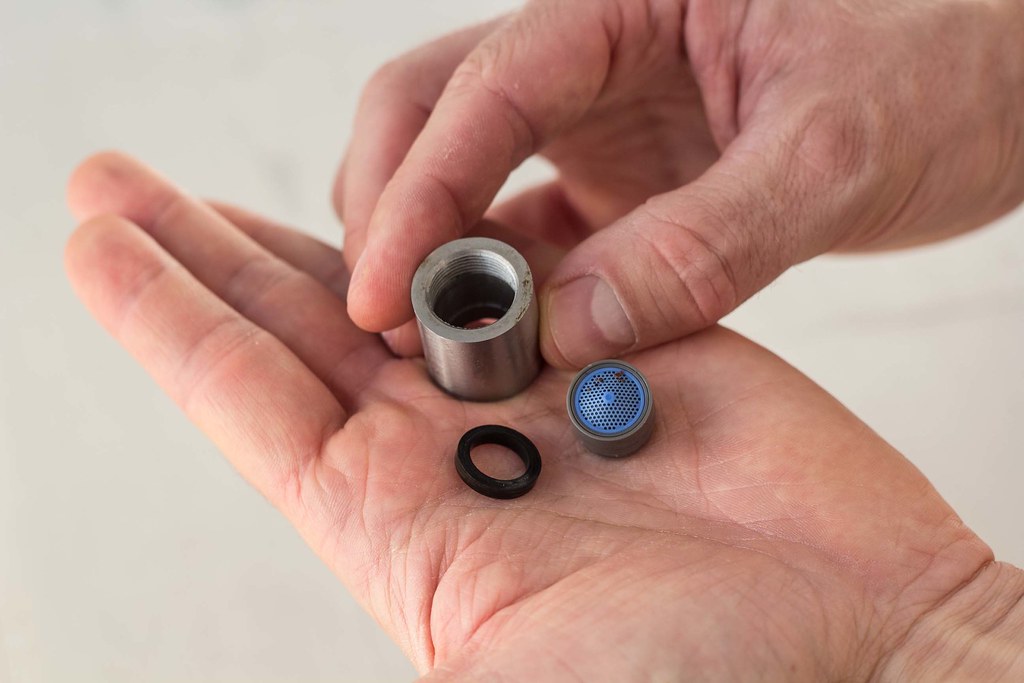
Step 3: Disassemble the aerator. It normally consist of an outer part, a filter and a gasket. You would usually find tiny rocks and rust pieces in the filter part. Rinse all the parts in water but be careful not to drop the small parts into the drain. You can with advantage use a toothbrush to clean the filter.

Step 4: If you live in a country with a high lime/calcium content in the water, like we've in Denmark, then soak the parts in a white vinegar or a lime dissolver solution. Over time lime will built up inside the aerator and slowly block the water flow.

Step 5: Reassembly the cleaned aerator.

Step 6: Screw the aerator back on the sink faucet using your finger. Use the groove-joint pliers to finally tighten it. And you are done.

Now you would experience that the water flow is more nice and even. Remember to clean the aerator once every year and you should be all fine.


Guide How To: Clean your Sink Faucet Aerator / Filter

Guide How To: Clean your Sink Faucet Aerator / Filter

Guide How To: Clean your Sink Faucet Aerator / Filter

Guide How To: Clean your Sink Faucet Aerator / Filter

Guide How To: Clean your Sink Faucet Aerator / Filter

Guide How To: Clean your Sink Faucet Aerator / Filter

How To: Split and Seed a Vanilla Bean

Categories: Kitchen guides

Guide How-To: Split and Seed a Vanilla Bean

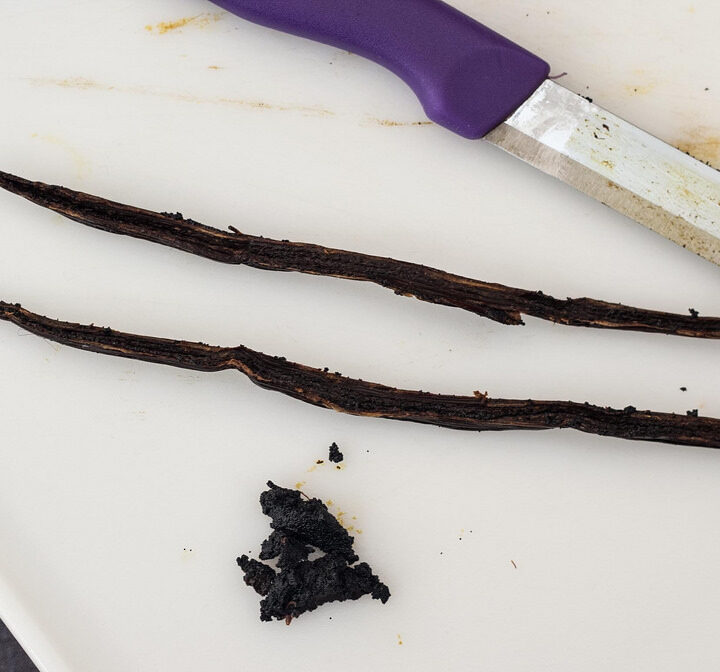
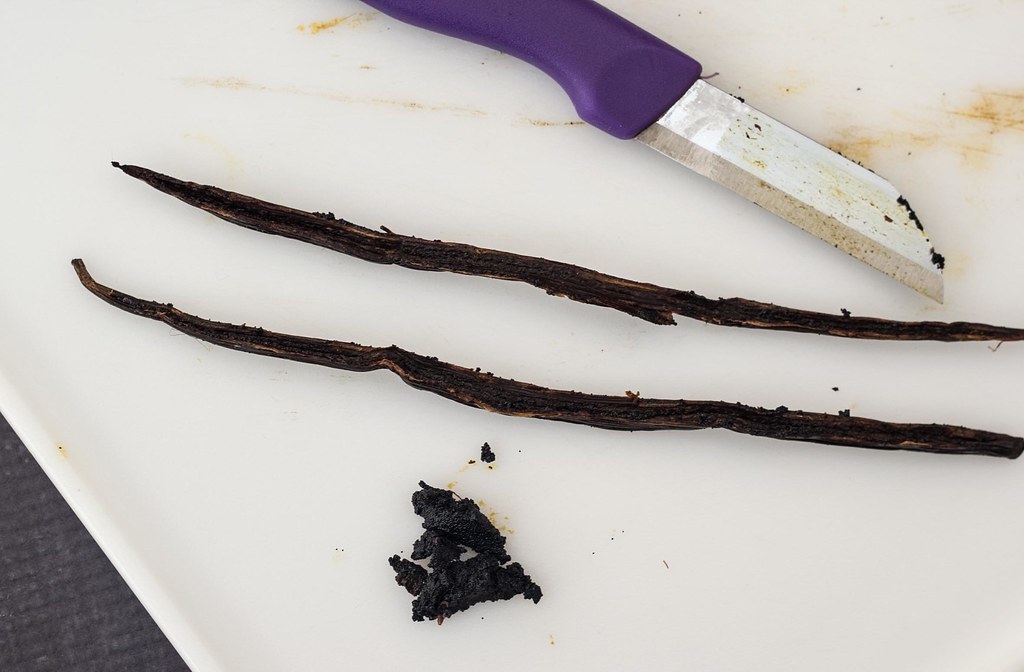
In this step-by-step guide we will show you how to easily split and extract the seeds from a fresh vanilla bean. Normally we only use fresh vanilla in our recipes. Fresh vanilla simply has a better and more rich flavor compared to the dried vanilla products you can buy at the grocery store. This guide show you how to extract these delicious vanilla seeds from the beans and it's actually very easy - it's differently worth the little extra work. We always use fresh vanilla for our vanilla ice cream or the very tradition Danish rice pudding (Risalamande) which is a dessert typically served at Christmas. [Read more...]

How To: Skin Almonds the Easy Way

Categories: Kitchen guides

How To Guide: Skin Almonds the Easy Way

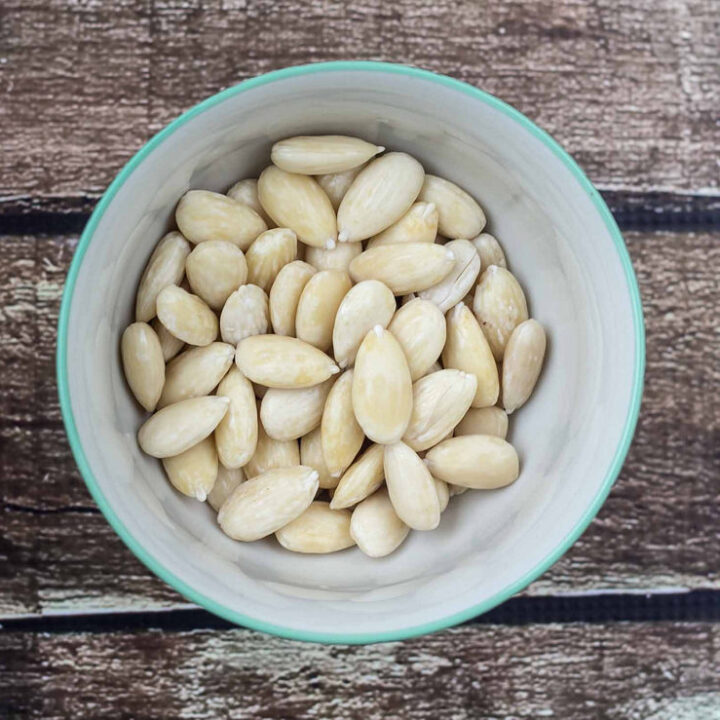
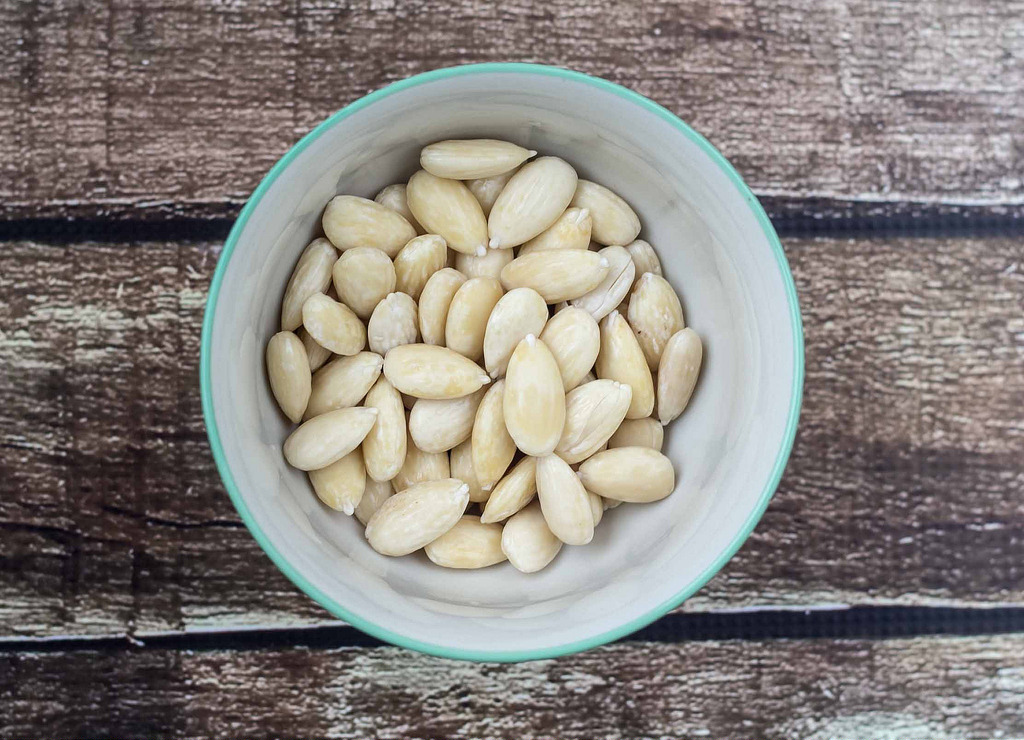
We have several recipes for desserts where one of the ingredients is skinned almonds. One of our very popular recipes where you need skinned almonds is the traditional Danish Christmas dessert Risalamande. This how-to guide shows step-by-step how you can skin almonds in a very easy way. Follow the simple directions below and look at the pictures. [Read more...]

How To: Get Rid of Fruit Flies

Categories: Kitchen guides

Step-by-step guide how to get rid of fruit flies

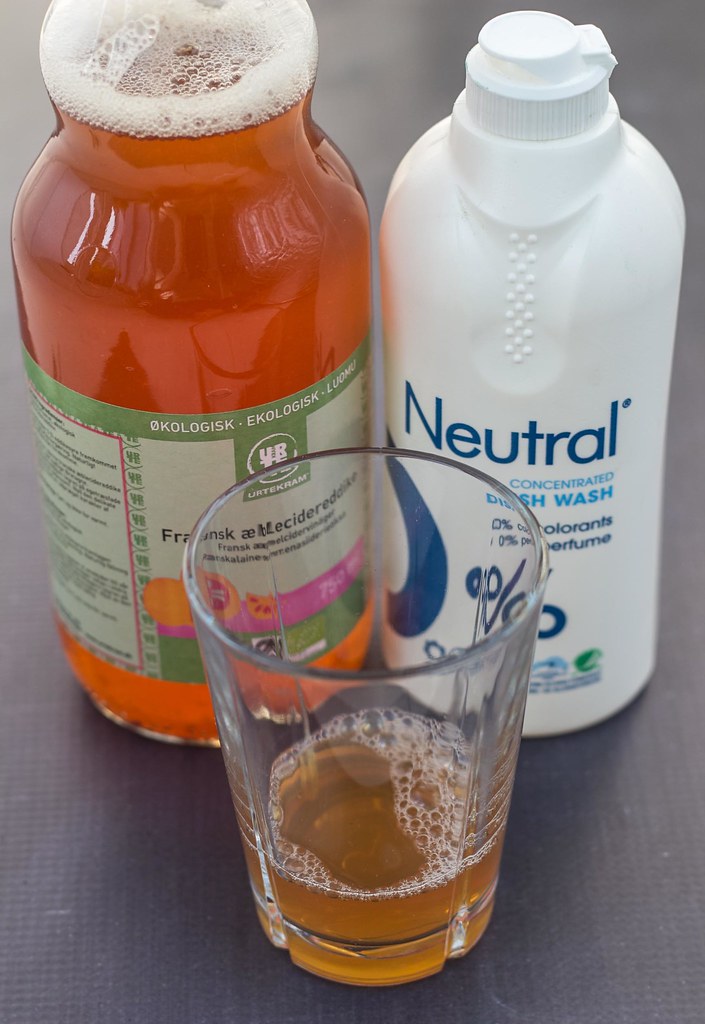
This is a simple and very effective guide how to get rid of fruit flies which have occupied your fruit basket or your sink. When you buy fruit and other vegetables from the farmers market or grocery store you risk of bringing small fruit flies eggs with you home. Fruit flies have a relatively short life cycles going the eggs to adults in 7-11 days - this makes them able to reproduce at a very fast rate. Thus, it's important to start treating the problem as soon as it's observed. Fruit flies are attracted and thrive in moist and wet environments at room-temperature. And they especially like the fruit and garbage bags, where you might have rotten food which tends to be preferred by the small bandits.

There are several different way of getting rid of these small irritating insects. However, we believe that this is the most simple and effective method. [Read more...]