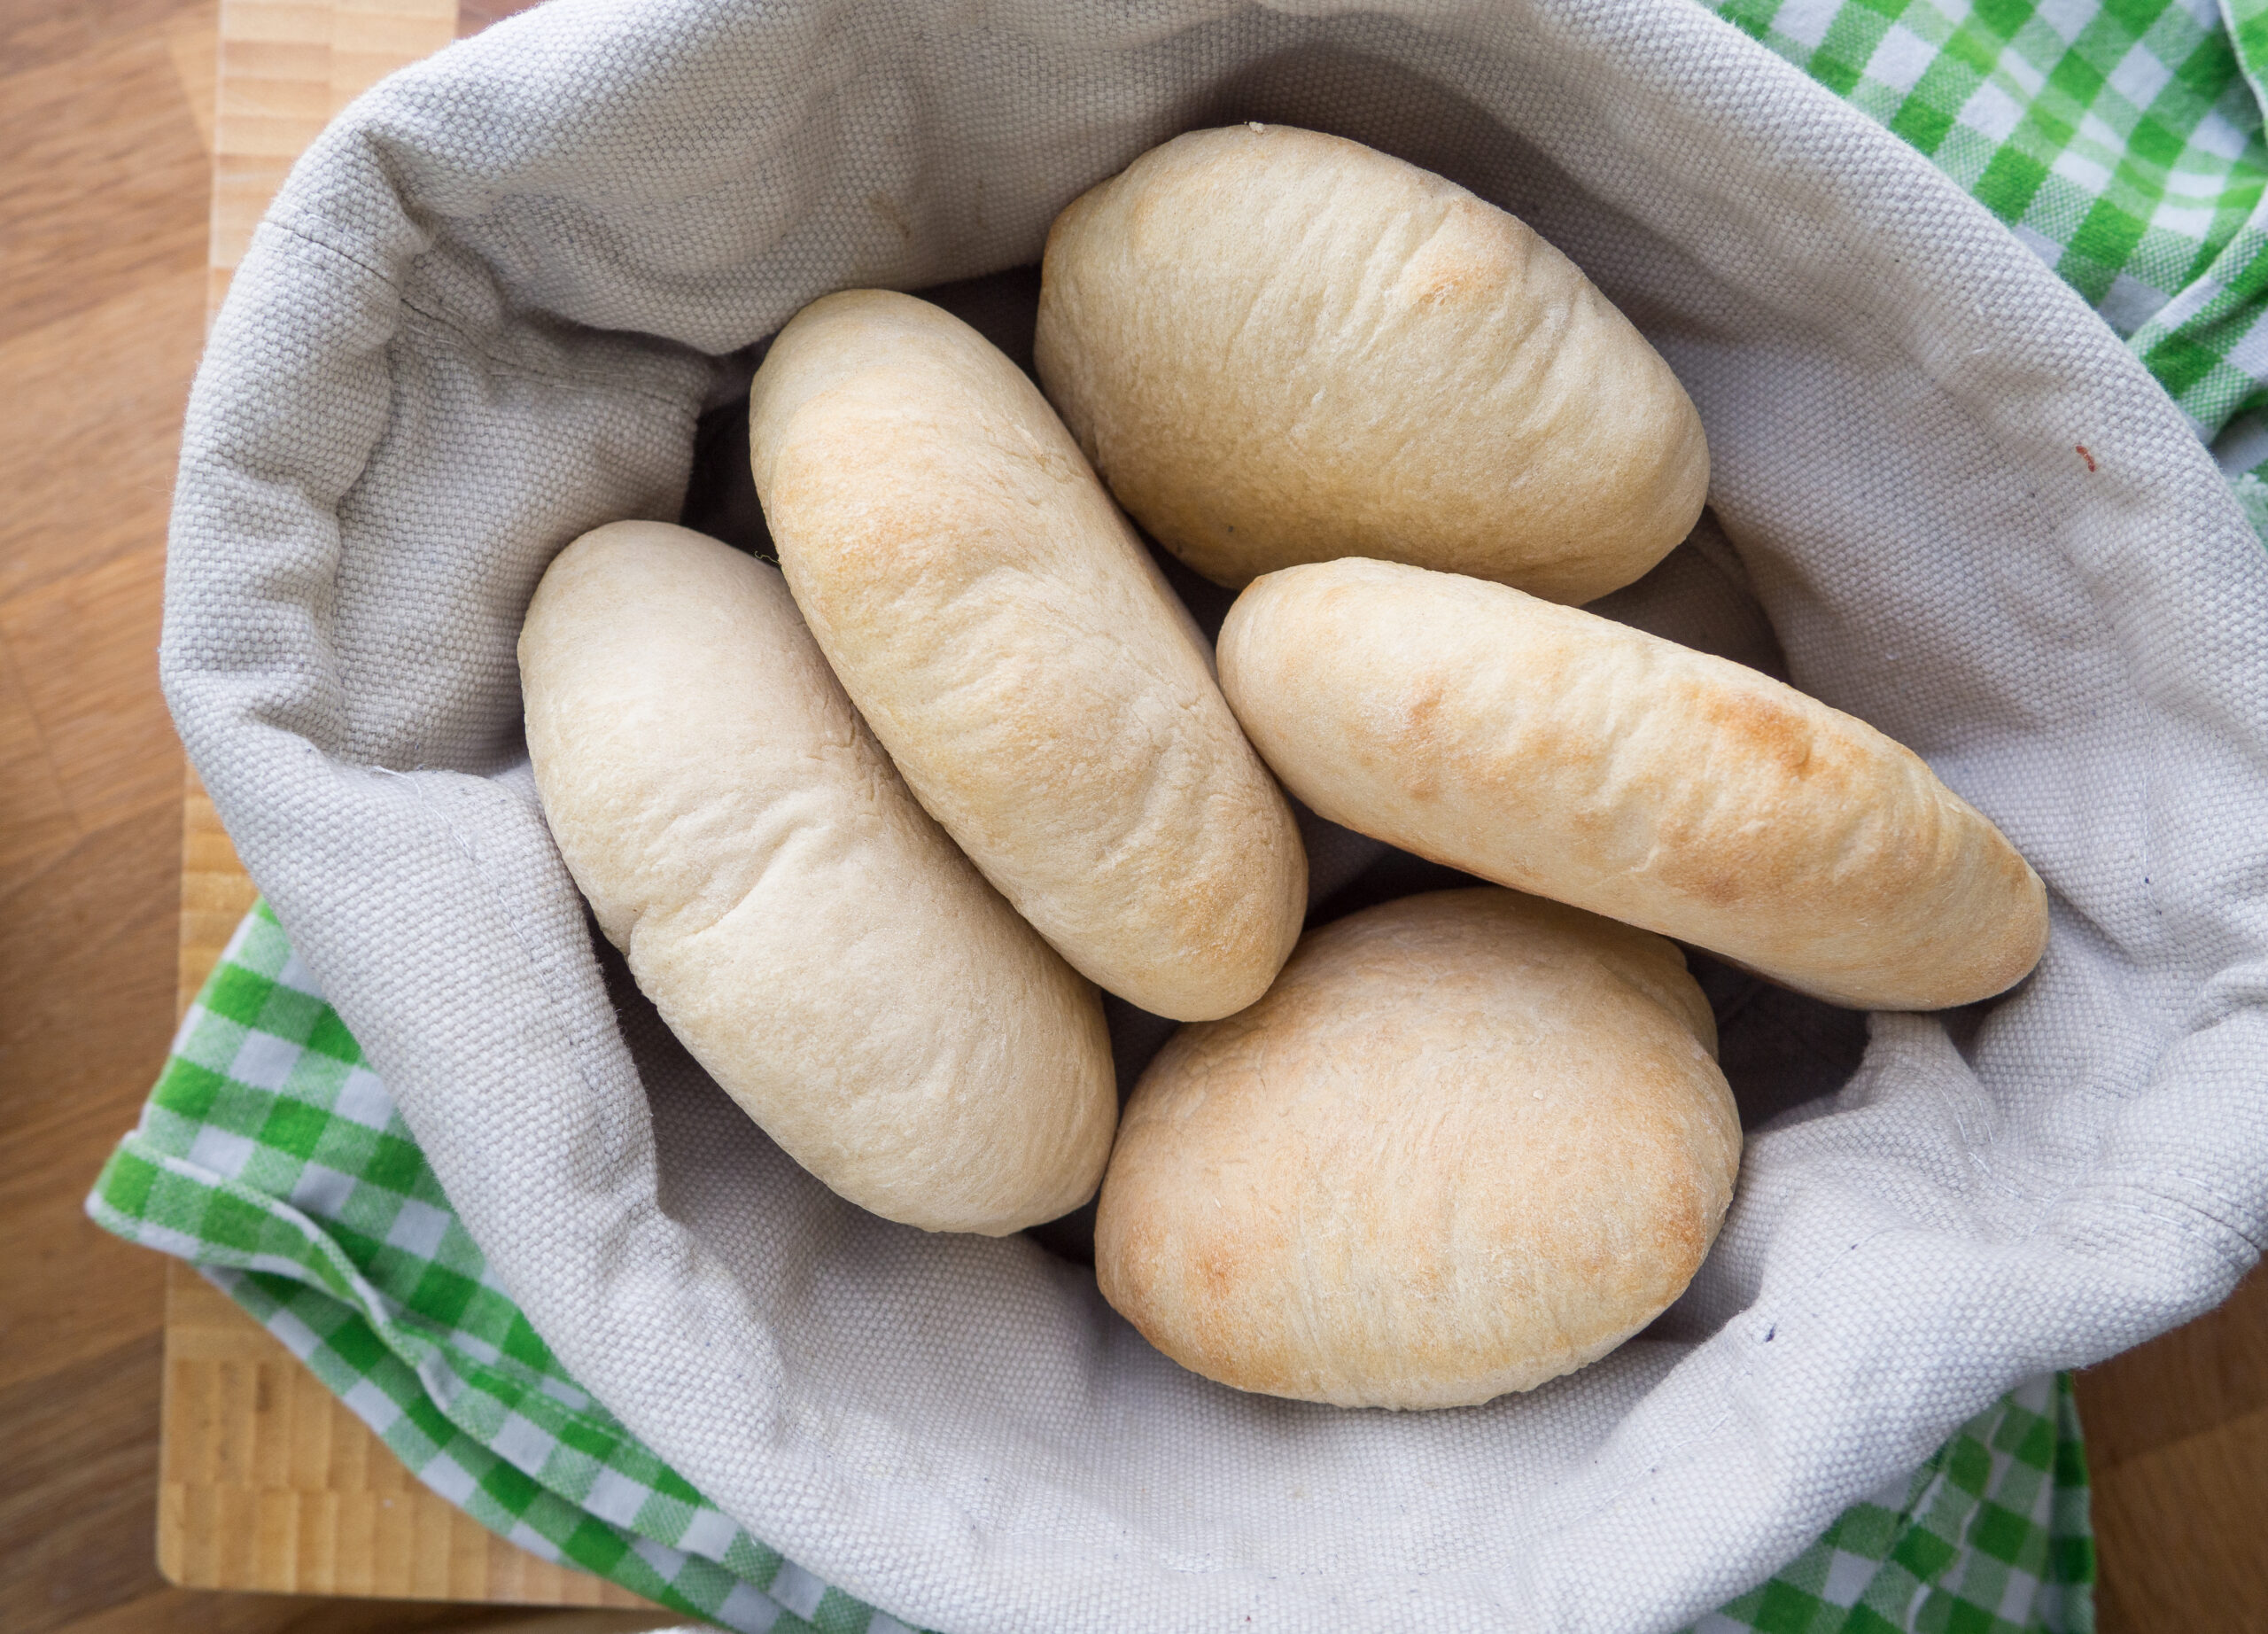
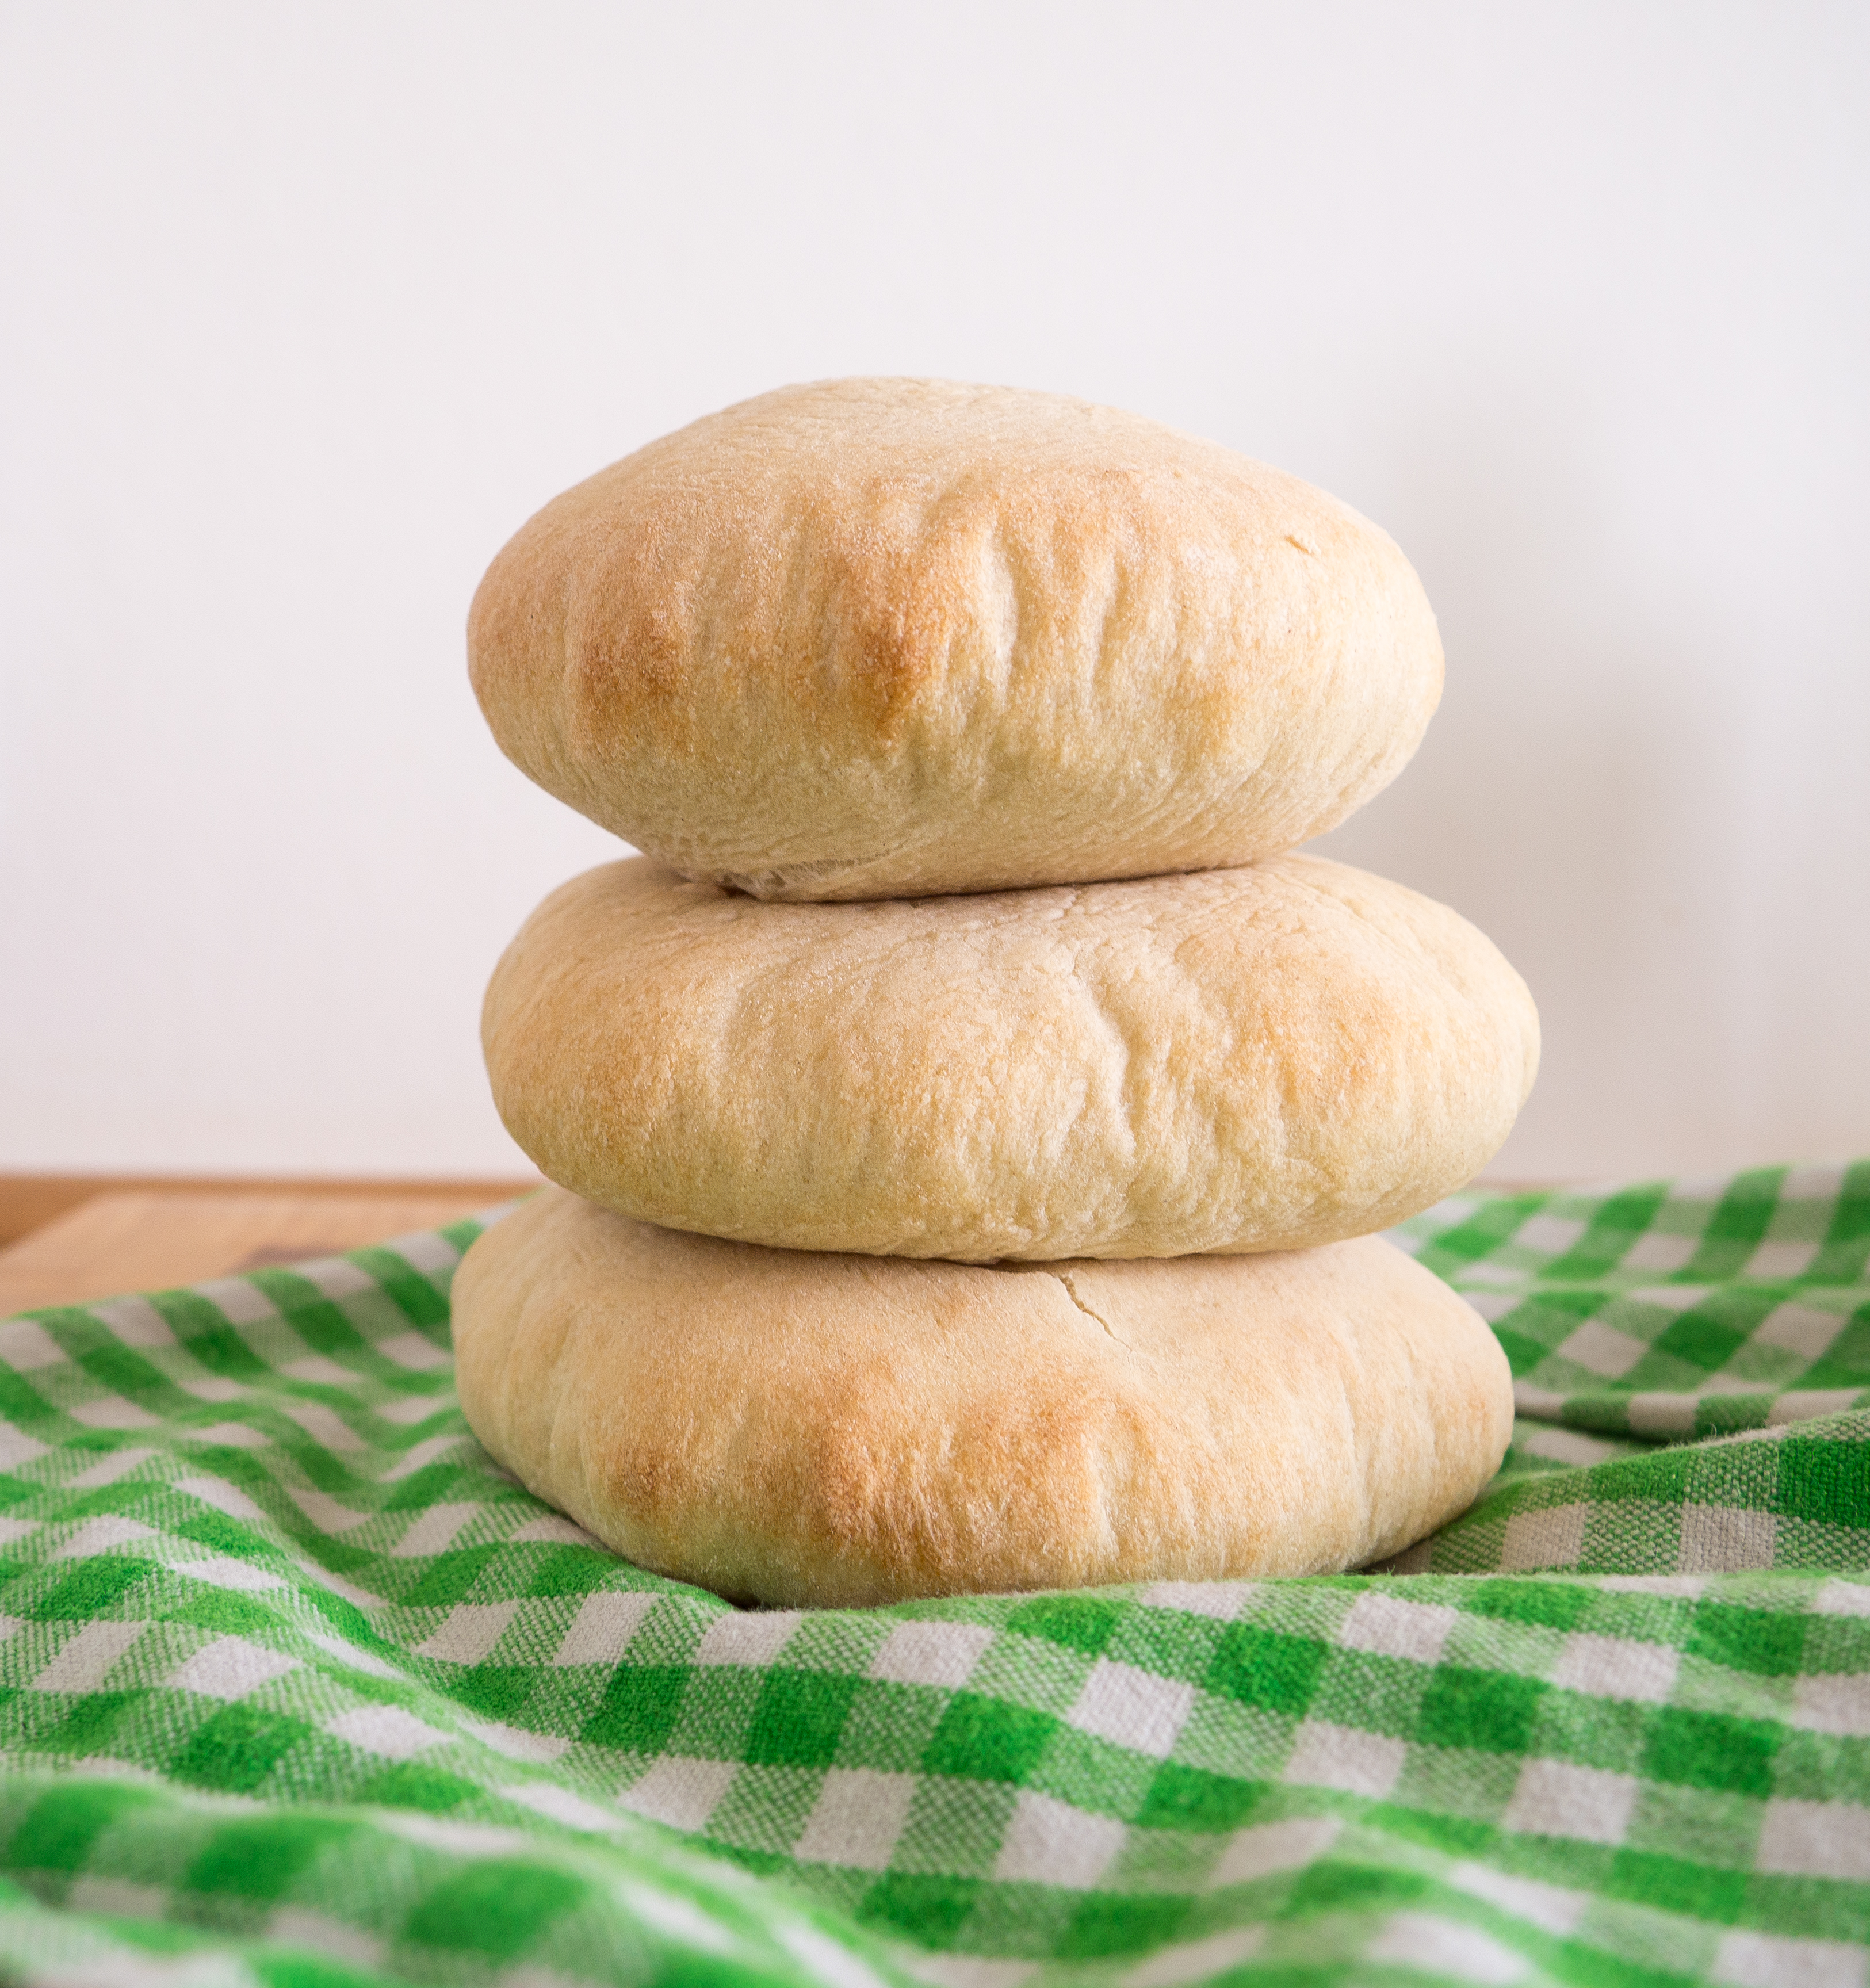
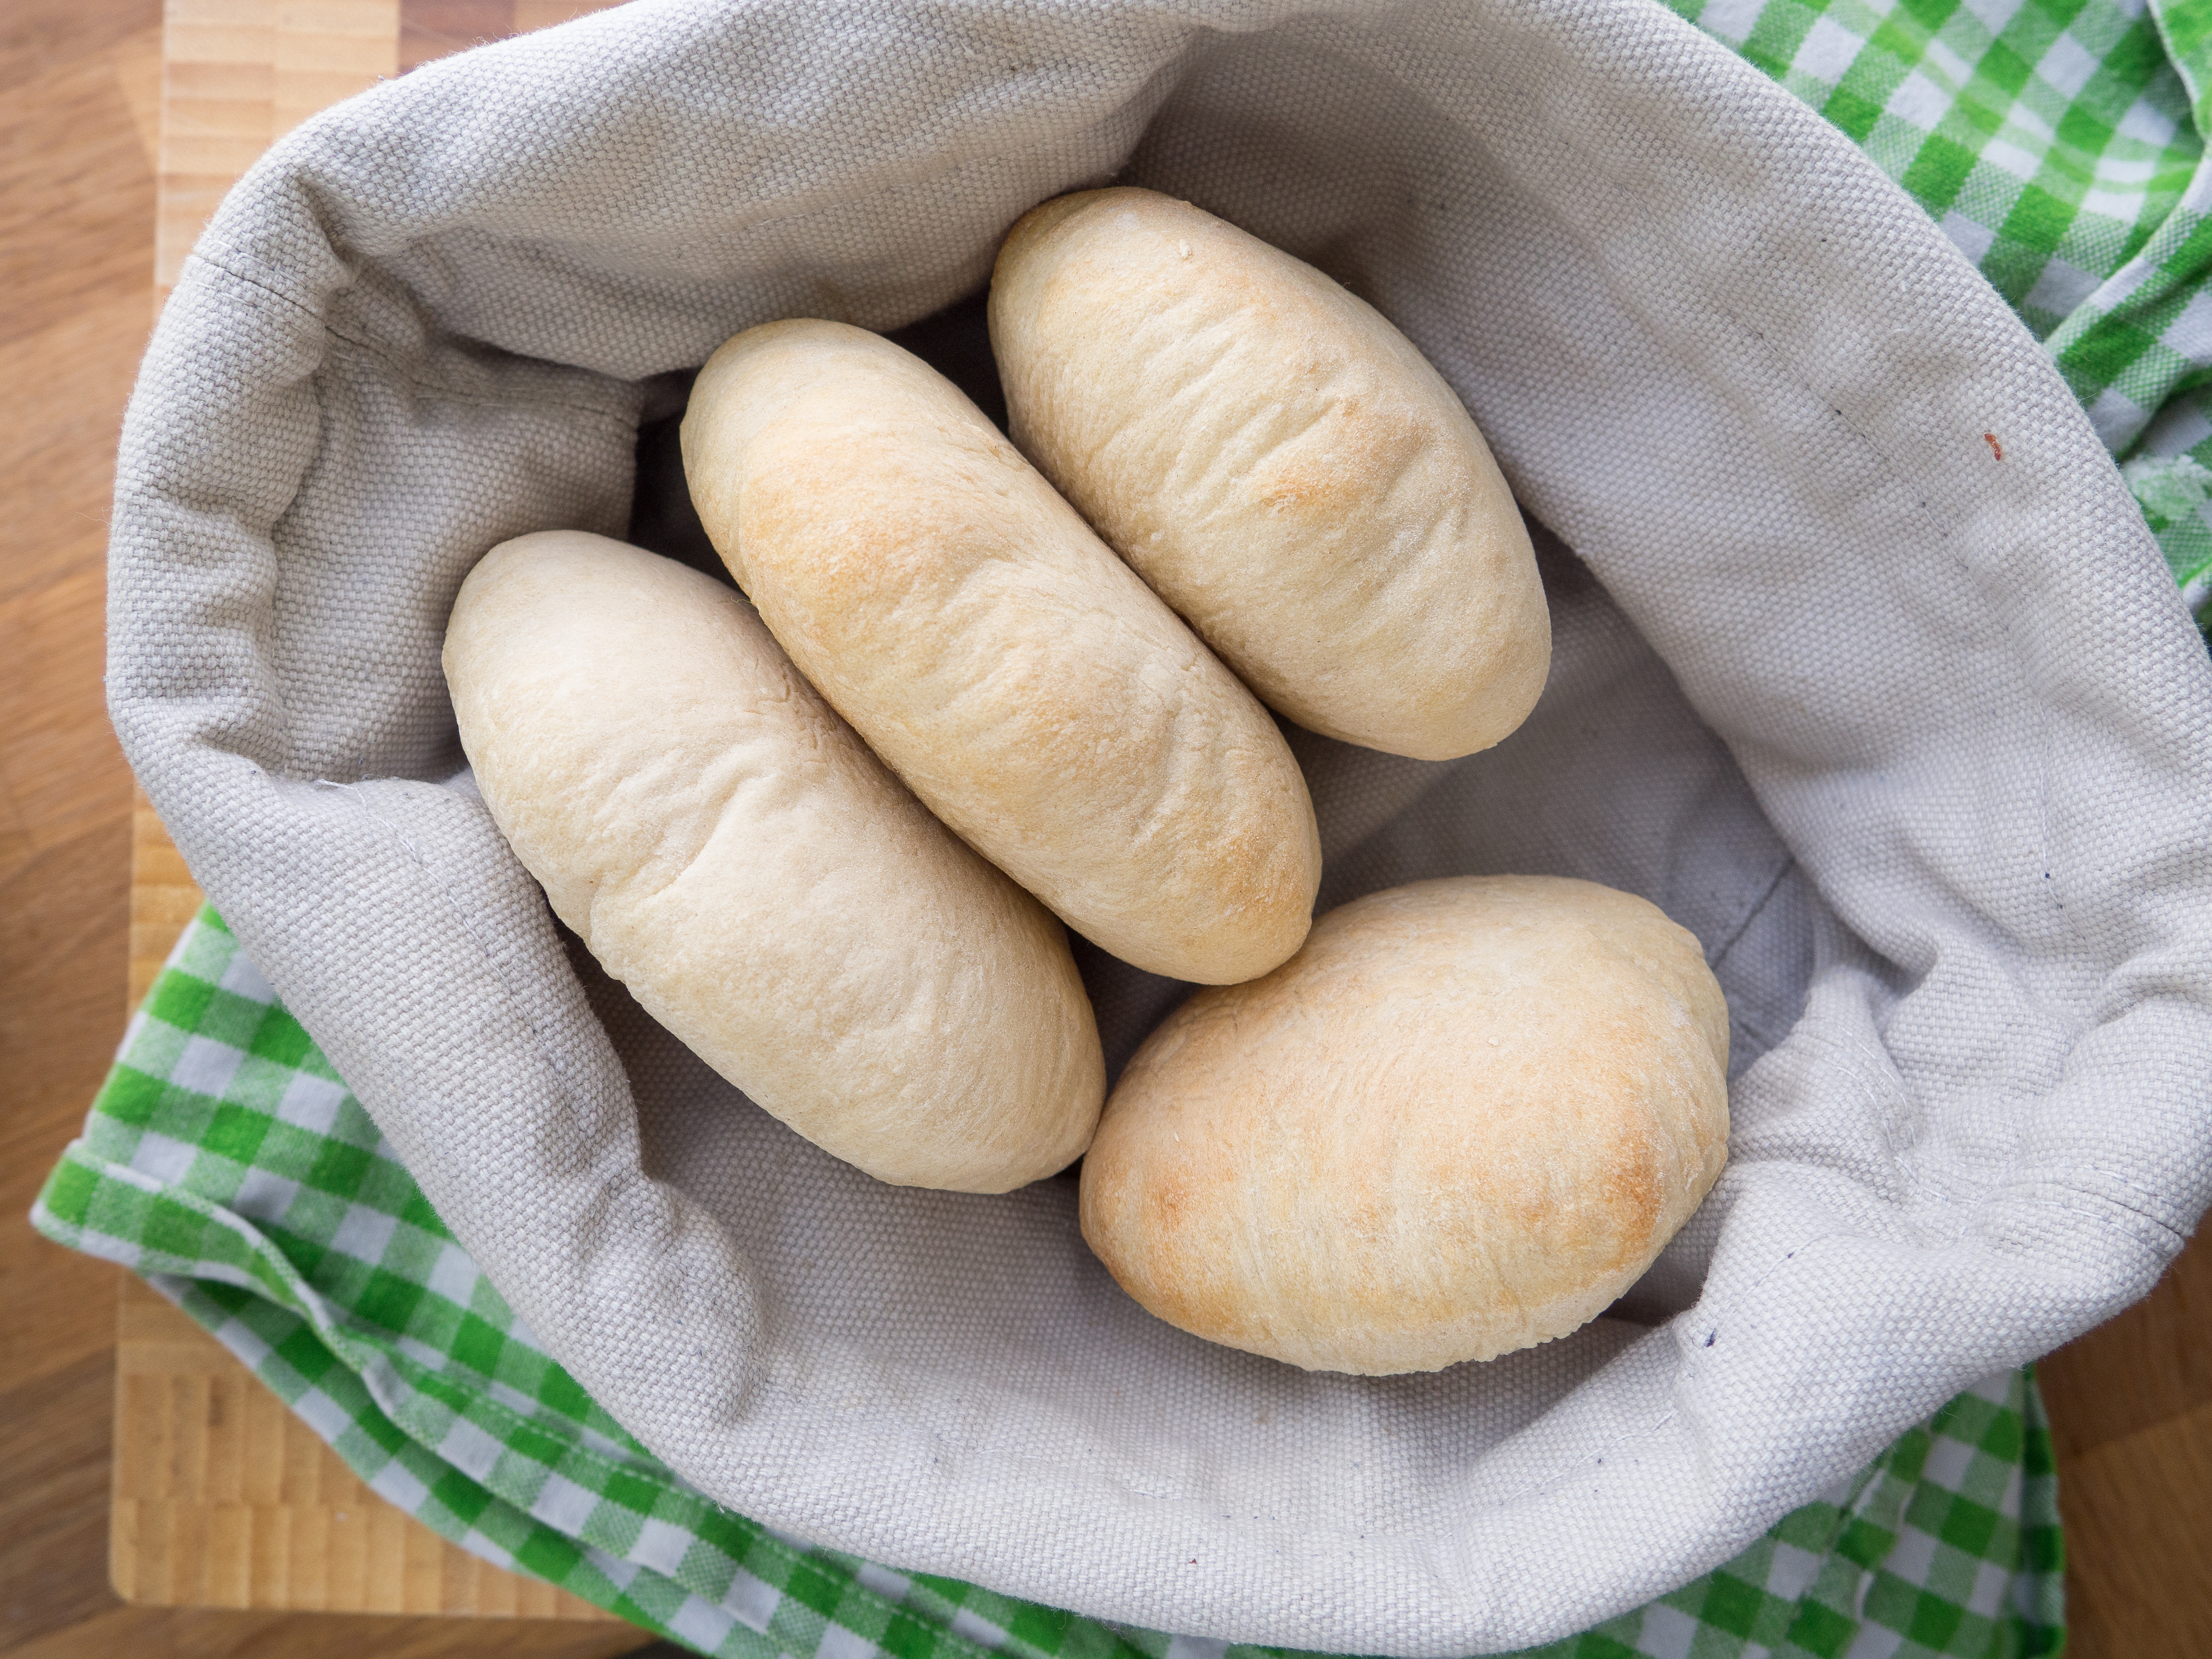
For some time I have been experimenting with making homemade pita bread and I have to say that I have been back and forth several times before I ended up with the best recipe.
What I like the most about pita bread is that you can stuff it with the exact stuffing you prefer.
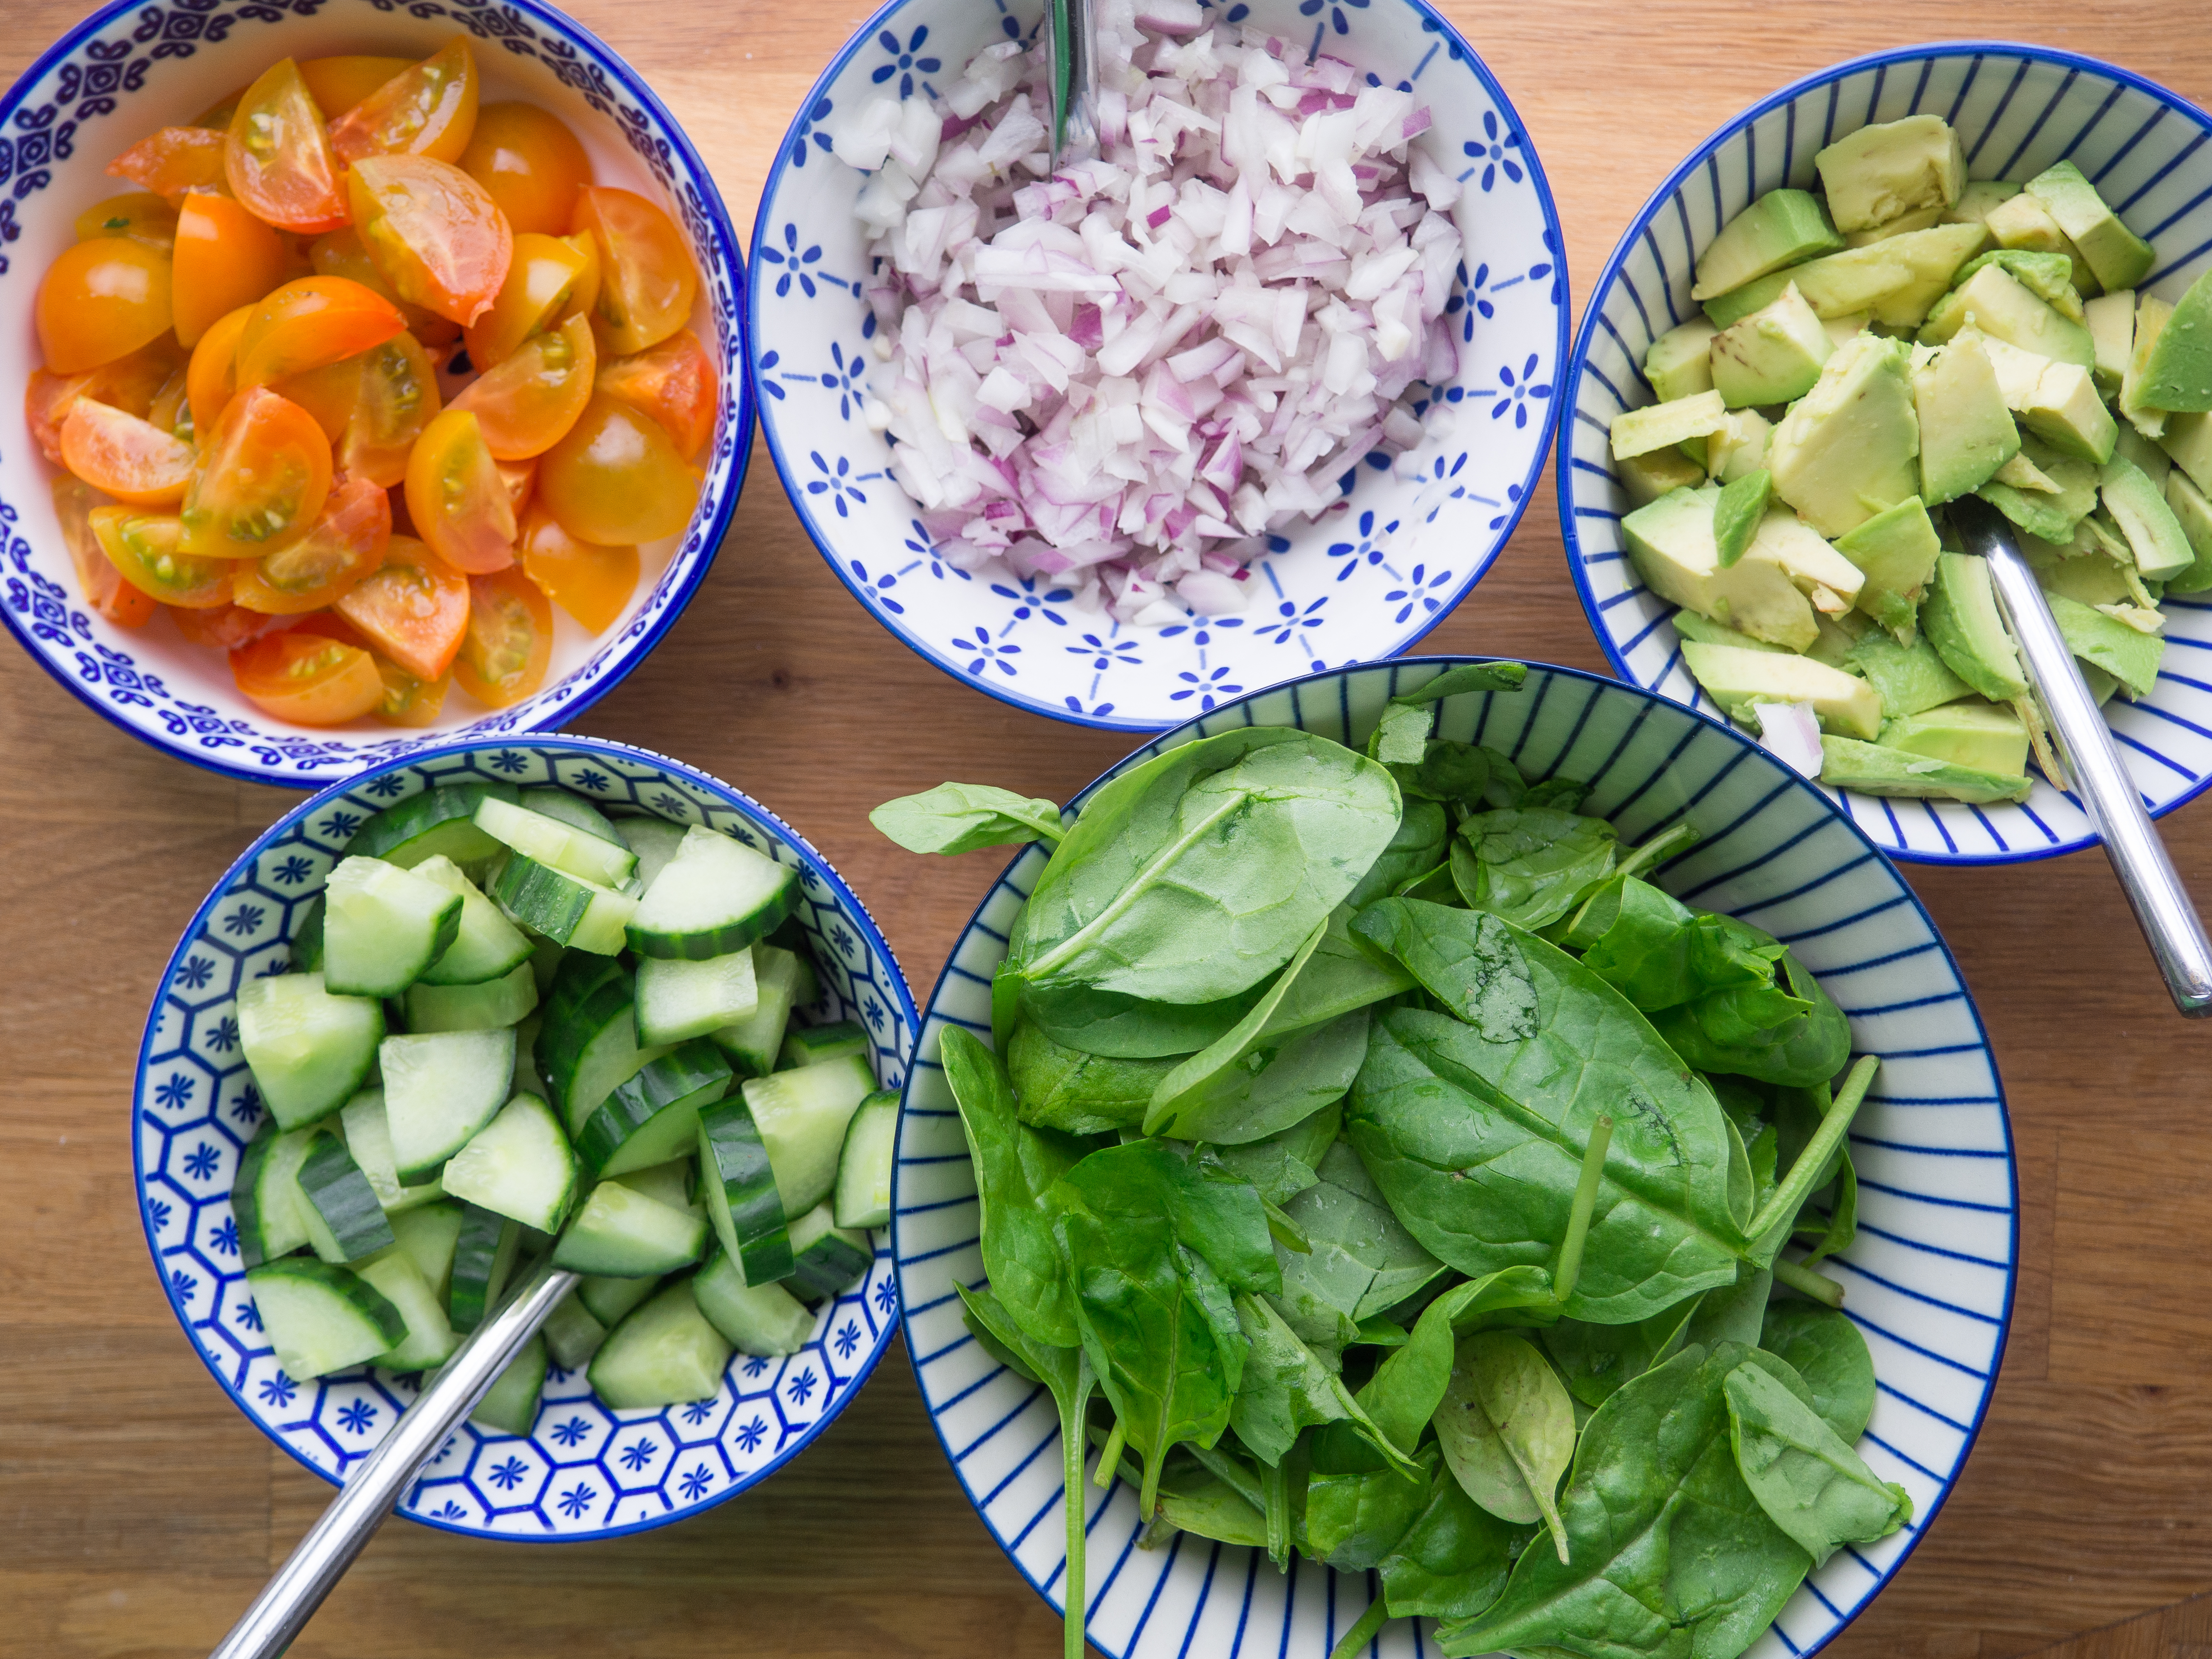
My personal favorite is some pulled turkey, Avocado, corn, fresh spinach leaves, diced cucumber and of course a delicious homemade dressing. Of course, it is completely up to you what kind of filling you prefer. You might even have a traditional ingredient that you always uses. As always, I would be really happy to hear from you in the comment section below if you can suggest something great.
The best homemade pita bread
The recipe I have listed below is the result of several tries. The actual ingredients list have been mainly untouched, as it is just a standard all-purpose flour bread recipe. However, it is the process of baking the pita bread so that they rise up and become nice and airy that have caused me a little trouble. But now I have cracked the code and I would have to say that it is actually quite easy once you learn a couple of tips and tricks.
See also: Recipe for the BEST homemade Taco bread
Below I have listed the most important things that you have to consider when making your homemade pita bread. Following these tricks, you should be able to make the best and airy homemade pita bread. Always remember that sometimes it takes a couple of tries before you have the feeling. However, once you got it I promise you it is a great feeling watching the pita bread rise in the oven.
Tip 1
It is important that the temperature in the oven is very hot and that the entire oven is heated up before baking the pita. Heat up the oven to 250 C (480 F) and let it stay at this temperature for minimum 5-10 minutes before baking the pita breads. This will make the entire oven heat up.
Tip 2
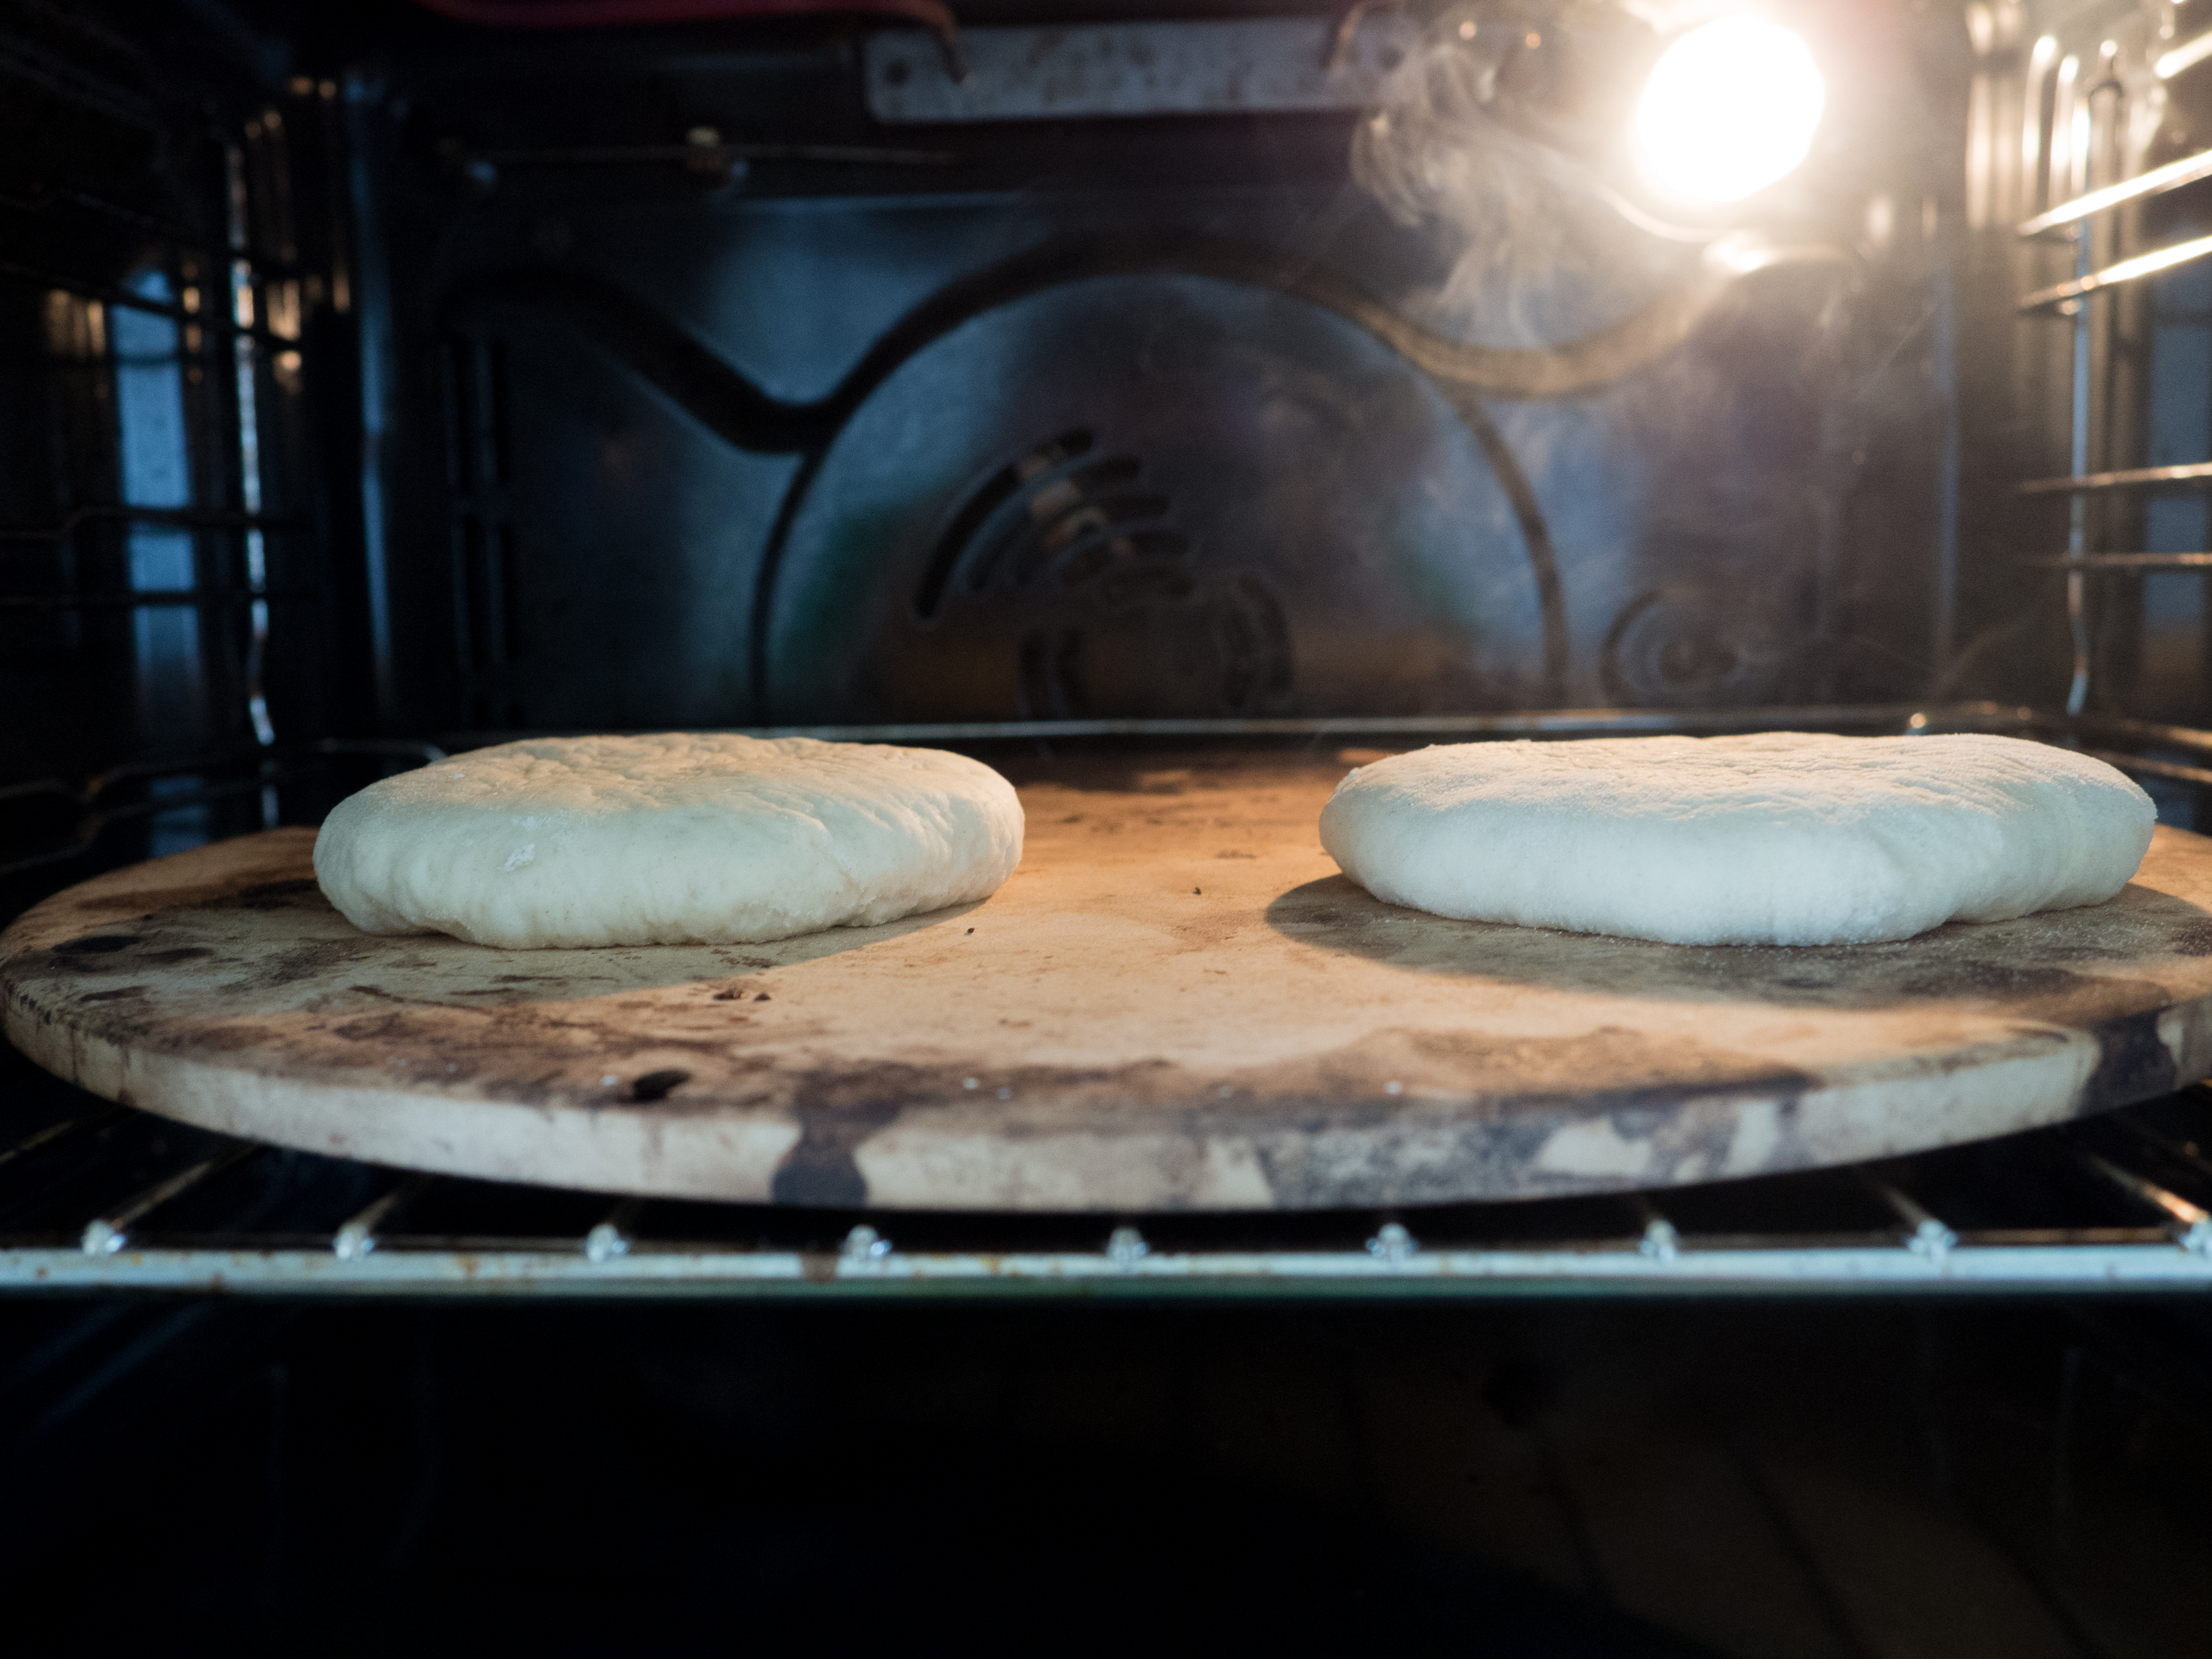
When baking the bread I always uses my circular pizza stone. The great thing about a pizza stone is that once it is heated up it contains a great amount of thermal energy. This way it will not cool down just by opening the oven. However, if you do not own a pizza stone you can also use a regular oven plate. In this case just remember to only bake two pita breads at the time so that you make sure each bread is baked at a high temperature.
Tip 3
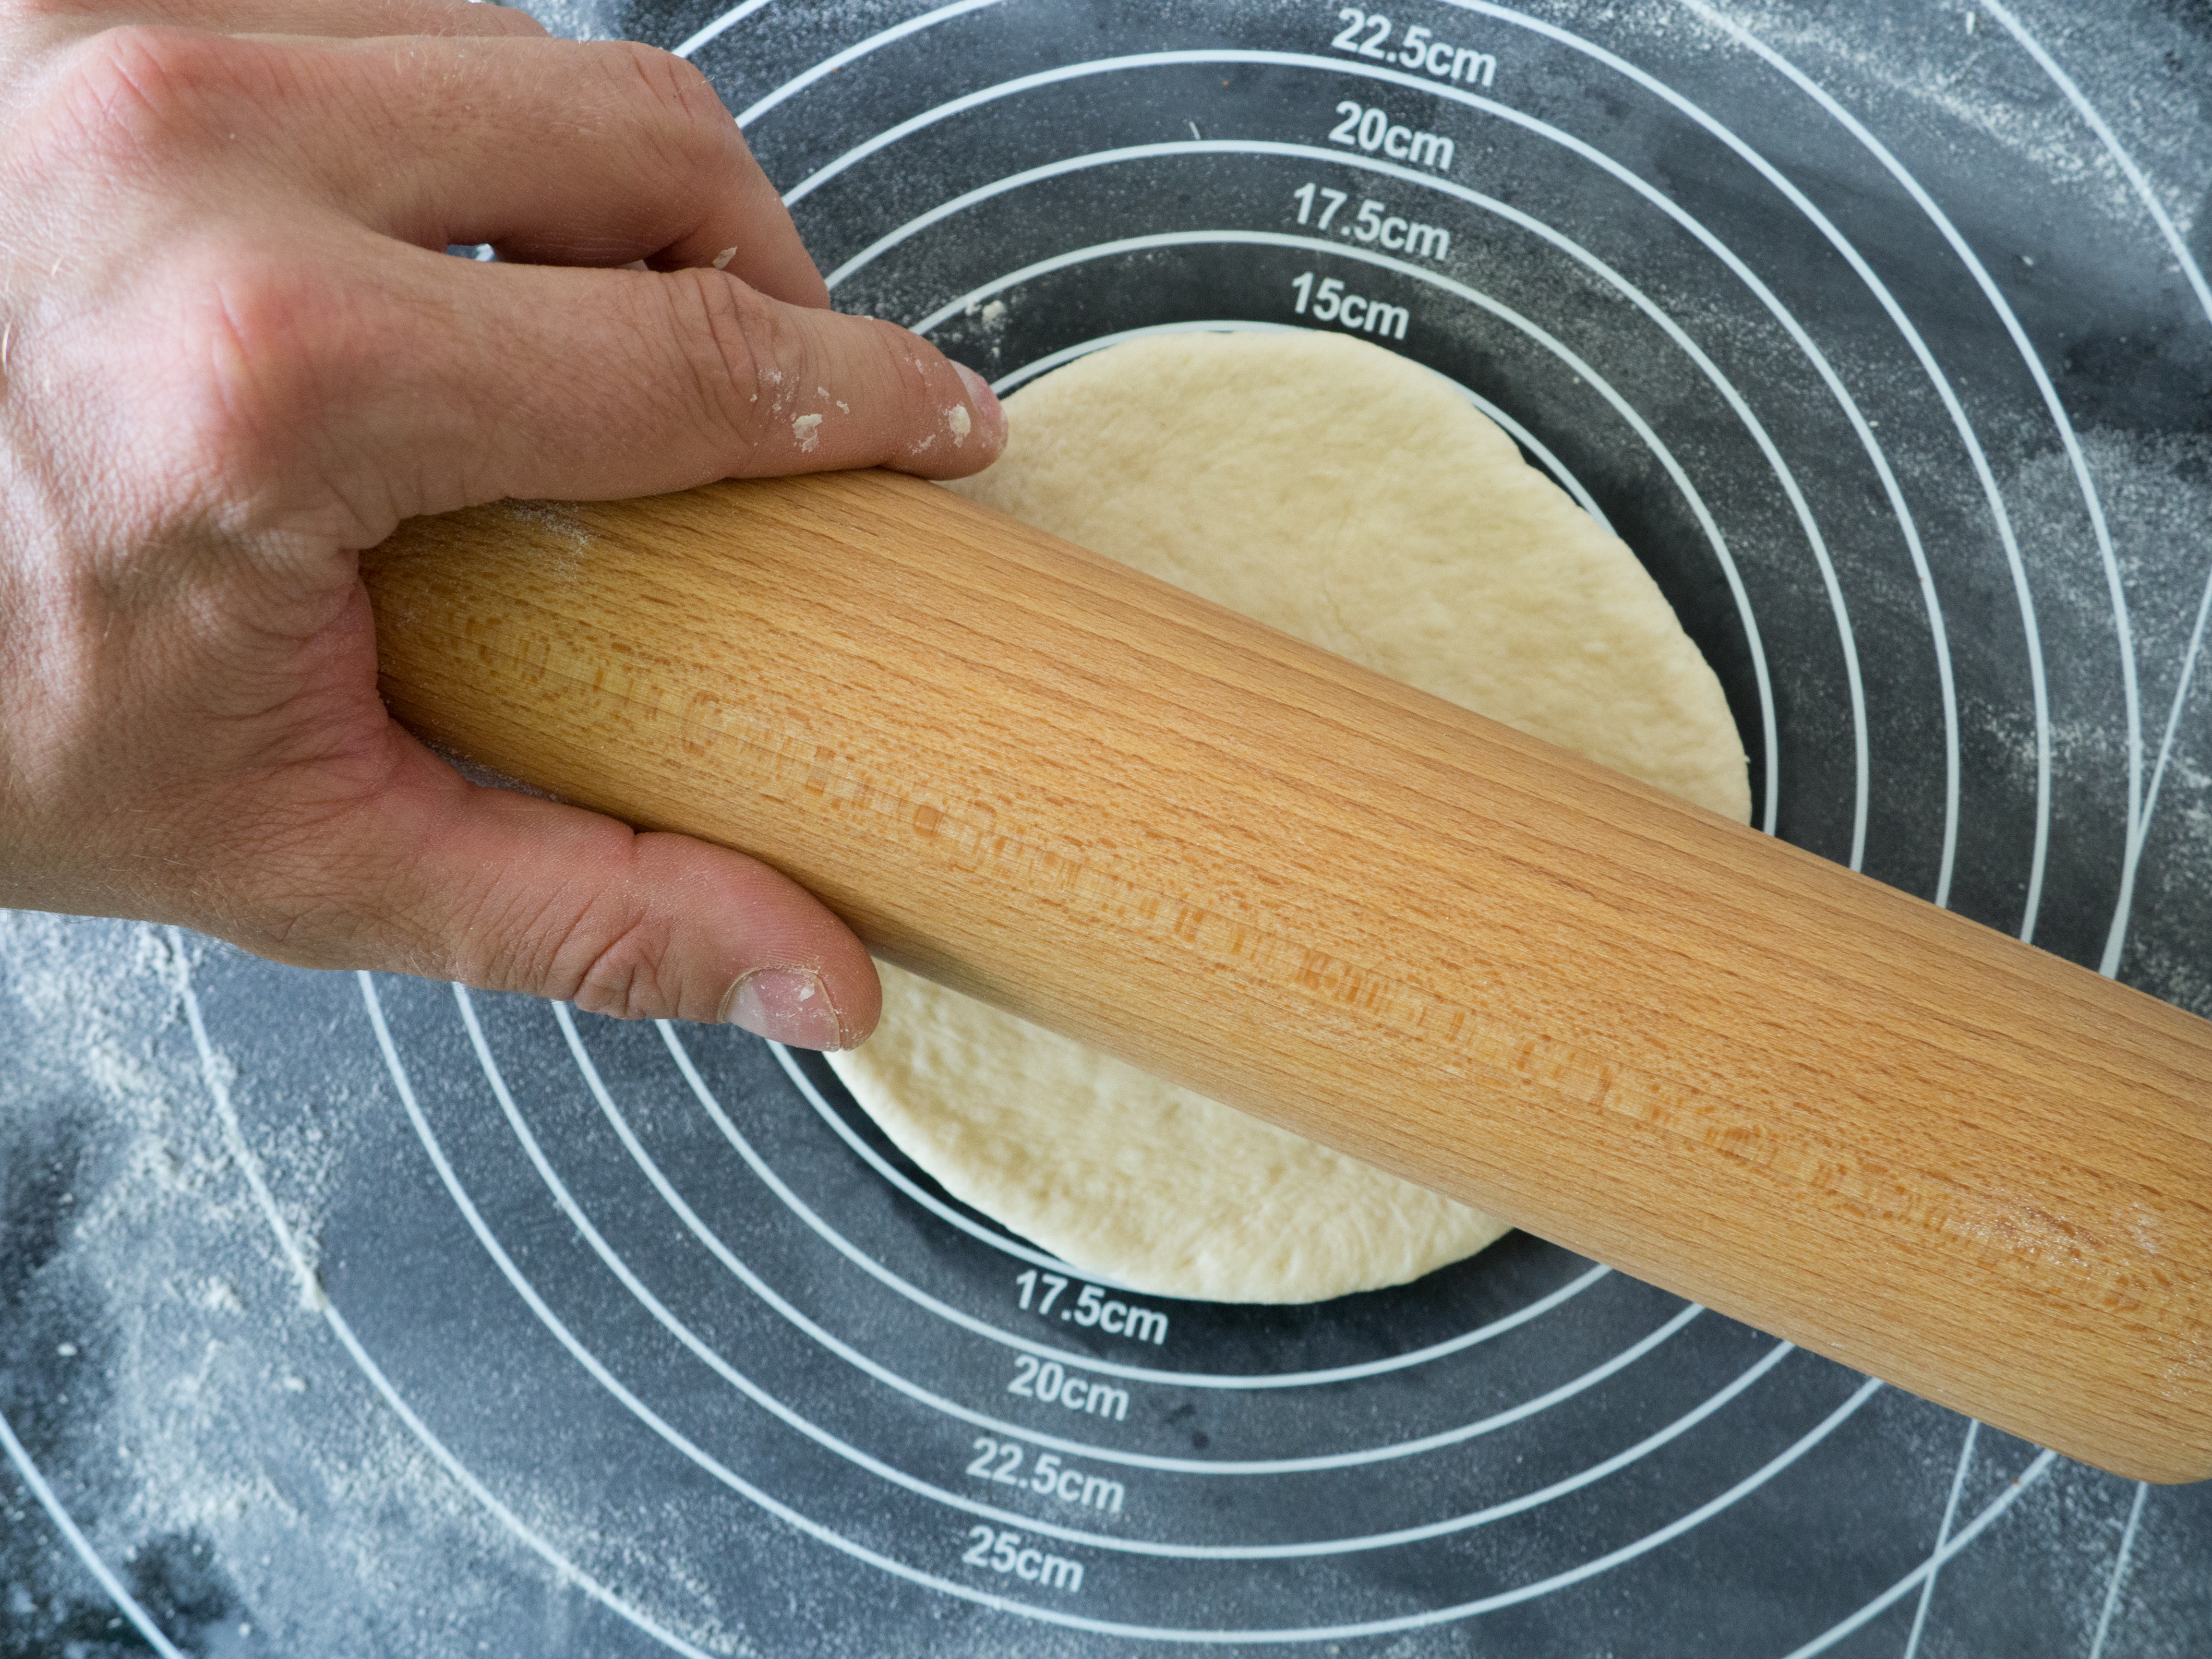
When flattening the bread into 1/2 cm (1/5 inch) thick pita it is important that the bread is evenly flat and that it does not have any larger air pockets trapped inside the bread. If the bread is not evenly flat or has air inside, they will rise unevenly when you are baking them. I typically use the backside of a plate to flatten the bread and then making the final touch using a rolling pin.
Ingredients
- 25 g fresh yeast (about 1 tbsp instant yeast)
- 3 dl lukewarm water ( 1 1/4 cups)
- 1 tbsp olive oil
- 1 tsp sugar
- 425 g all-purpose flour (15 oz)
- 1 tsp salt
Instructions
- In a large bowl, dissolve the fresh yeast in the lukewarm water.
- Add the sugar and oil. Stir to mix.
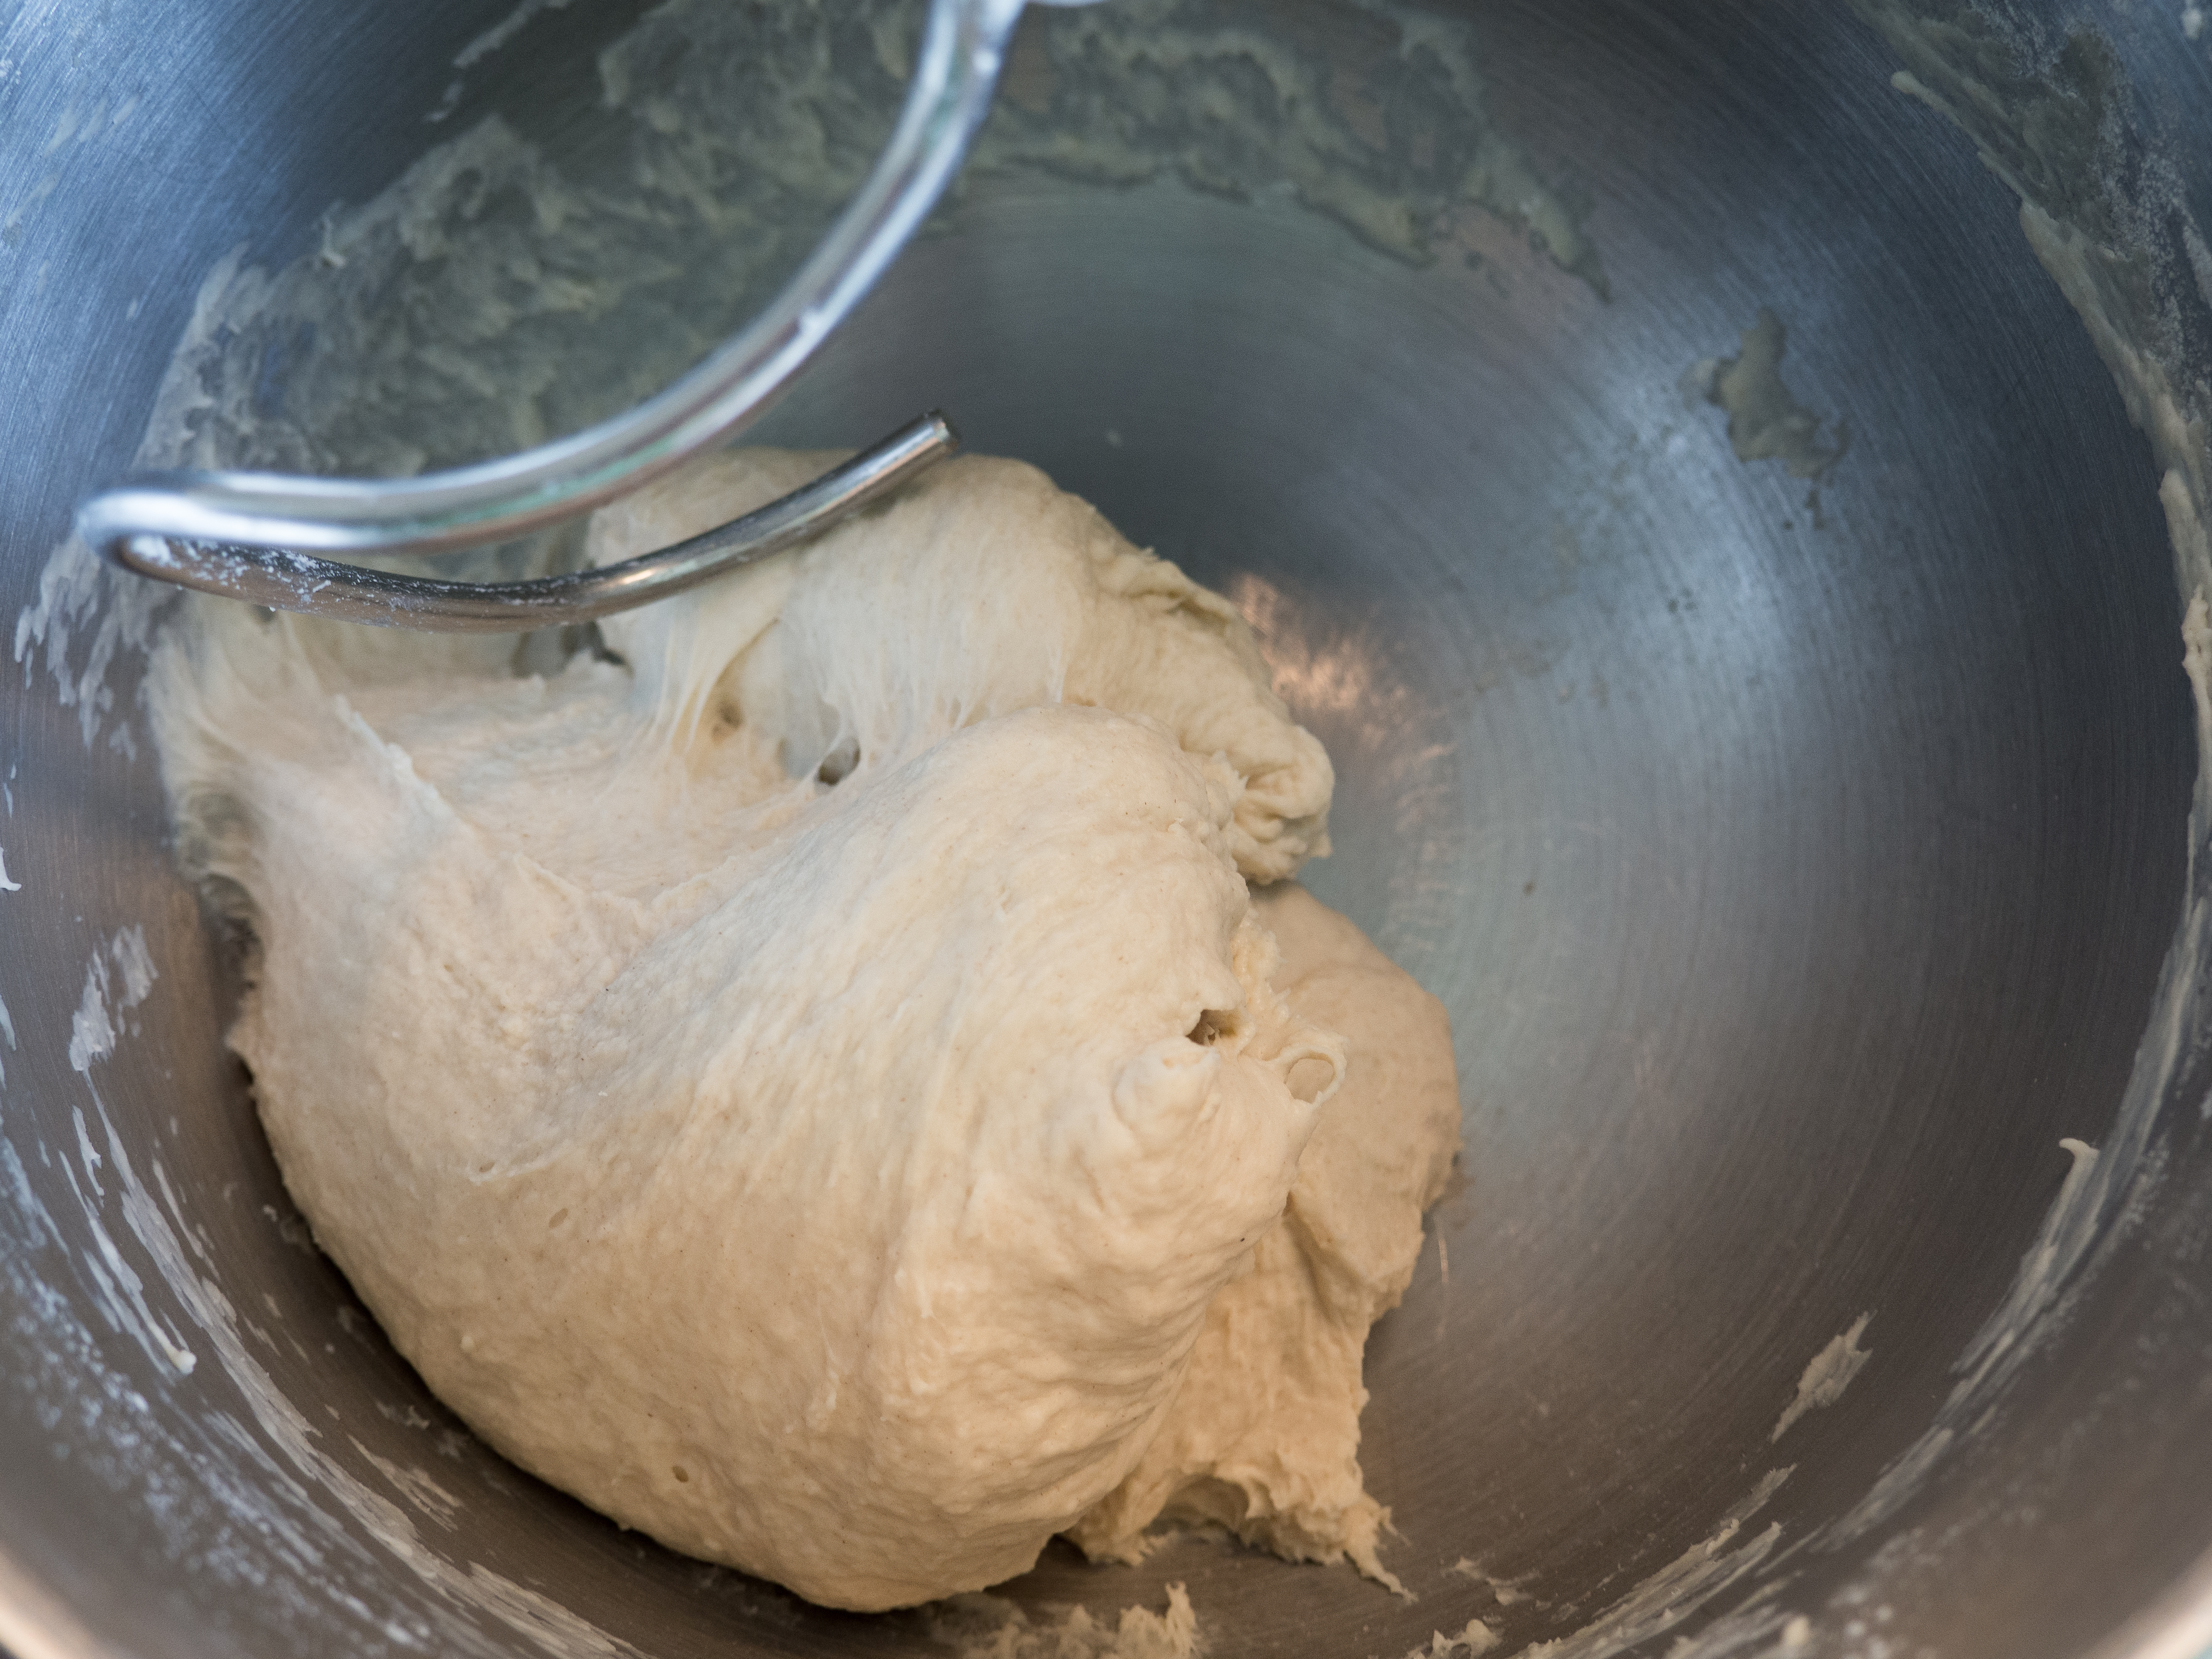
- Add the flour and the salt. Knead everything into a nice and smooth dough. This kneading time takes about 5-10 minutes. You can with advantage use a stand mixer.
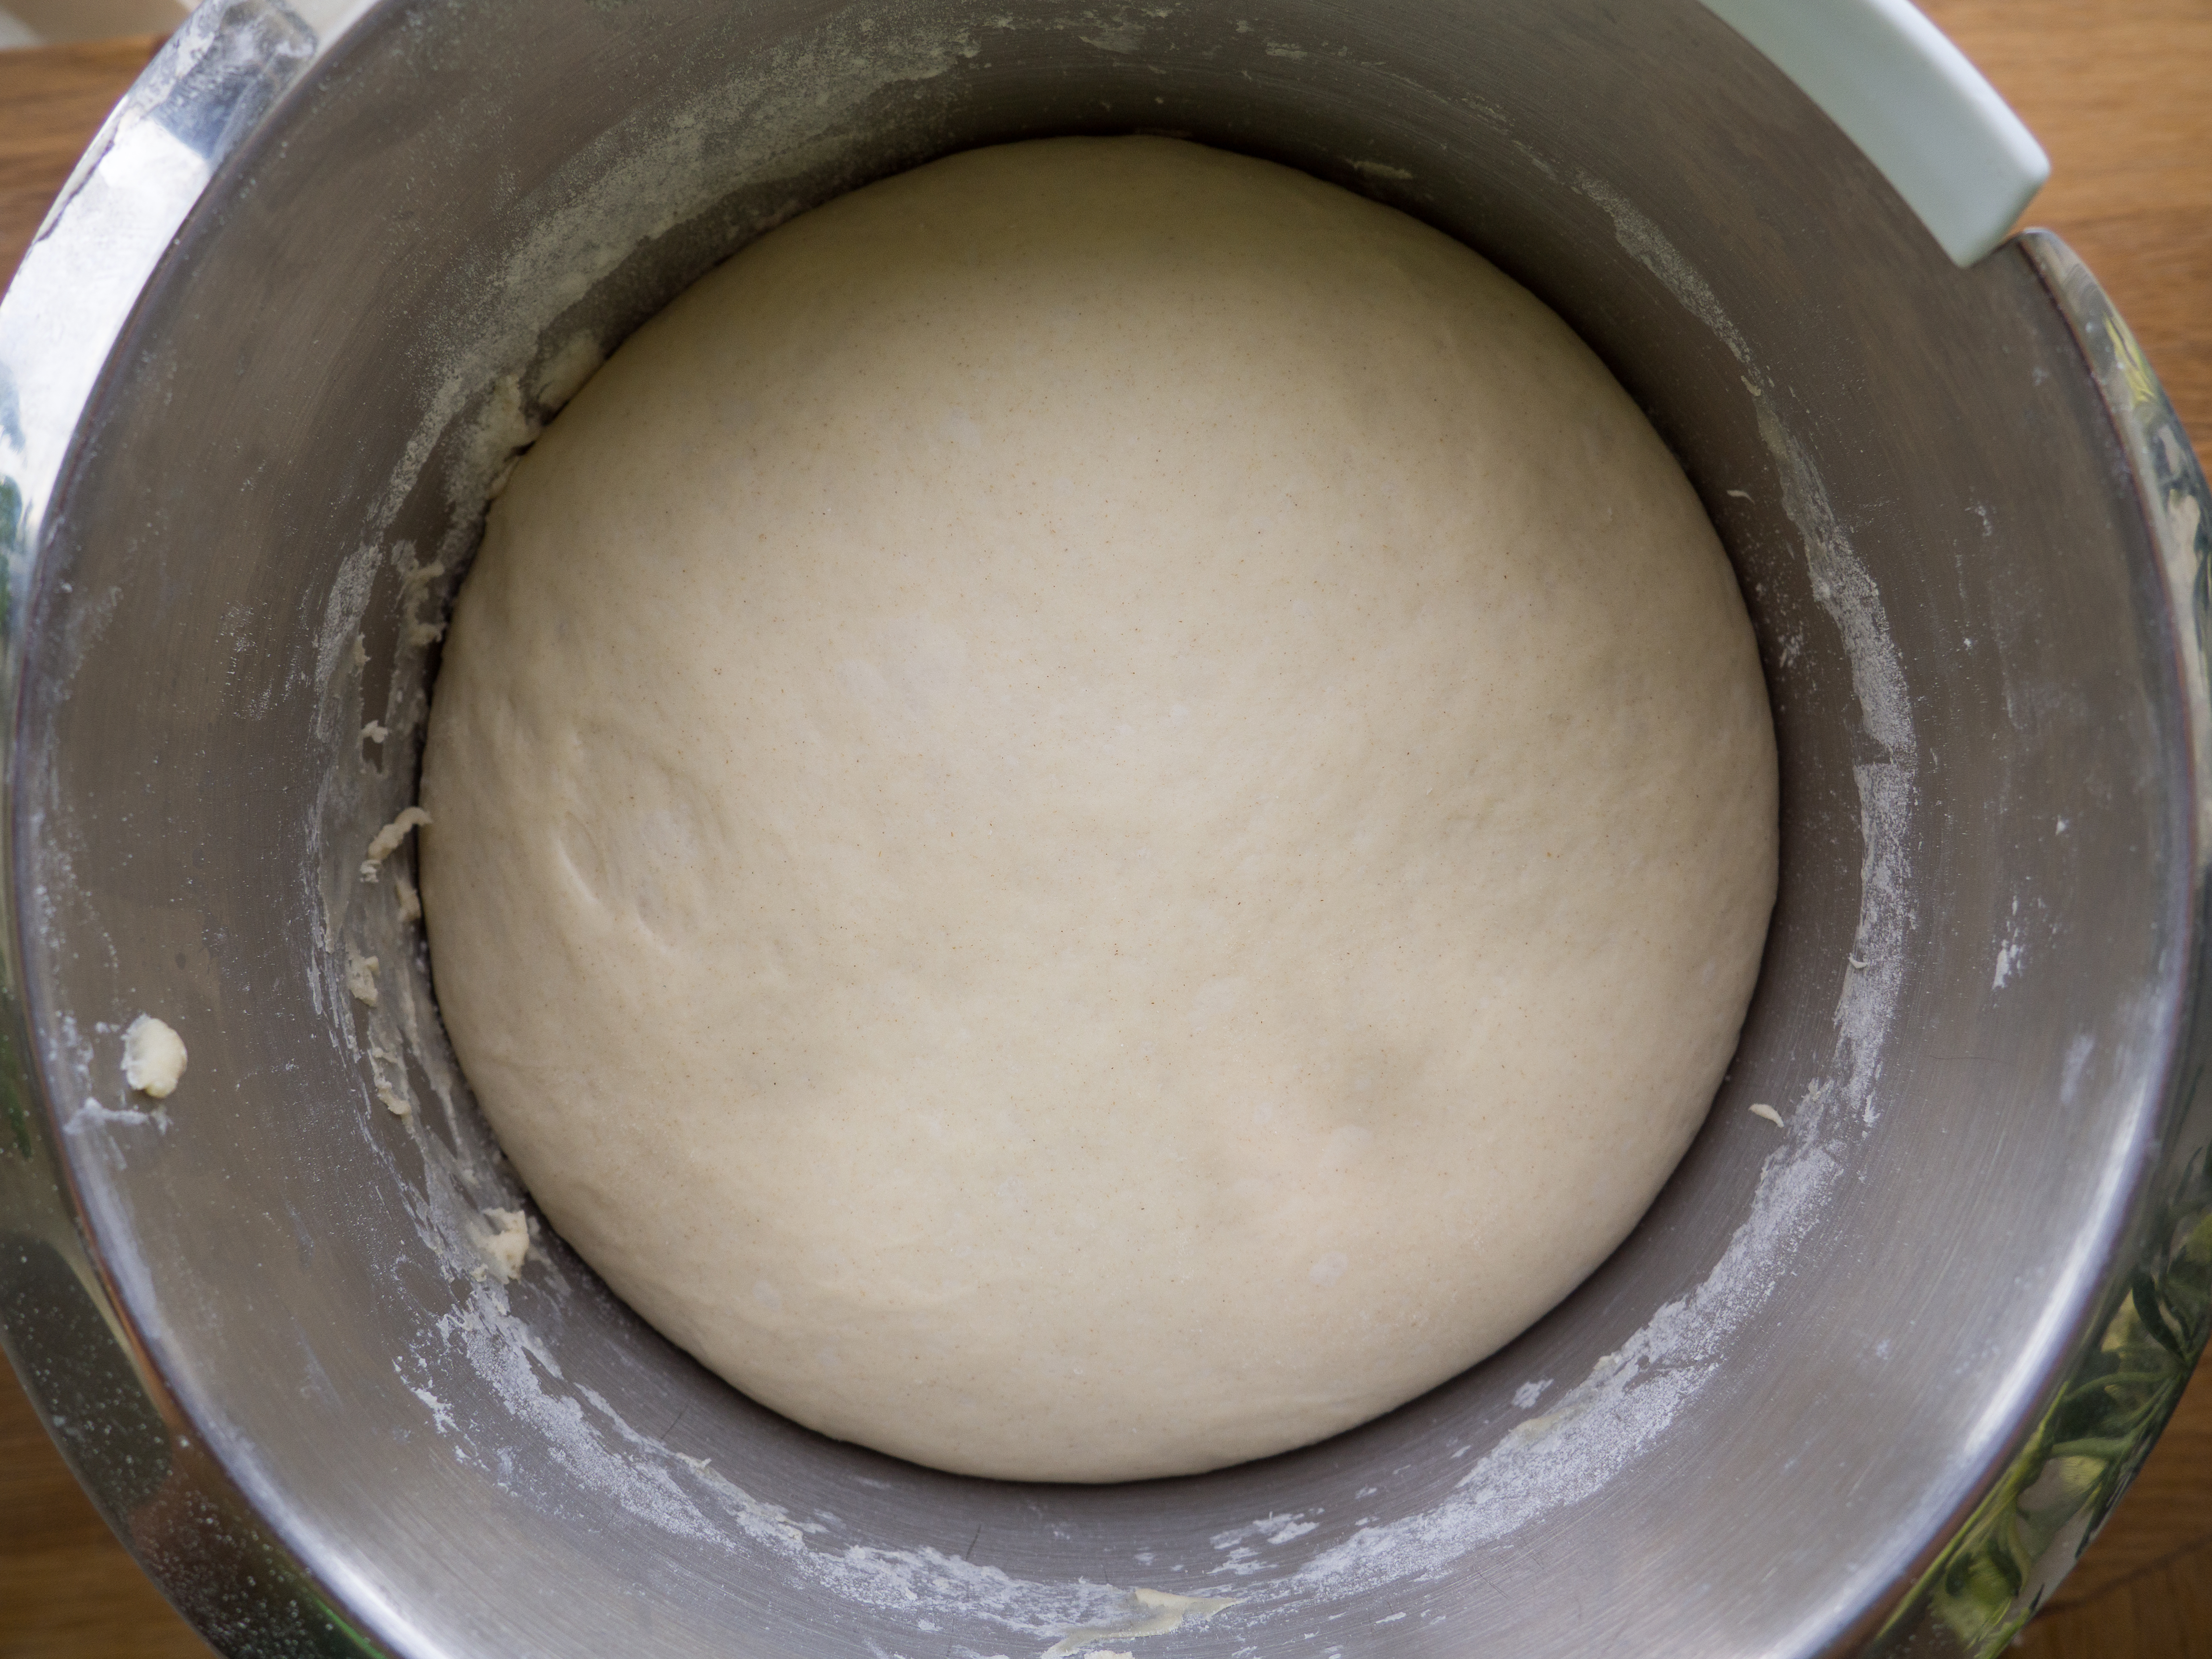
- Cover the bowl with a clean dishtowel and set it aside for about 40 minutes.
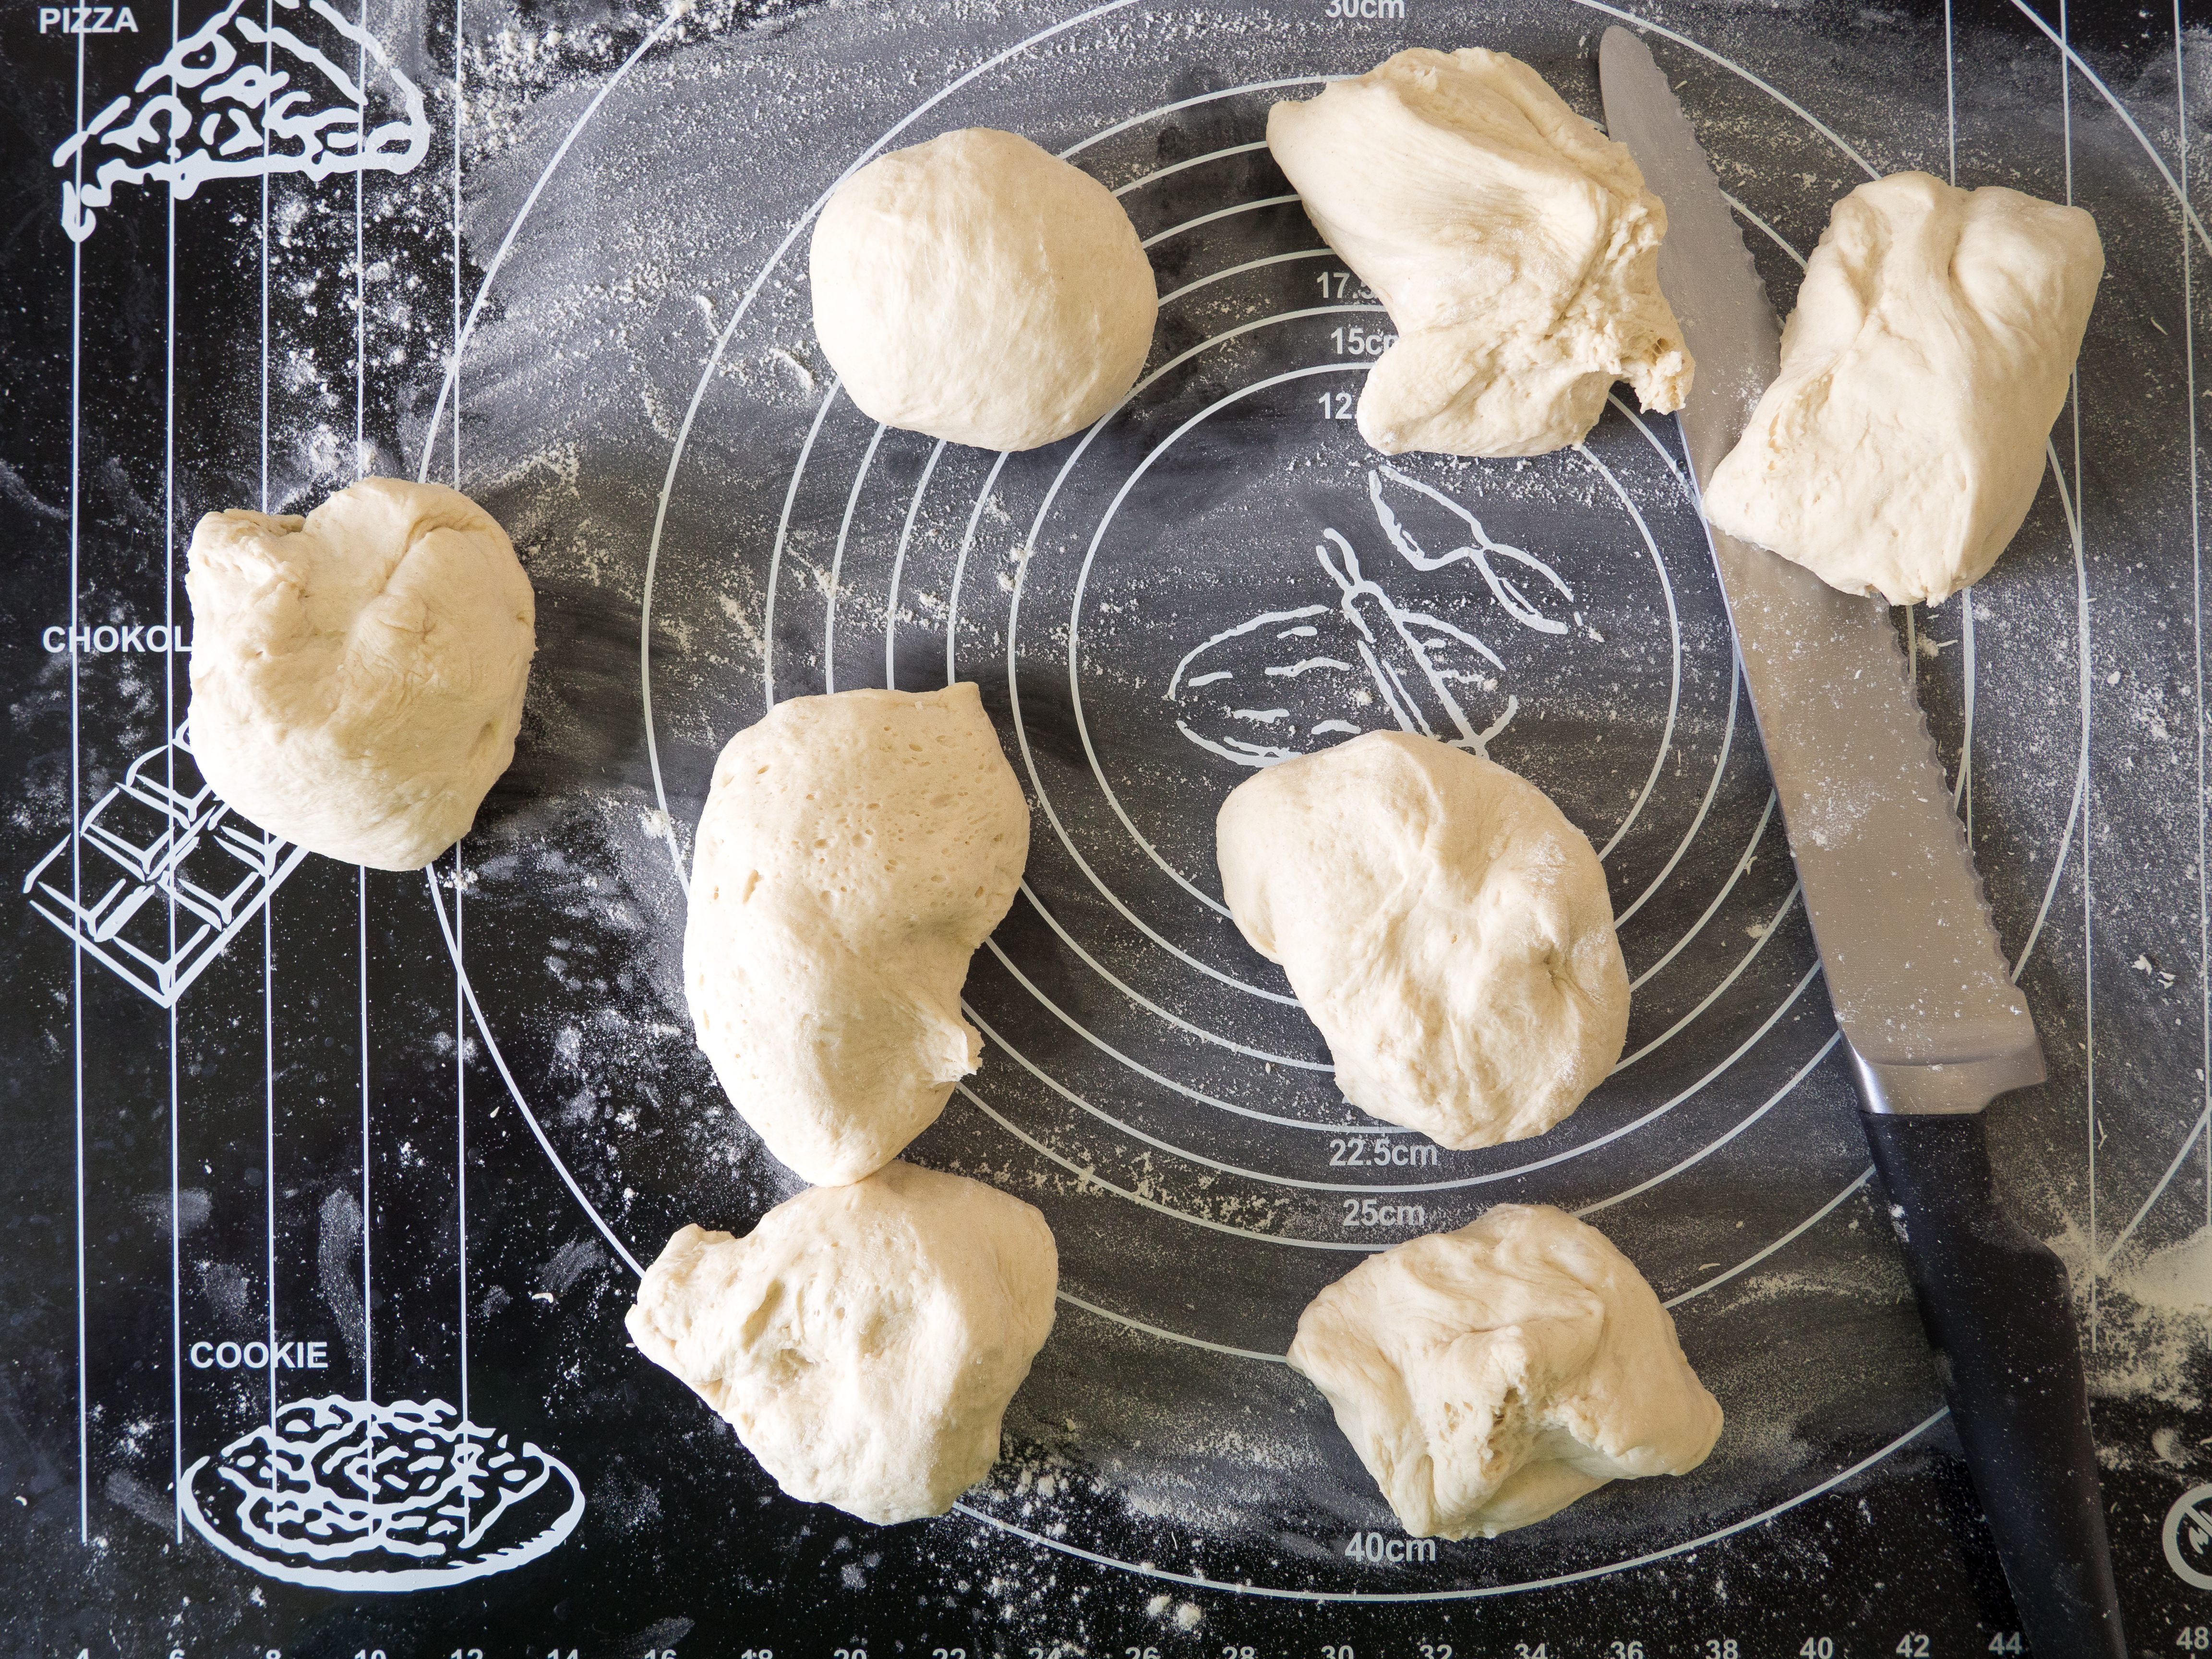
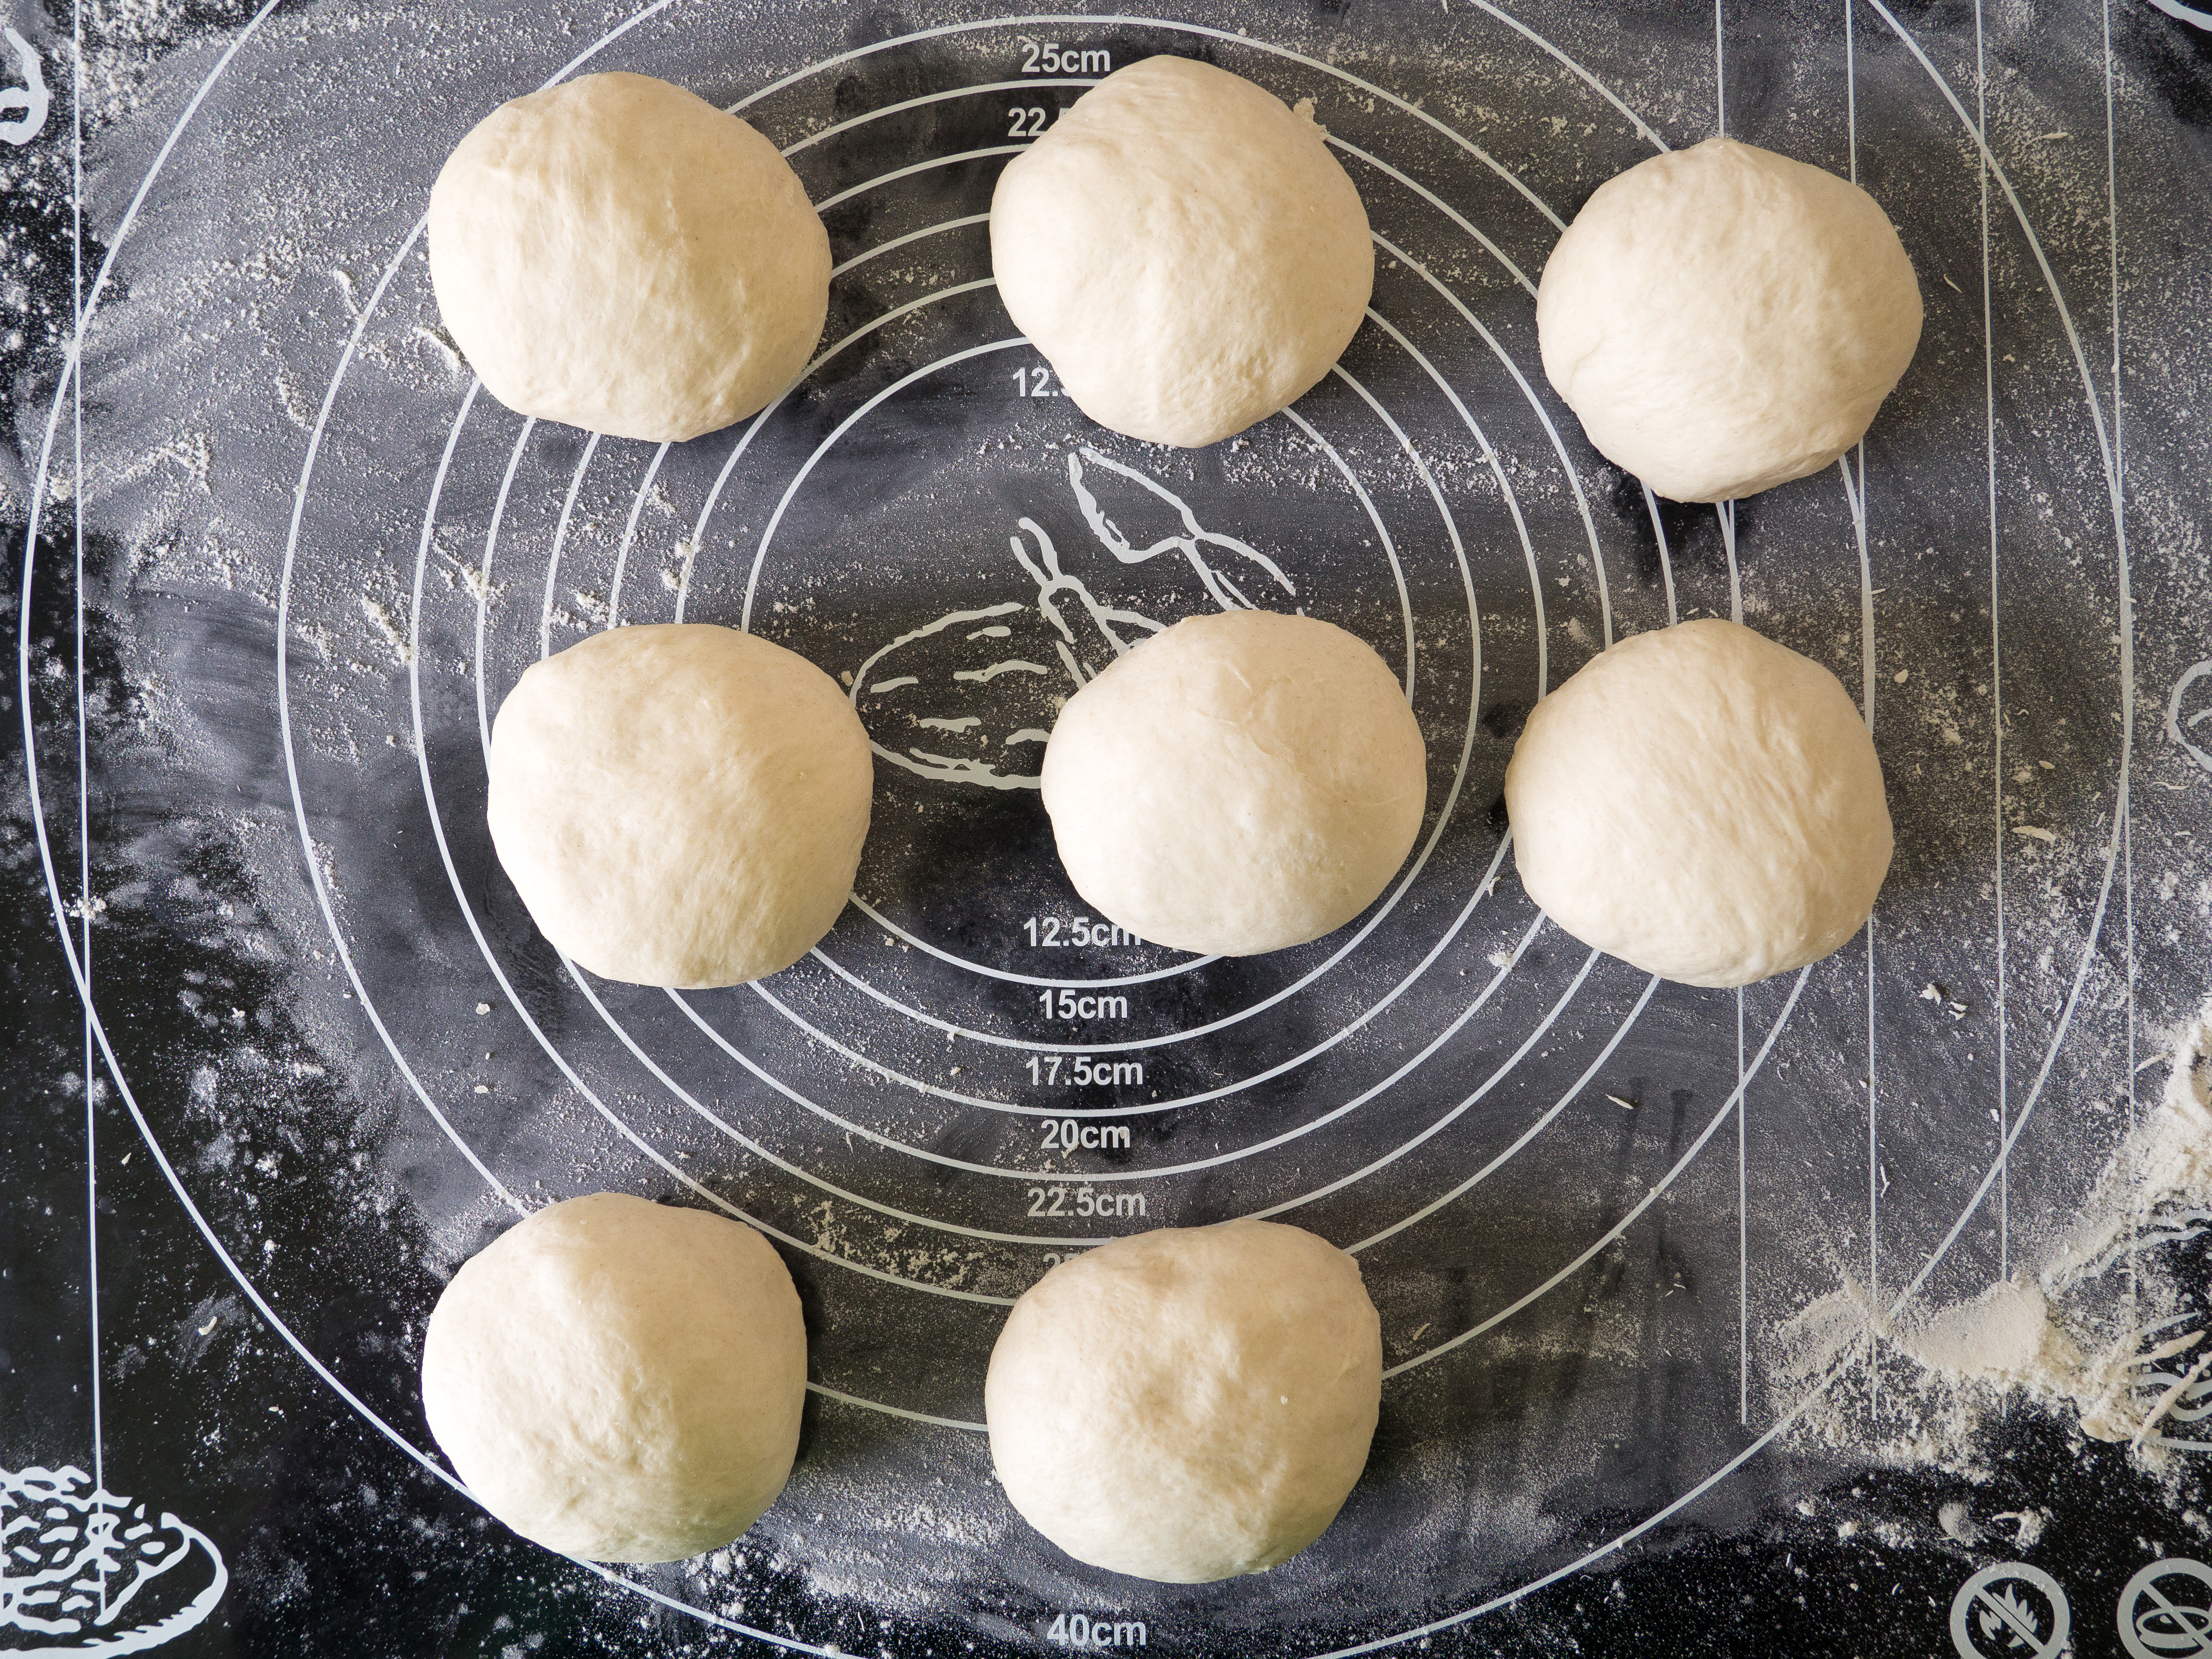
- Divide the dough into 8 pieces and roll them into smooth balls.
- Let the balls rise for about 10 minutes while the oven is preheating up to 250 C (480 F). If you have a pizza stone also place this in the oven. Otherwise, a normal oven plate is sufficient.
- It is a good idea to bake the pita breads two-by-two. This way it is easier to keep the high temperature in oven. The high temperature is important.
- Use the back of a dish to flatten two balls evenly. The thickness should be about 1/2 cm (1/5 inch). It is important that the bread is evenly flat and does not have any obviously large air pocket trapped inside (from the rising of the bread). It is a good idea to finish off by gently rolling the bread using a rolling pin - to let the air out.
- Gently, transfer two pita breads onto the hot stone inside the oven. Make sure that the side of the bread, which faced your kitchen table while fattening it, is now facing upwards away from the hot stone. This way the moistest part of the bread is facing way the hot stone. This is a little trick to make sure the bread is puffing up nicely.
- If you do not have a baking stone, use a parchment paper covered oven plate. Just make sure it is very hot.
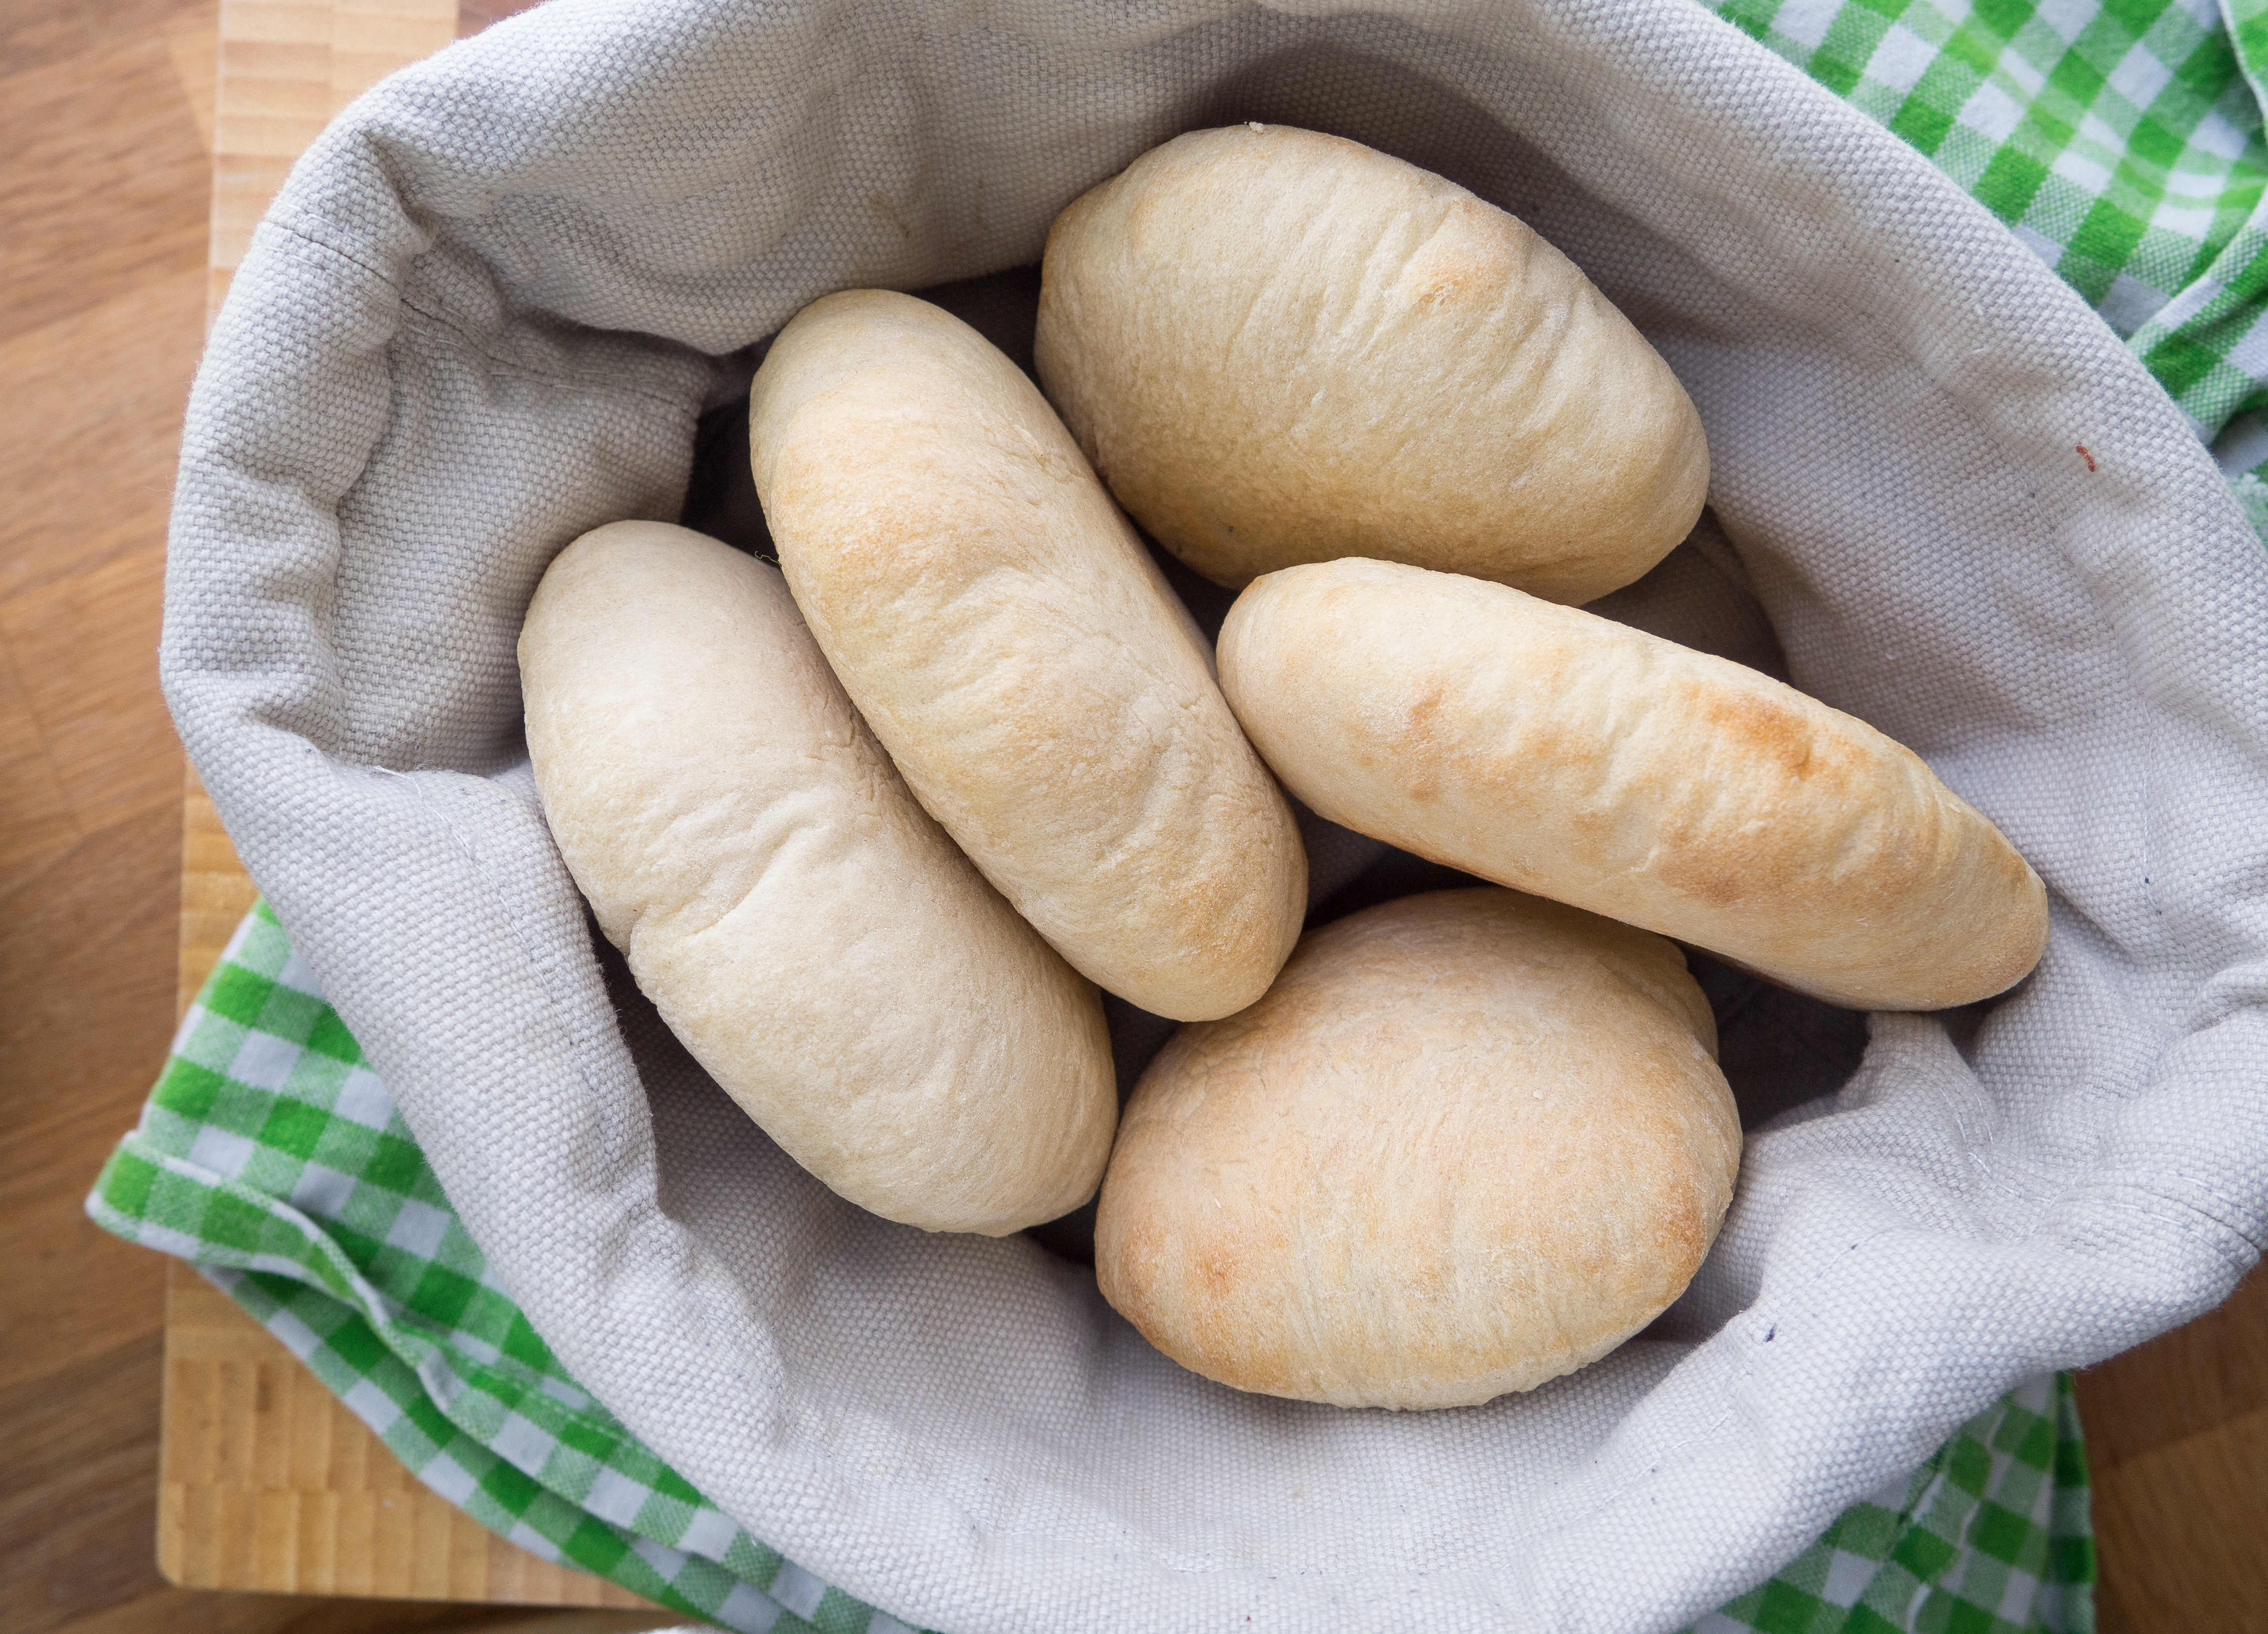
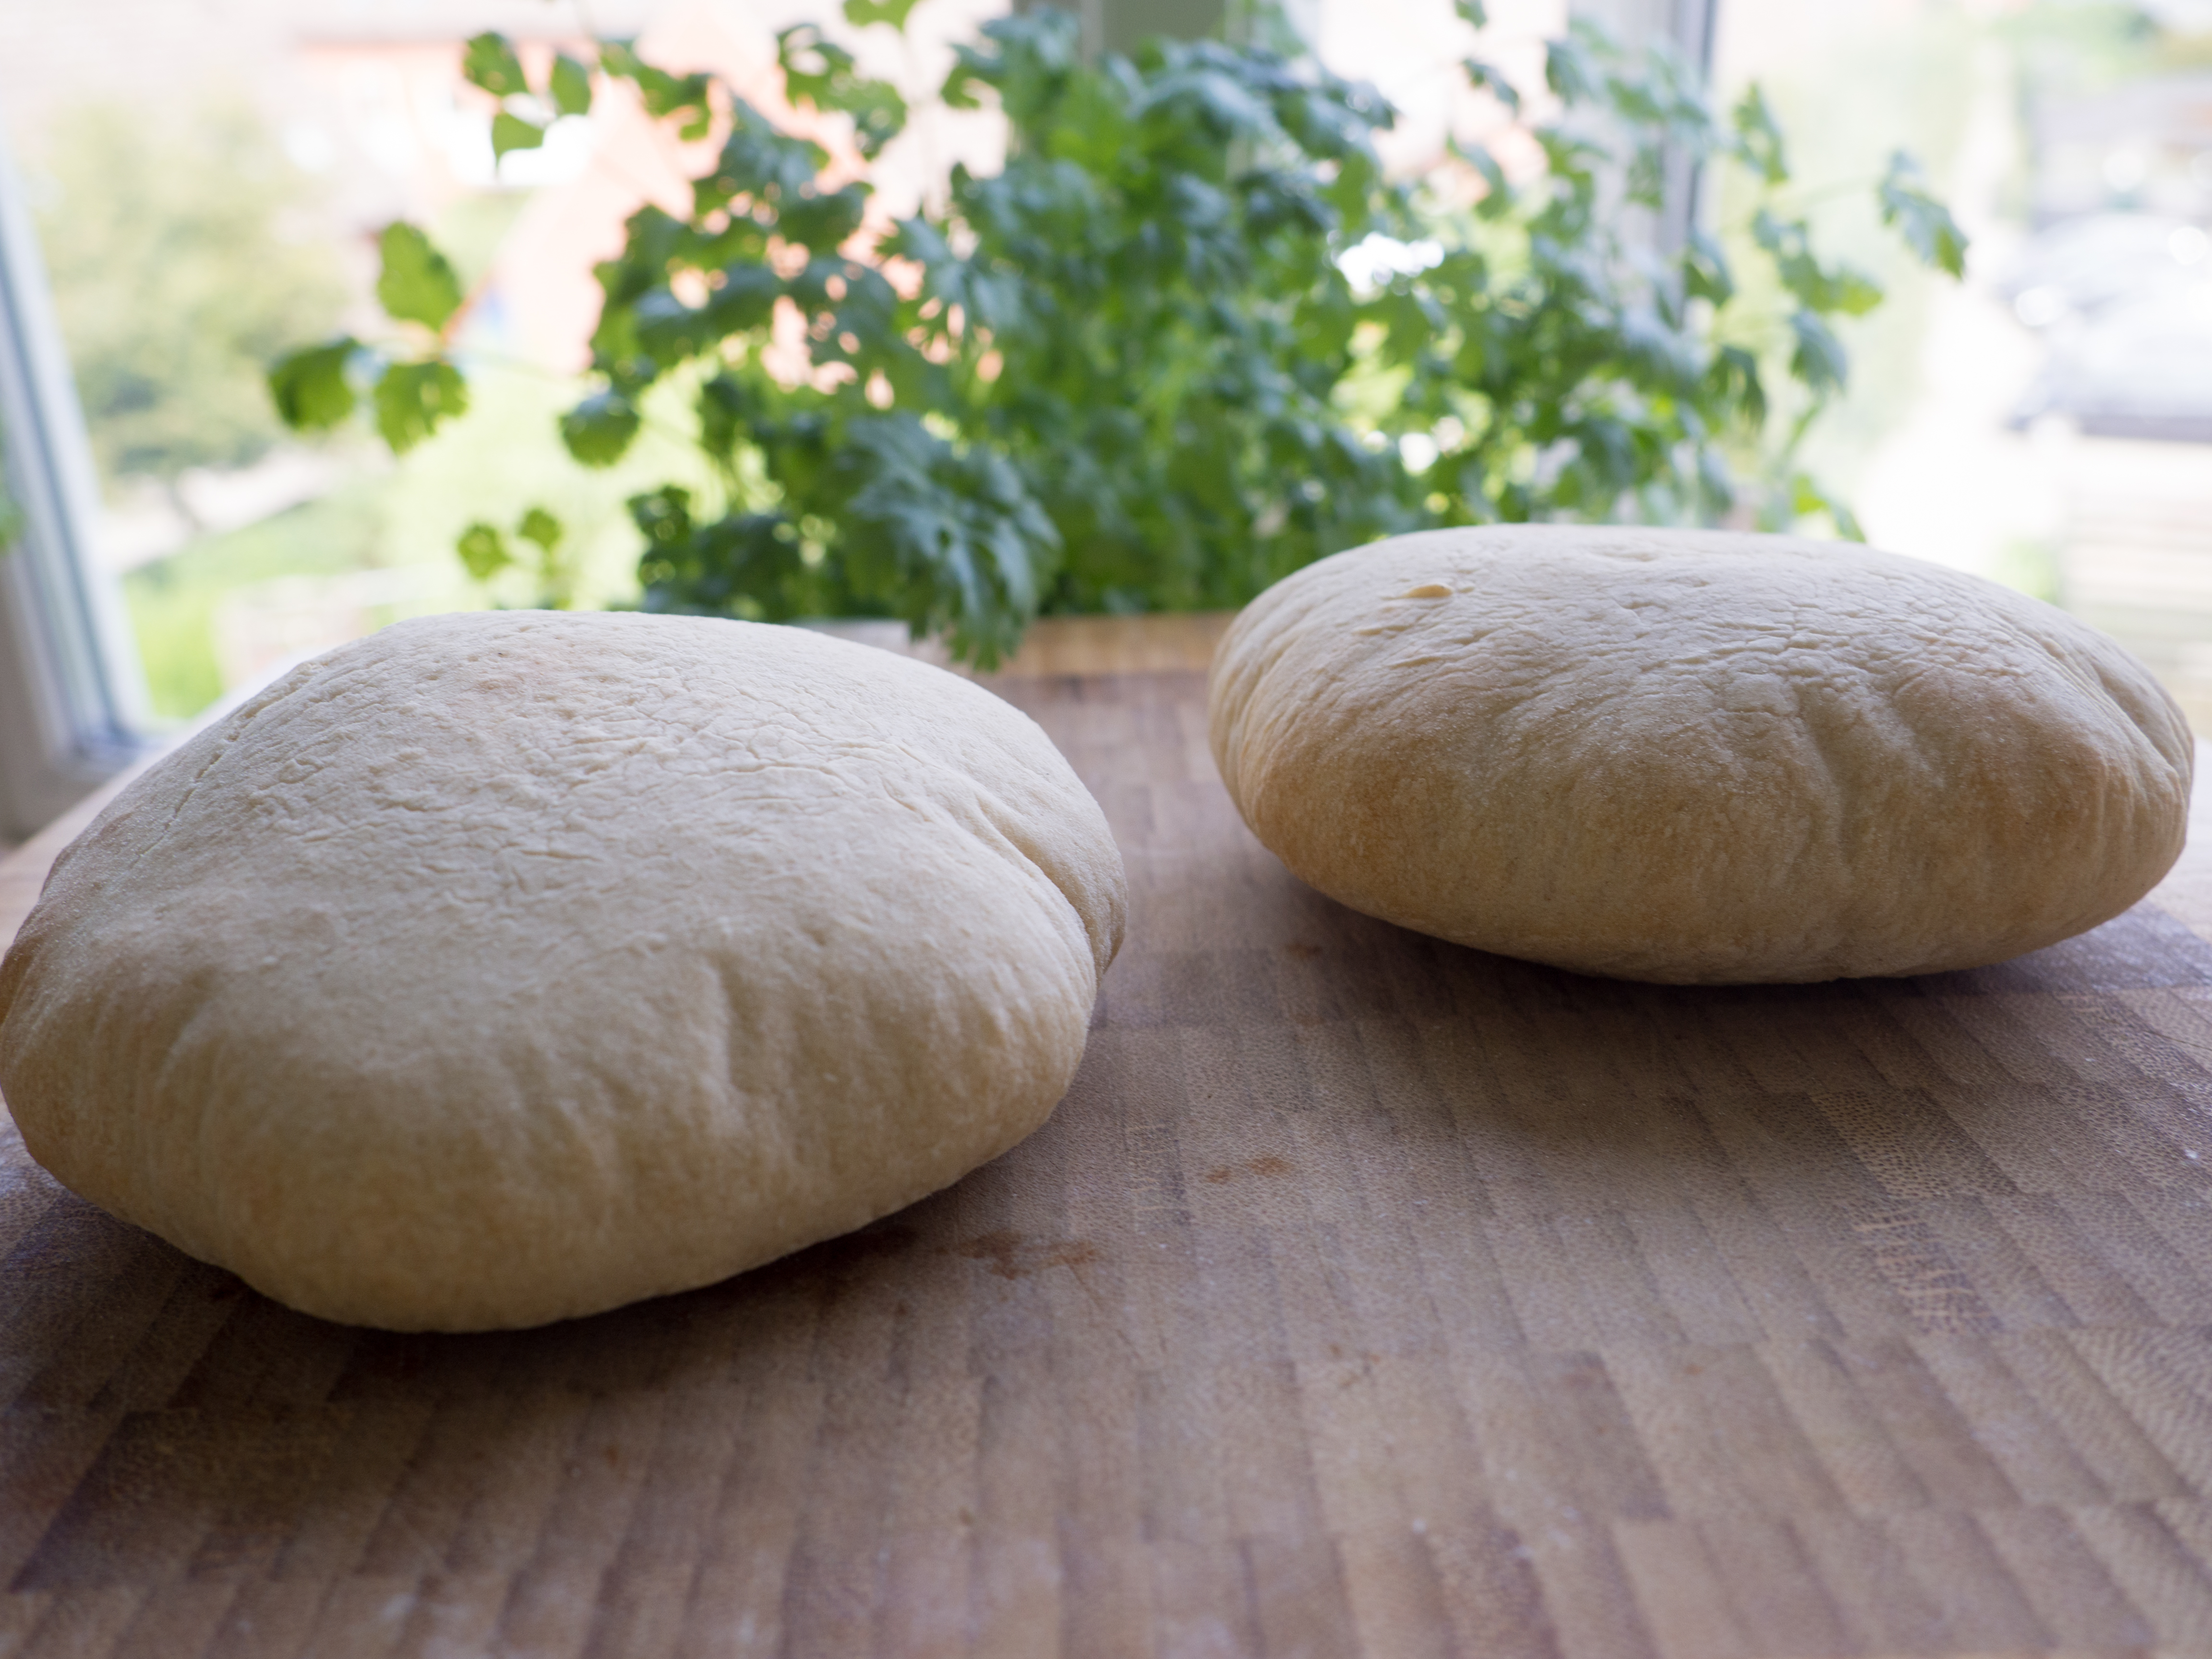
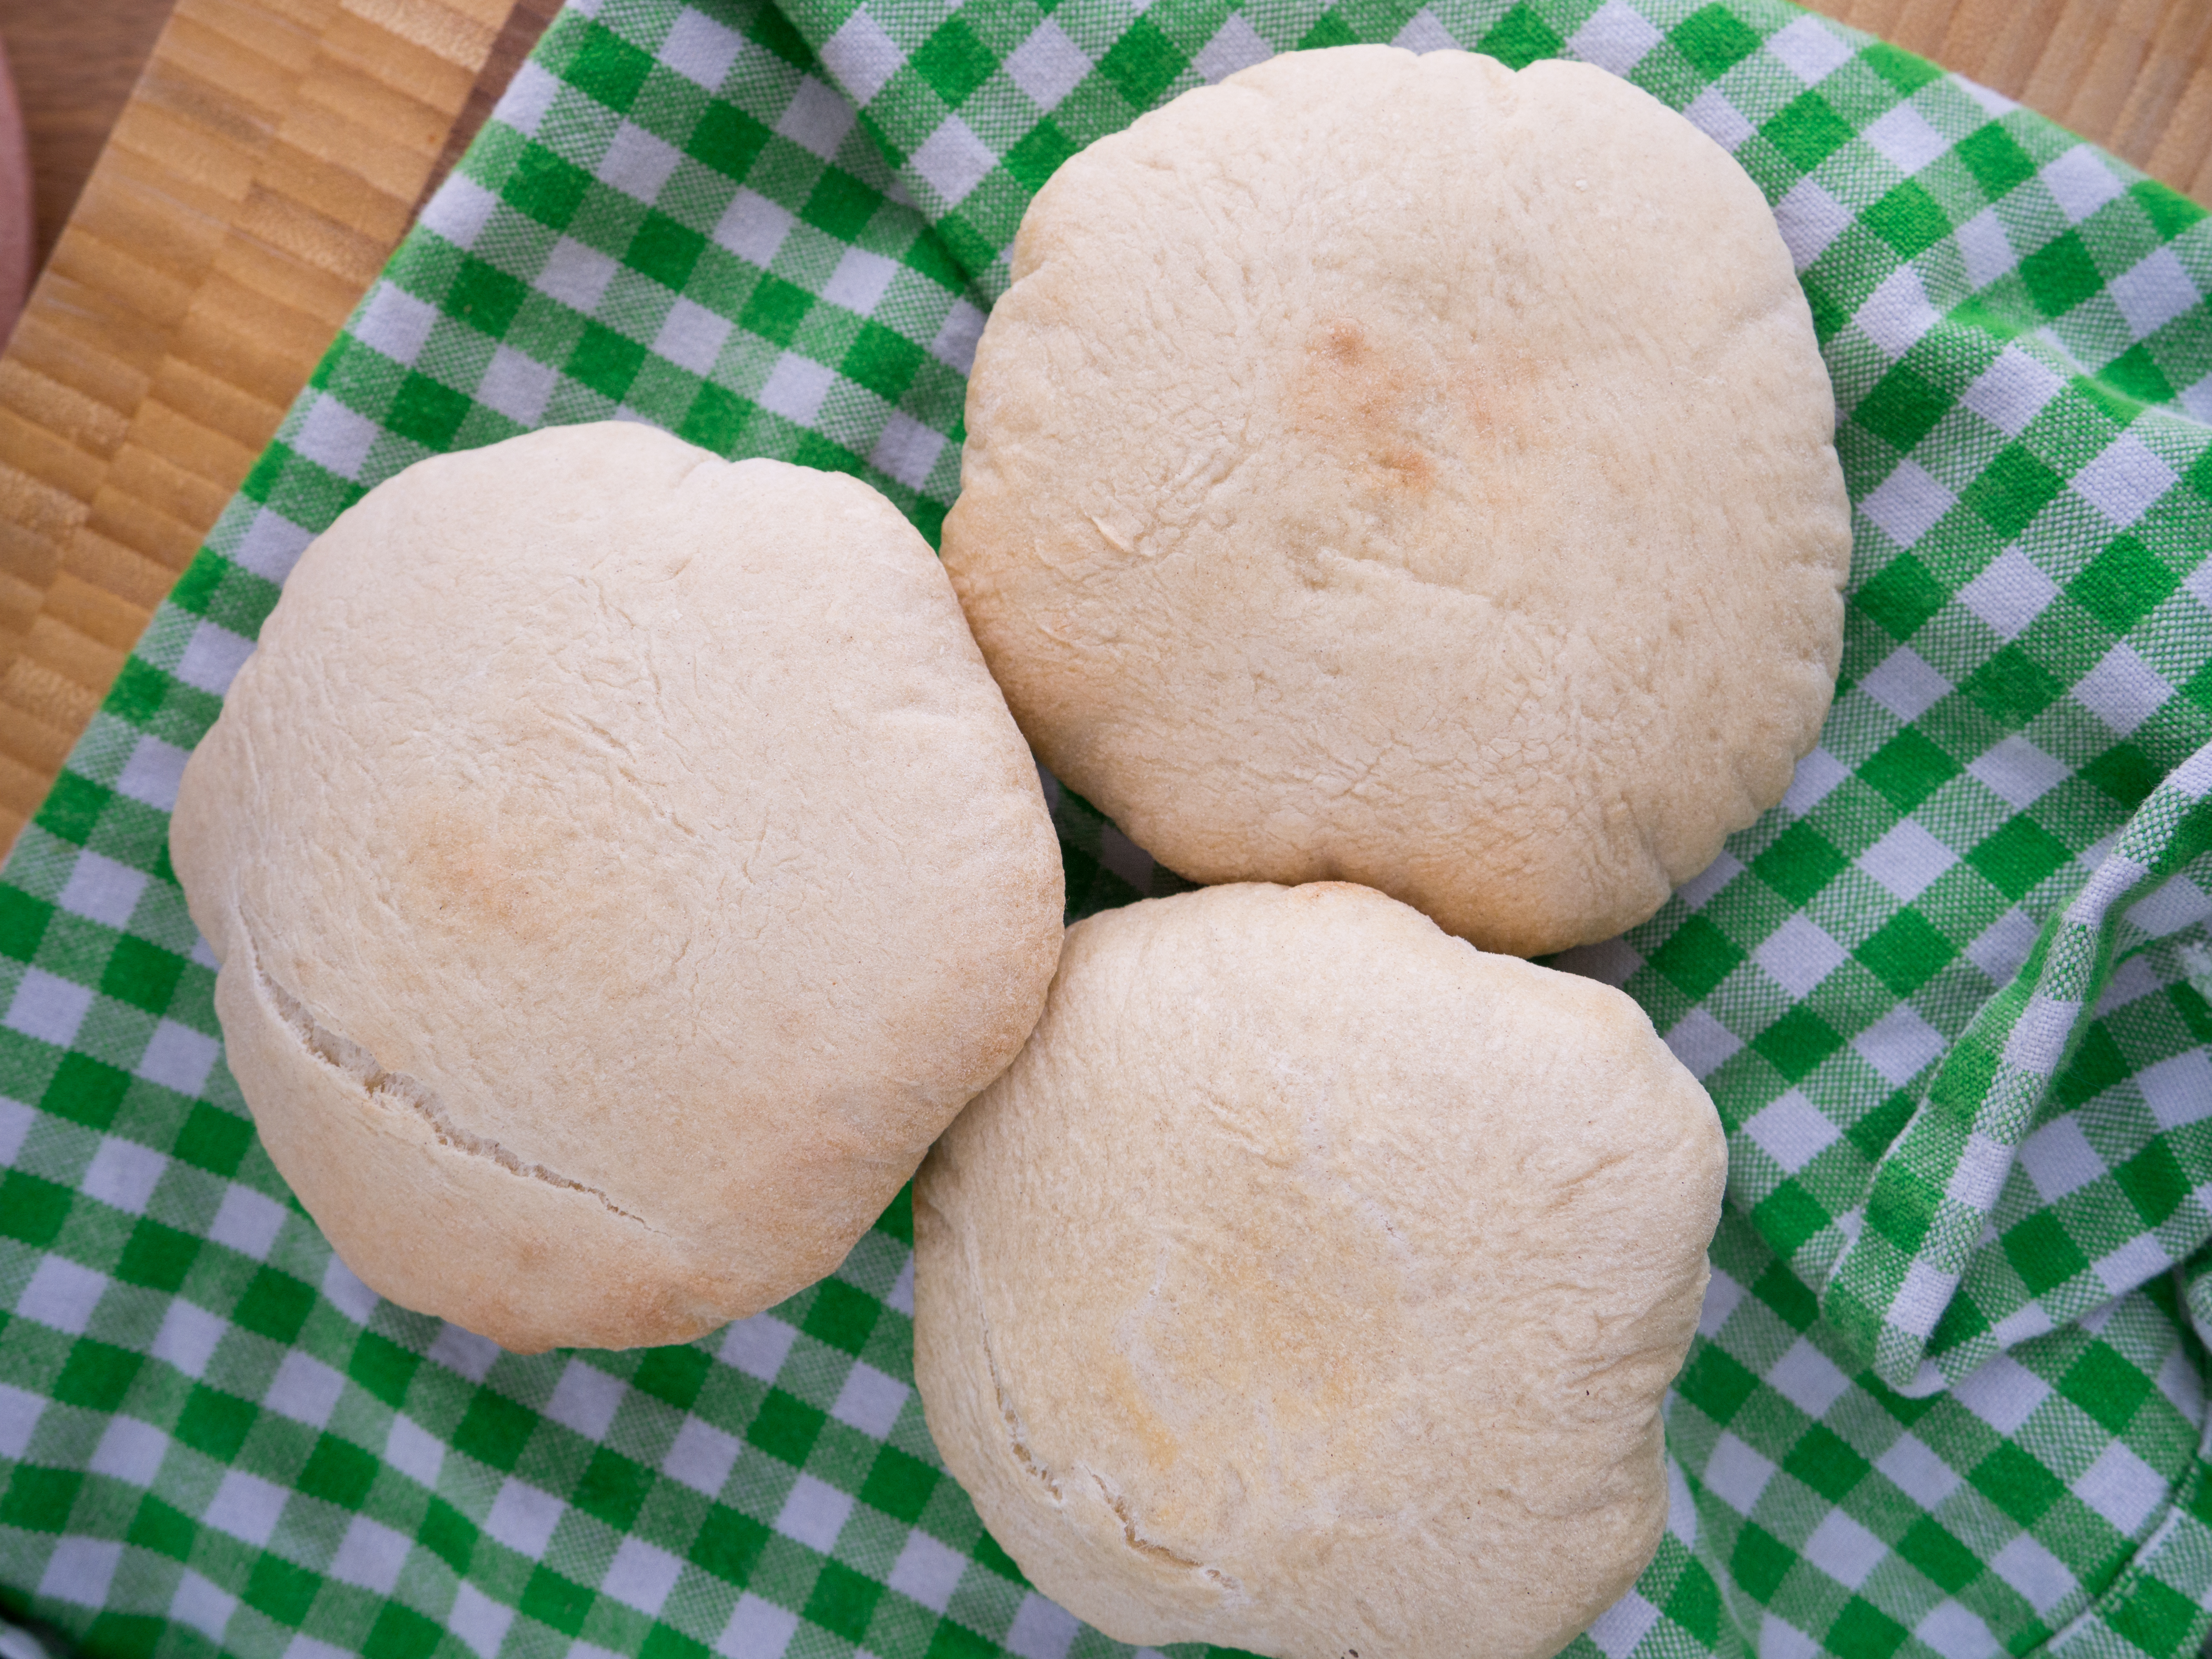
- Bake the bread for about 5-6 minutes. The pita bread should rise up, become puffy and create an air pocket inside.
- Let the bread cool off a little before serving it.

Chris Salman
This was a delicious recipe. I made this recipe last week and my family loves it. Pita bread with hummus is all time favourite recipe of mine family and easy to make so most of time I used pita oven. I have a question can I use a bread maker for preparing the dough? Thanks, for sharing this amazing recipe.
Kim Nielsen
I'm happy that you also like this recipe. It's also one of my favorite :-) Actually, I've never tried to to use a bread maker to prepare the dough. However, I can't see why it shouldn't work.
Ivis
Amazing recipe, the pita bread really puffed this time. We had them with baba ganoush. Next time we are thinking to stuff them as a doner kebab. Finally found a pita bread recipe that really worked out. Thank you
Kim Nielsen
You are welcome. I'm happy that you like the recipe for pita bread and that you had success with it. Regards Kim (NordicFoodLiving.com)
Nadia Othman
Hi! I tried this recipe completely, my pita bread came out drier than the ones I make using dry yeast. What should I change to make them taste as fluffy and tender?
Kim Nielsen
Hi. That is a good question. I normally make them with fresh yeast and I don't have a problem that they are dry. Maybe you gave them a little too long in the oven or added a little too much flour? I would love to help but this is the best I can think of. Regards Kim (NordicFoodLiving.com)
henri
being an israeli, i tried so many times to make the proper pita. but was unsuccessful to have them puff until now!!
the result is amazing. exactly like at home. (thinkness , smoothness, and taste).
however.
1. i think the quantity of flour is a little small. because the doe is wet. so i have to add flour to make the doe not stick.
2. as soon as the pita rises, this is when you need to take the pita out. (not 5-6 mins). it is around 2 mins .
it is ok if the pita is white.
3. since we all use home oven, i put the oven plate to the top position (so it get very hot), and when ready to put the pita, i put the 2 pita and lower it to the middle.
i put parchment paper but it is not needed if we put some flour on the oven plate (the parchment burns...)
4. for the humus...
1 can of chickpeas (remove the water, keep 10 chick peas for the decoration)
2 table spoons of raw tahina (get any kind from Mediterranean store)
3 table spoons of lemon juice
(the lemon makes the tahina turn white, so the humus turns white too)
1 clove of garlic
mix everything with a hand mixer. add salt , pepper and a little cumin.
if to thick just add tiny water.
.decoration:
put the humus on a plate, and with a spoon make a hole in the middle of the plate
Pour olive oil all over the humus, sprinkle cumin, paprika, and parsly on the humus, (and the 10 chick peas saved)
enjoy:)
Kim Nielsen
Thanks for a very nice comment on my recipe for homemade pita bread :-) Regards Kim (NordicFoodLiving.com)
Noelene Gillatt
It worked, I used wholemeal plain flour and granary bread flour and used my mixer, otherwise I followed your recipe to the letter. As promised they were puffy and light and delicious. I'll be showing my grandson how to make these next.
Kim Nielsen
Sounds good. I am happy that you like the recipe for homemade pita bread. Regards Kim (NordicFoodLiving.com)
Bubbles
Best pitta bread on my third batch