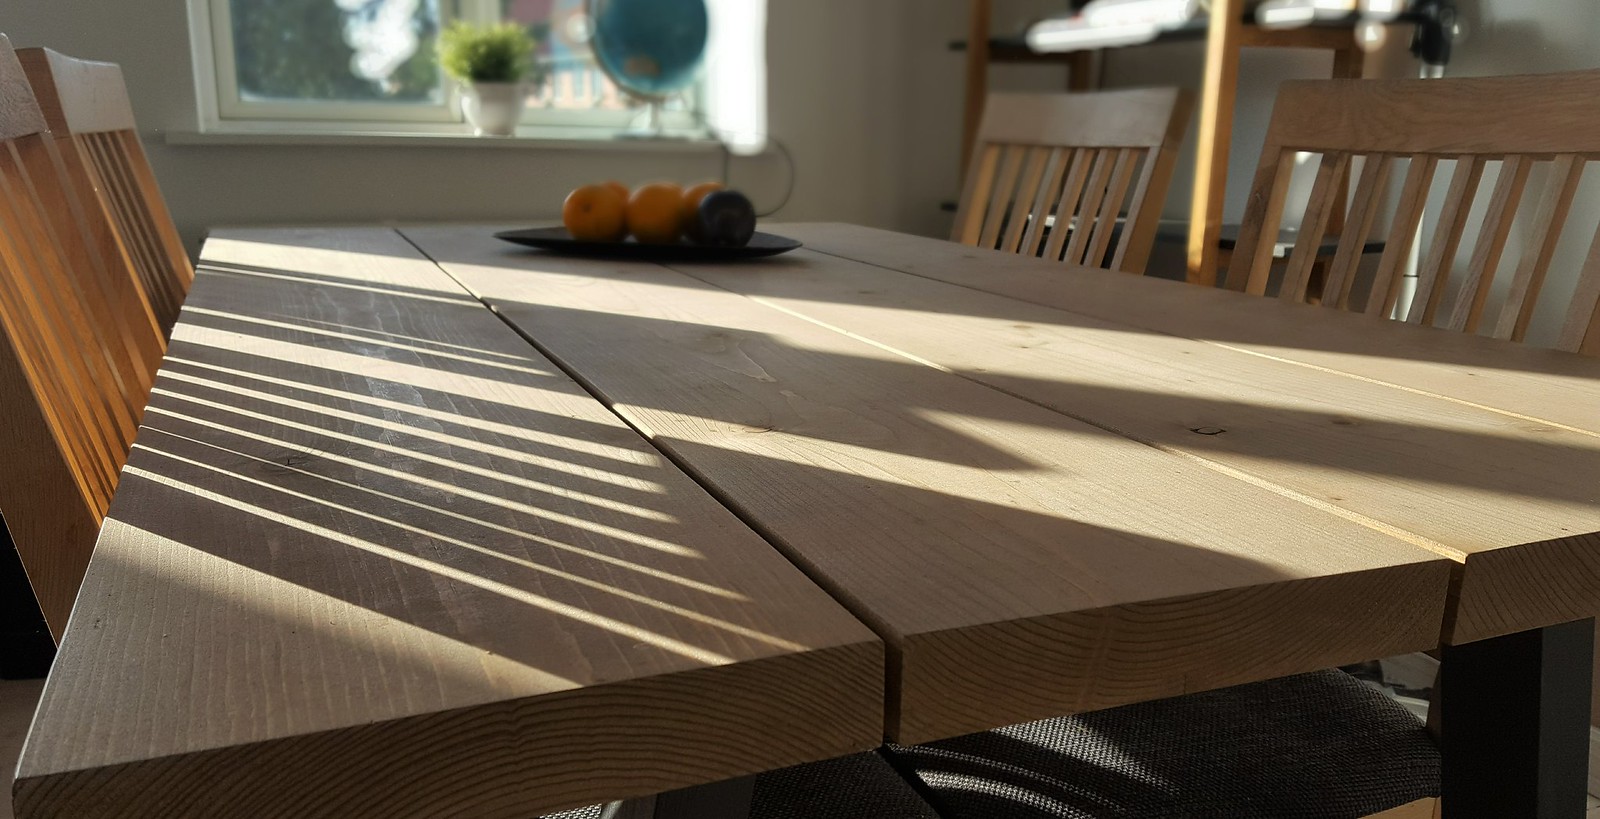
I have been asked several times for a guide how I have made my wood dining table. So of course I have made this guide how you can make your own Nordic inspired dining table.. It is actually not that difficult and the materials are not that expensive. It is differently much cheaper compared to the tables you can buy at the local furniture store. So if you like these kind of dinner tables I will absolutely recommend you to spend a weekend and make your own.
The great thing about this guide is that you should only consider it as a base for your own personal design. The best thing about making your own dinner table is that it is completely your own design and you decide exactly how it should look like. The table I have made is of course how I like it. However, you can easily change the color, type of wood, shape of the legs and so on. I will recommend you to spend some days to come up with you own ideas and design.
These homemade tables are becoming more and more popular in Denmark and the other Nordic countries. I think it is the simple and a bit raw design that people like. The idea of making furniture of some cheap and raw materials is in general becoming more and more popular. I think it is a kind of a rebellion against the high gloss and very modern furniture that have been popular in the years after 2000. Today, furniture are more moving into a more natural inspired design and this table is just one way of getting some natural design into your home.
Materials:
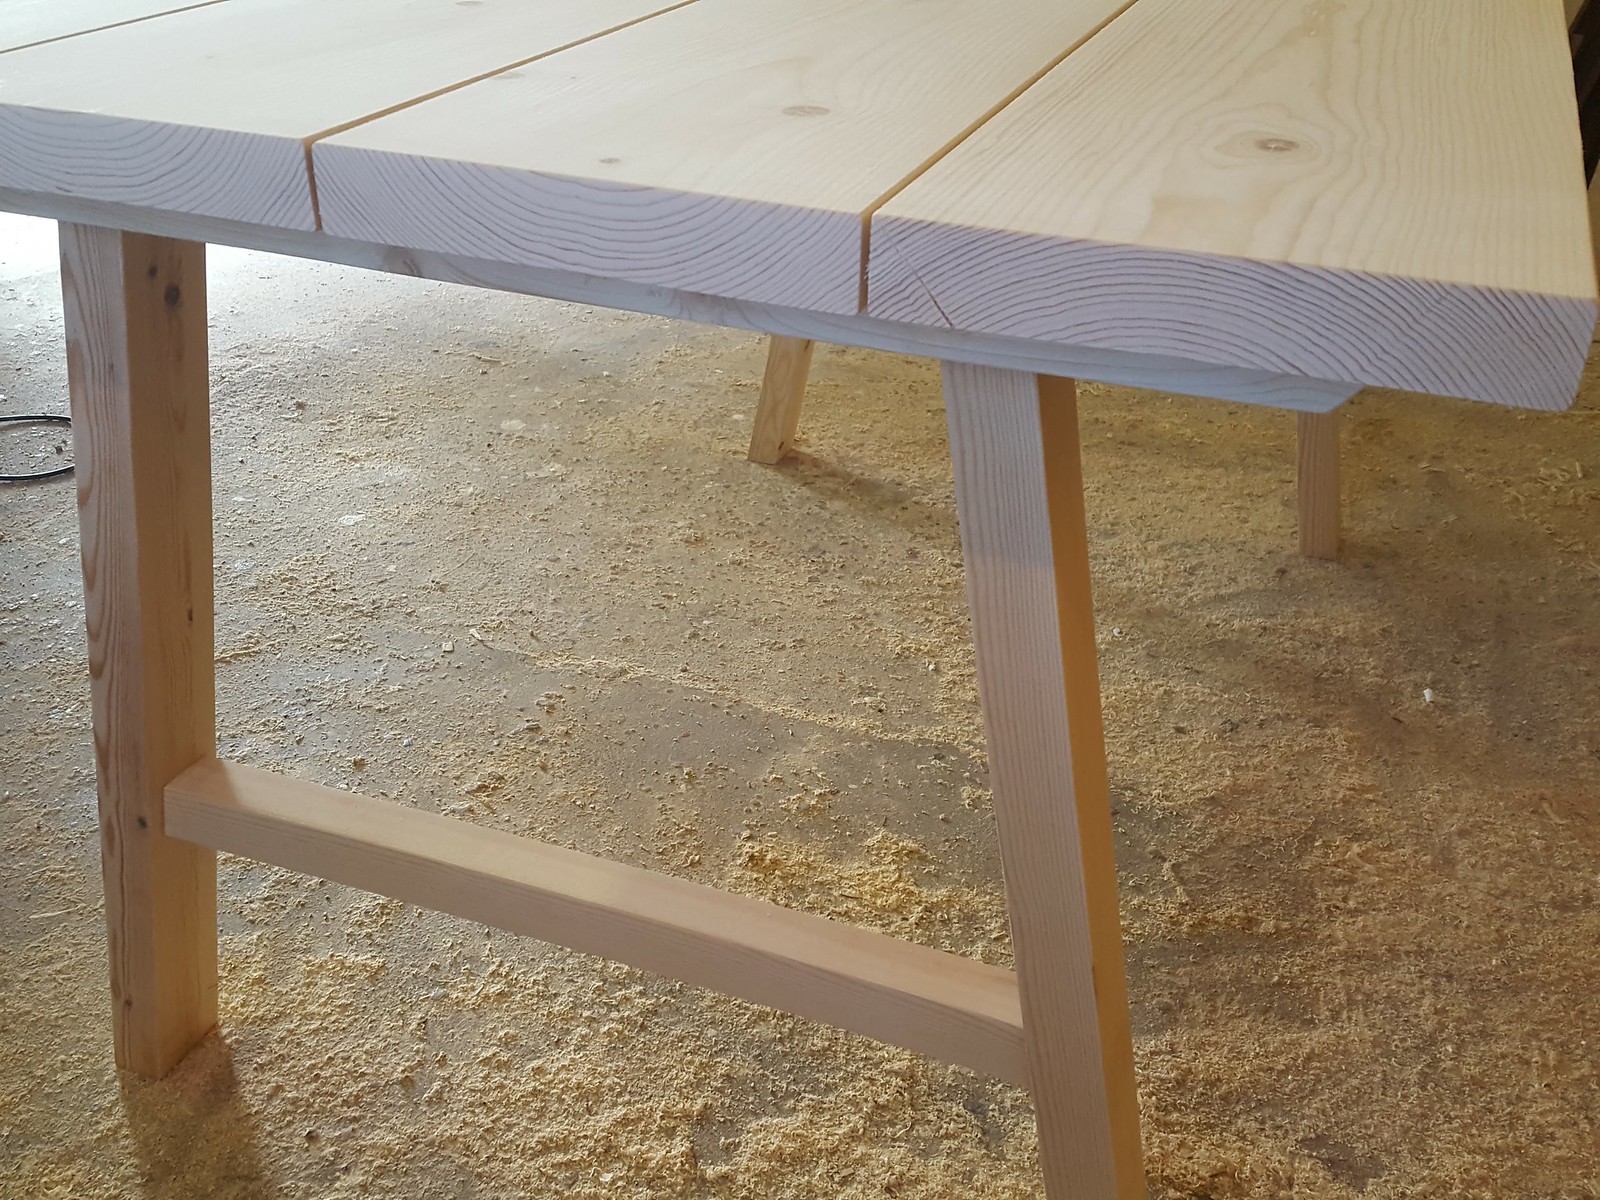
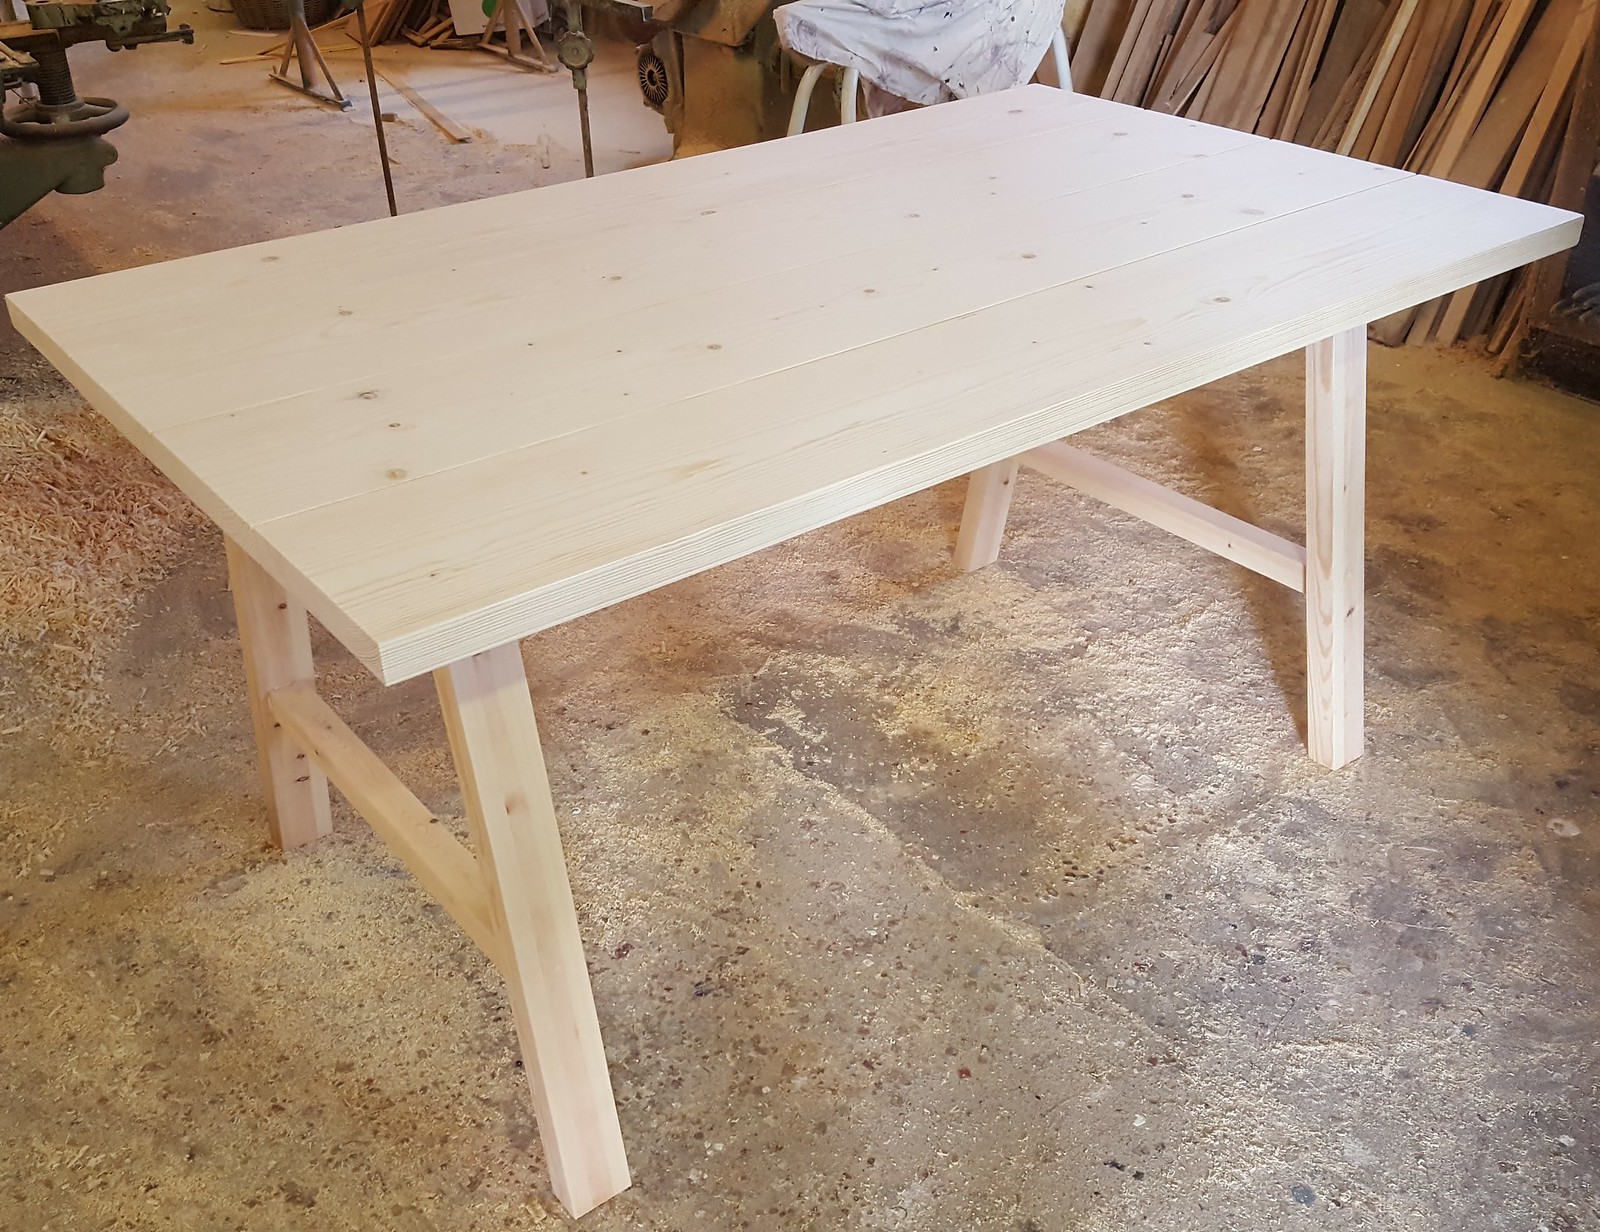
- Some wood planks. The amount depends on how large you want your table. My table is 150x90 cm (60x35 inch). I bought the cheap planks normally used to make roof trusses.
- Some small beams. To be installed underneath the table. Can be of metal or wood.
- Four legs. You can buy some legs at your local furniture store or you can design and make your own.
- Oil for wood. Pick a color you like. The white/light and washed-out colors are a great pick if you are looking for a real Nordic design.
Step 1: Cutting the Planks
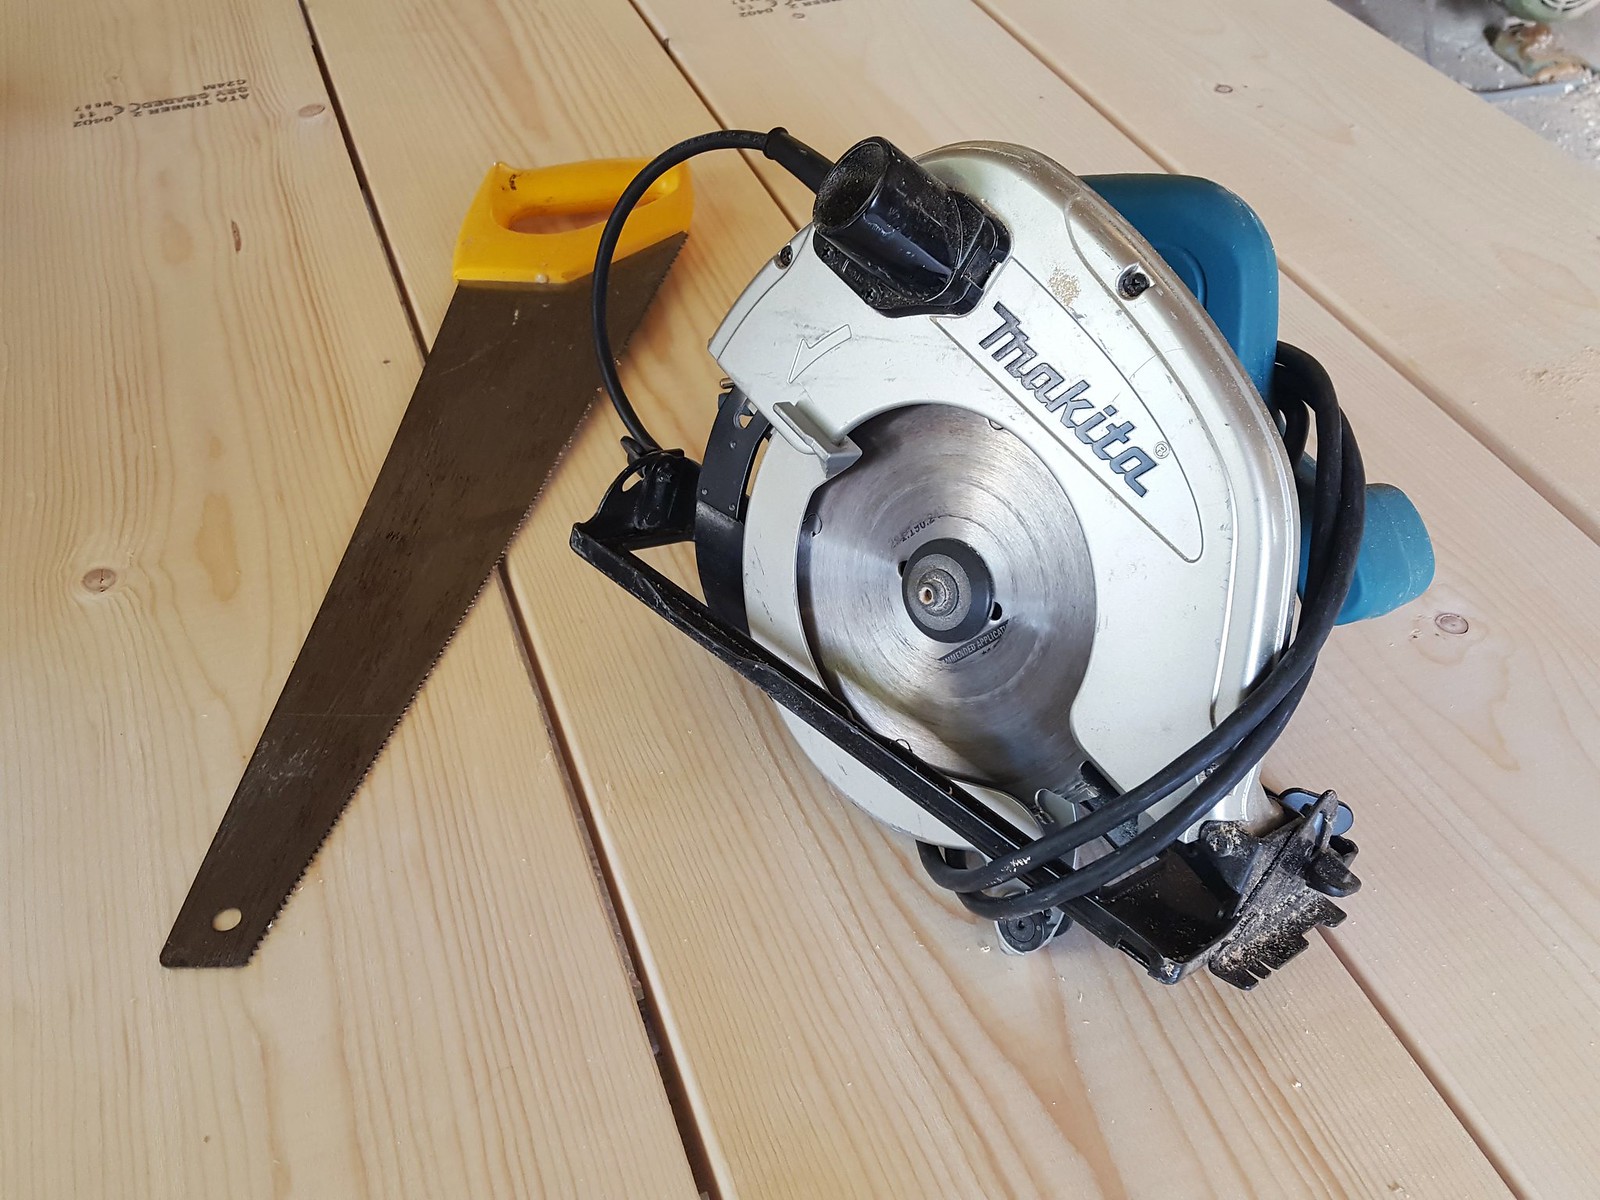
Start by cutting the planks into the total length of the table. Use a handsaw or a circular saw. My table consist of four planks side-by-side. If you use wider planks maybe you should only have three planks side-by-side. Of course pick the best side to face the top of the table.
Step 2: Avoiding a Crooked Table
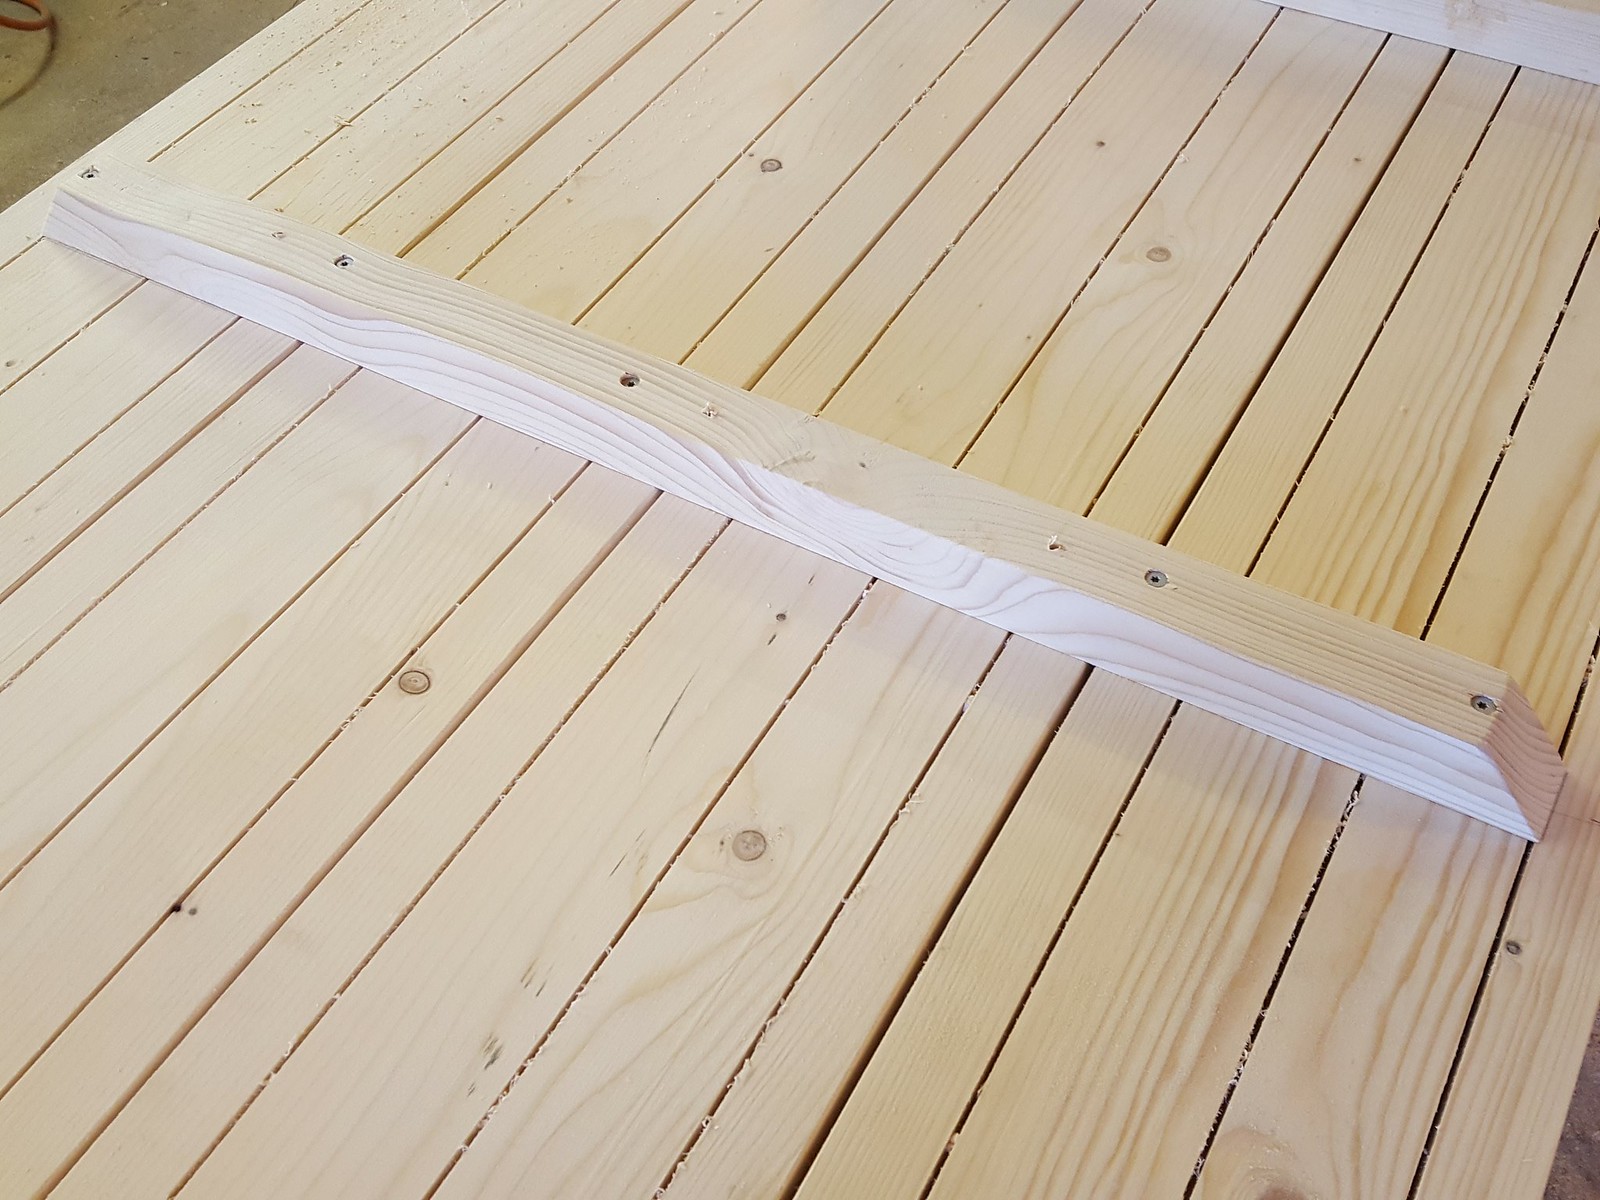
Depending on which type of tree you decide to use, the tree will contain some amount of water. When the table is place inside your house the heat will start to evaporate some of this water. It is therefore import to mount some transverse beams underneath the table to keep the wood level. If you do not have these beams the table, when dried, will become a little crooked. It is best if you can find some metal beams. However, wooden beams can also be used.
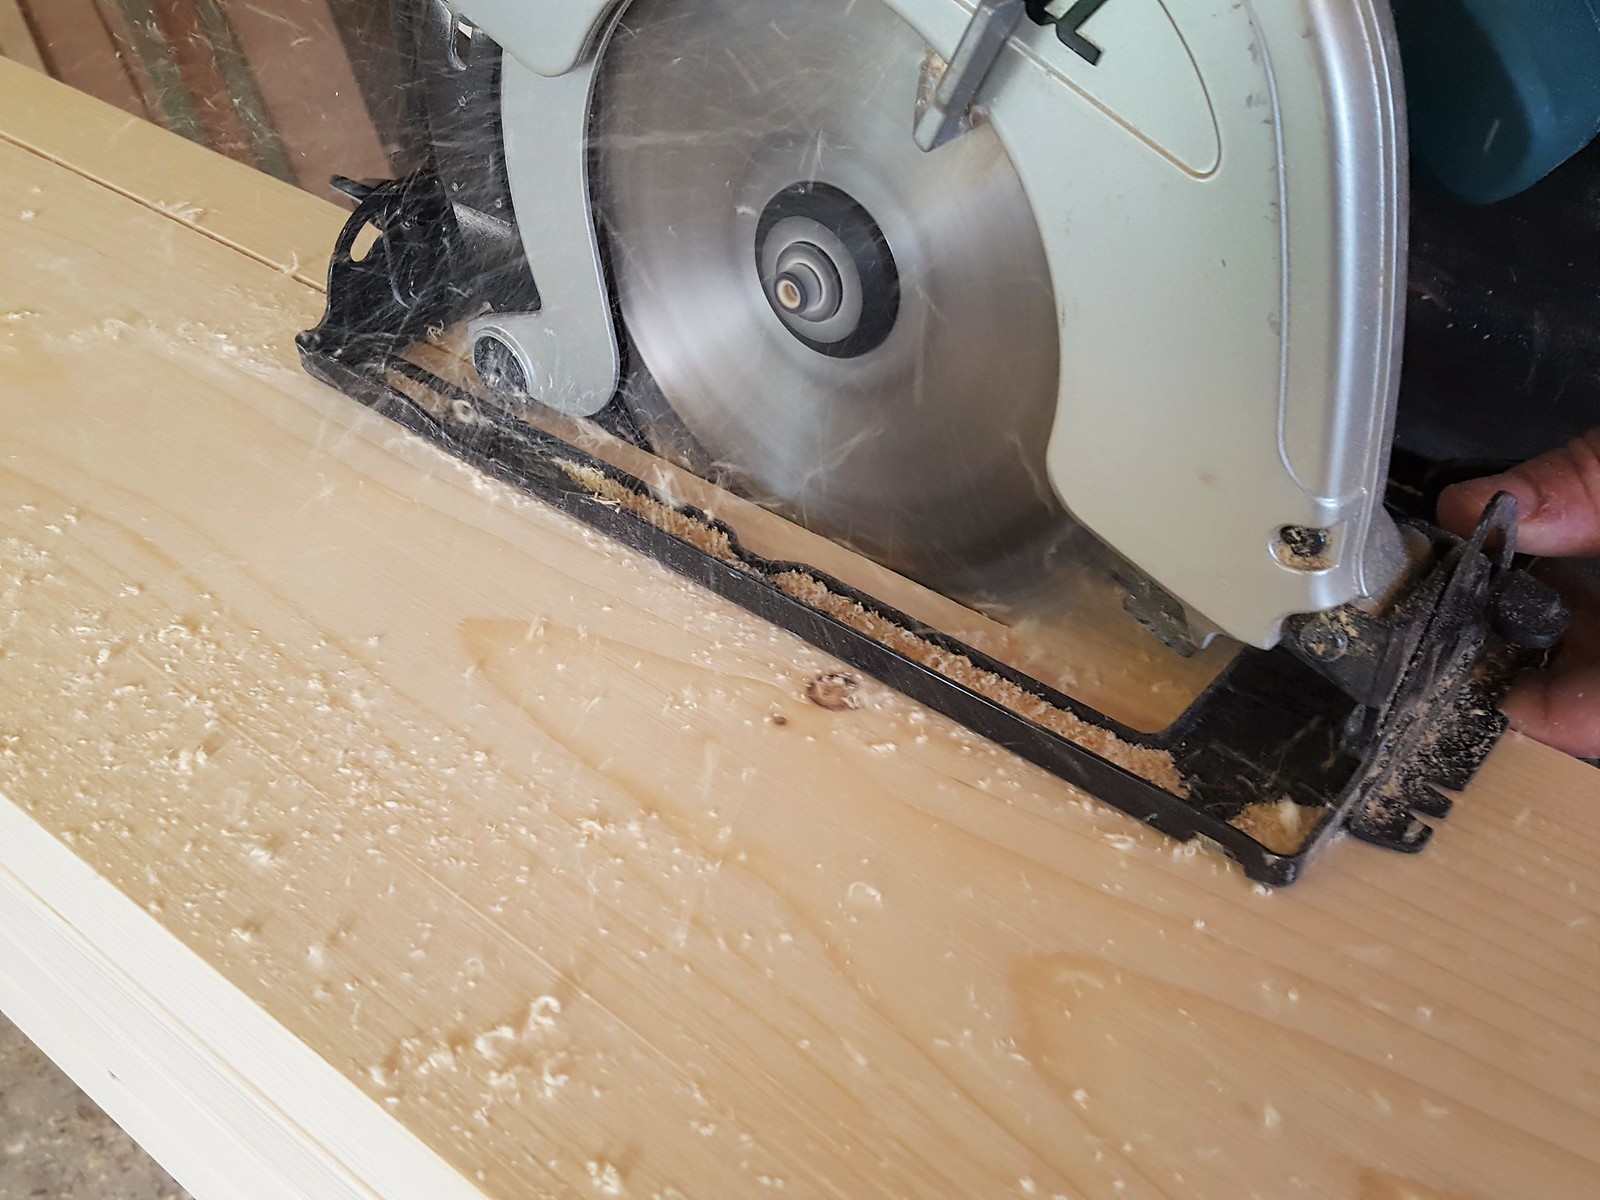
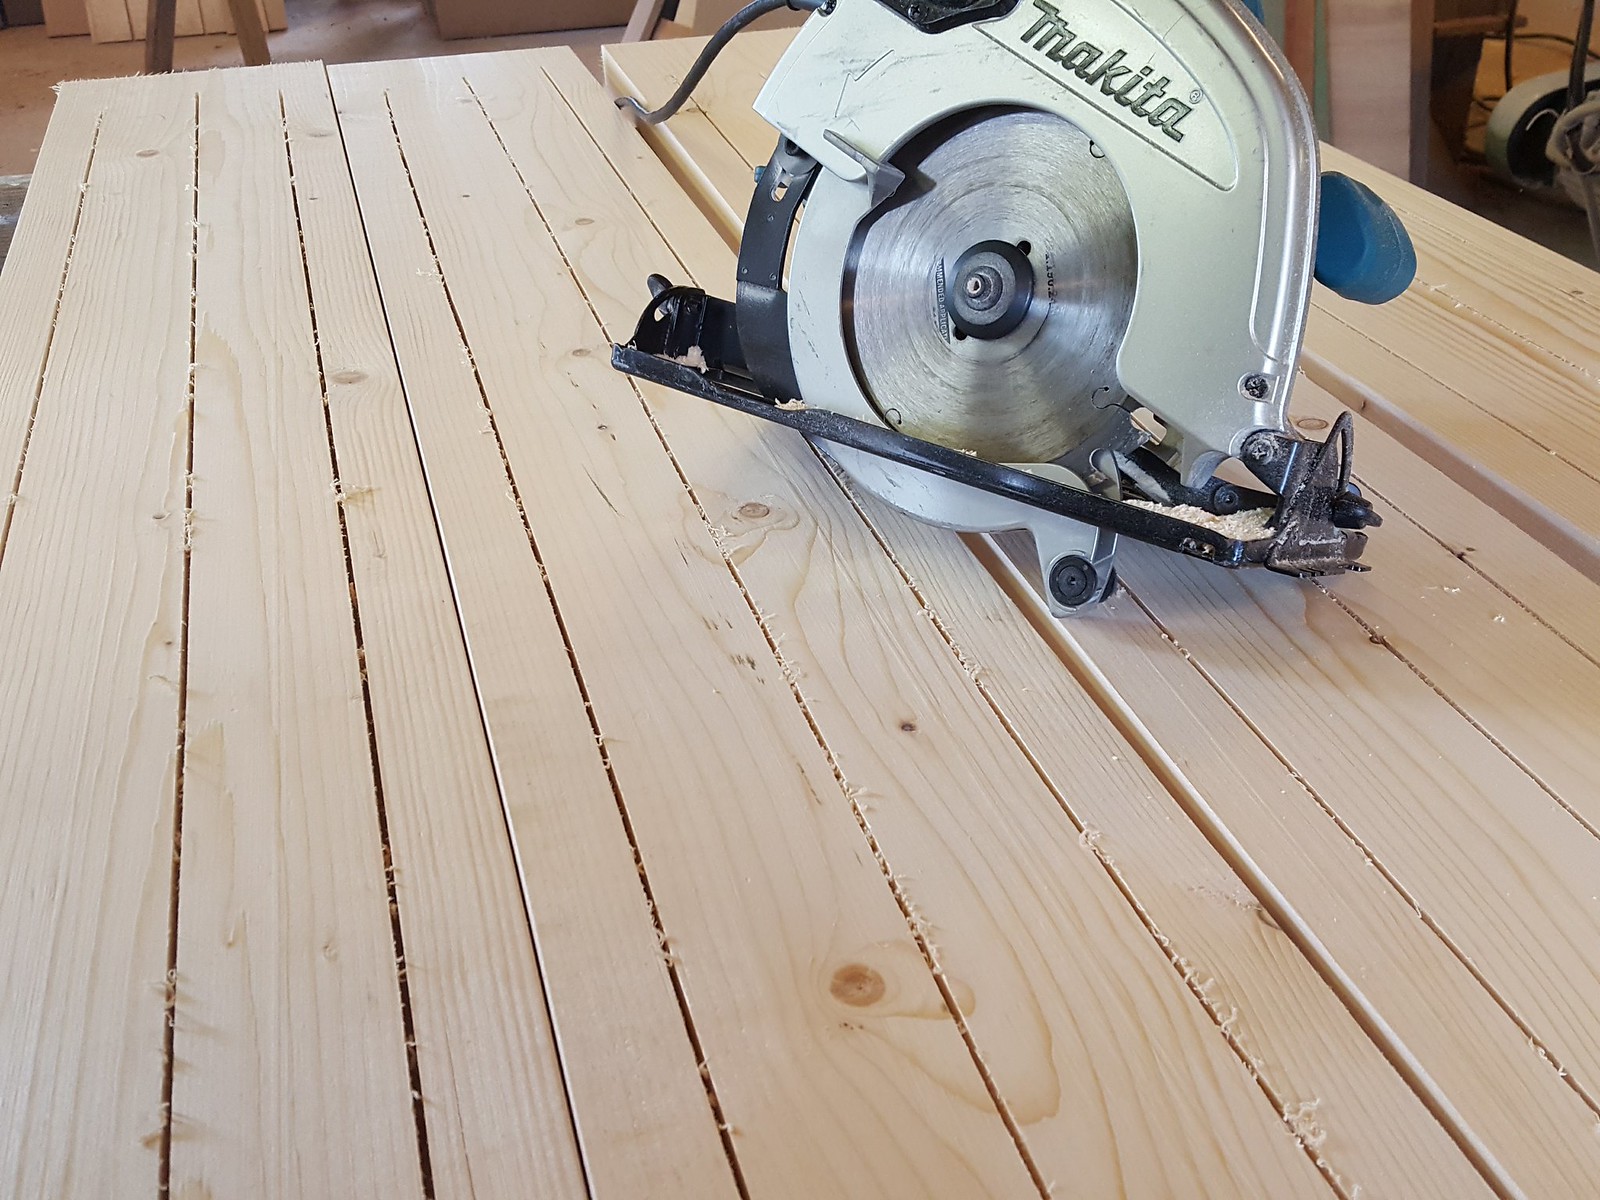
If you have a circular saw or similar available I will recommend you to cut some long length-wise grooves on the bottom side of the table. These grooves will make the wood more flexible and remove some of the tensions. This can also help keeping the table level. However, this is not necessary.
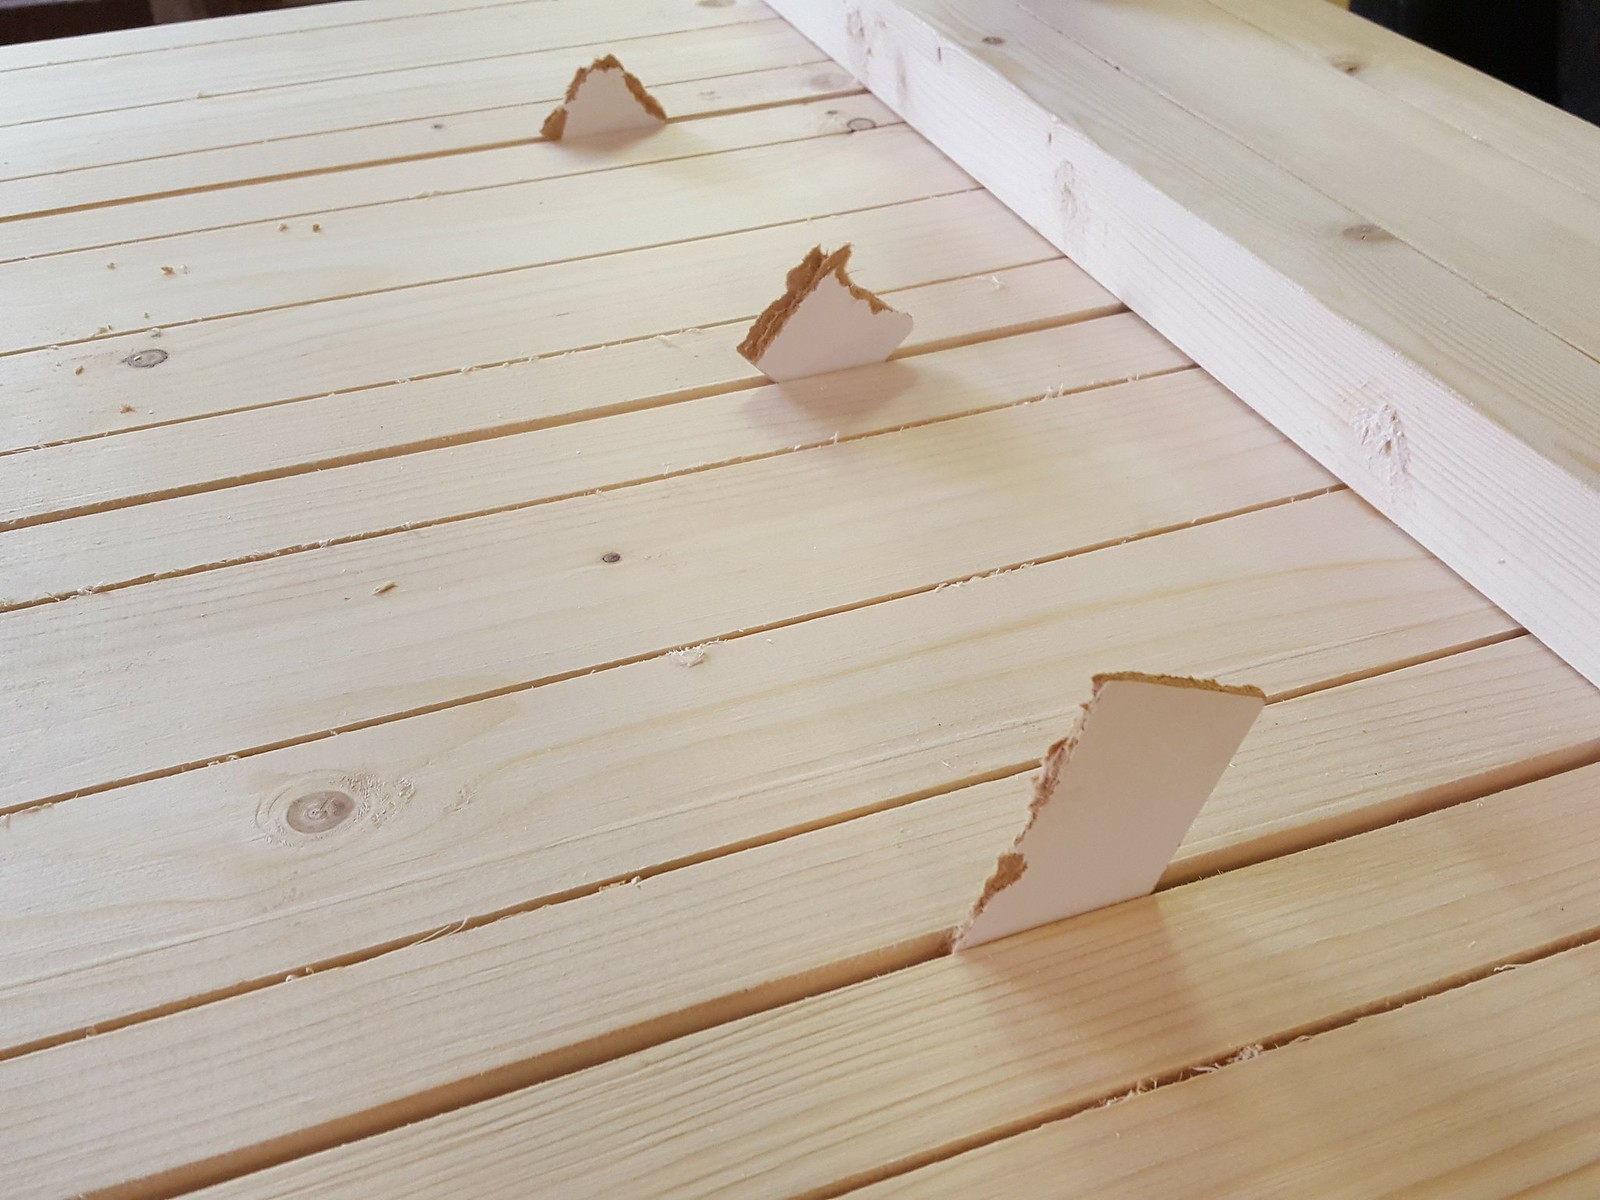
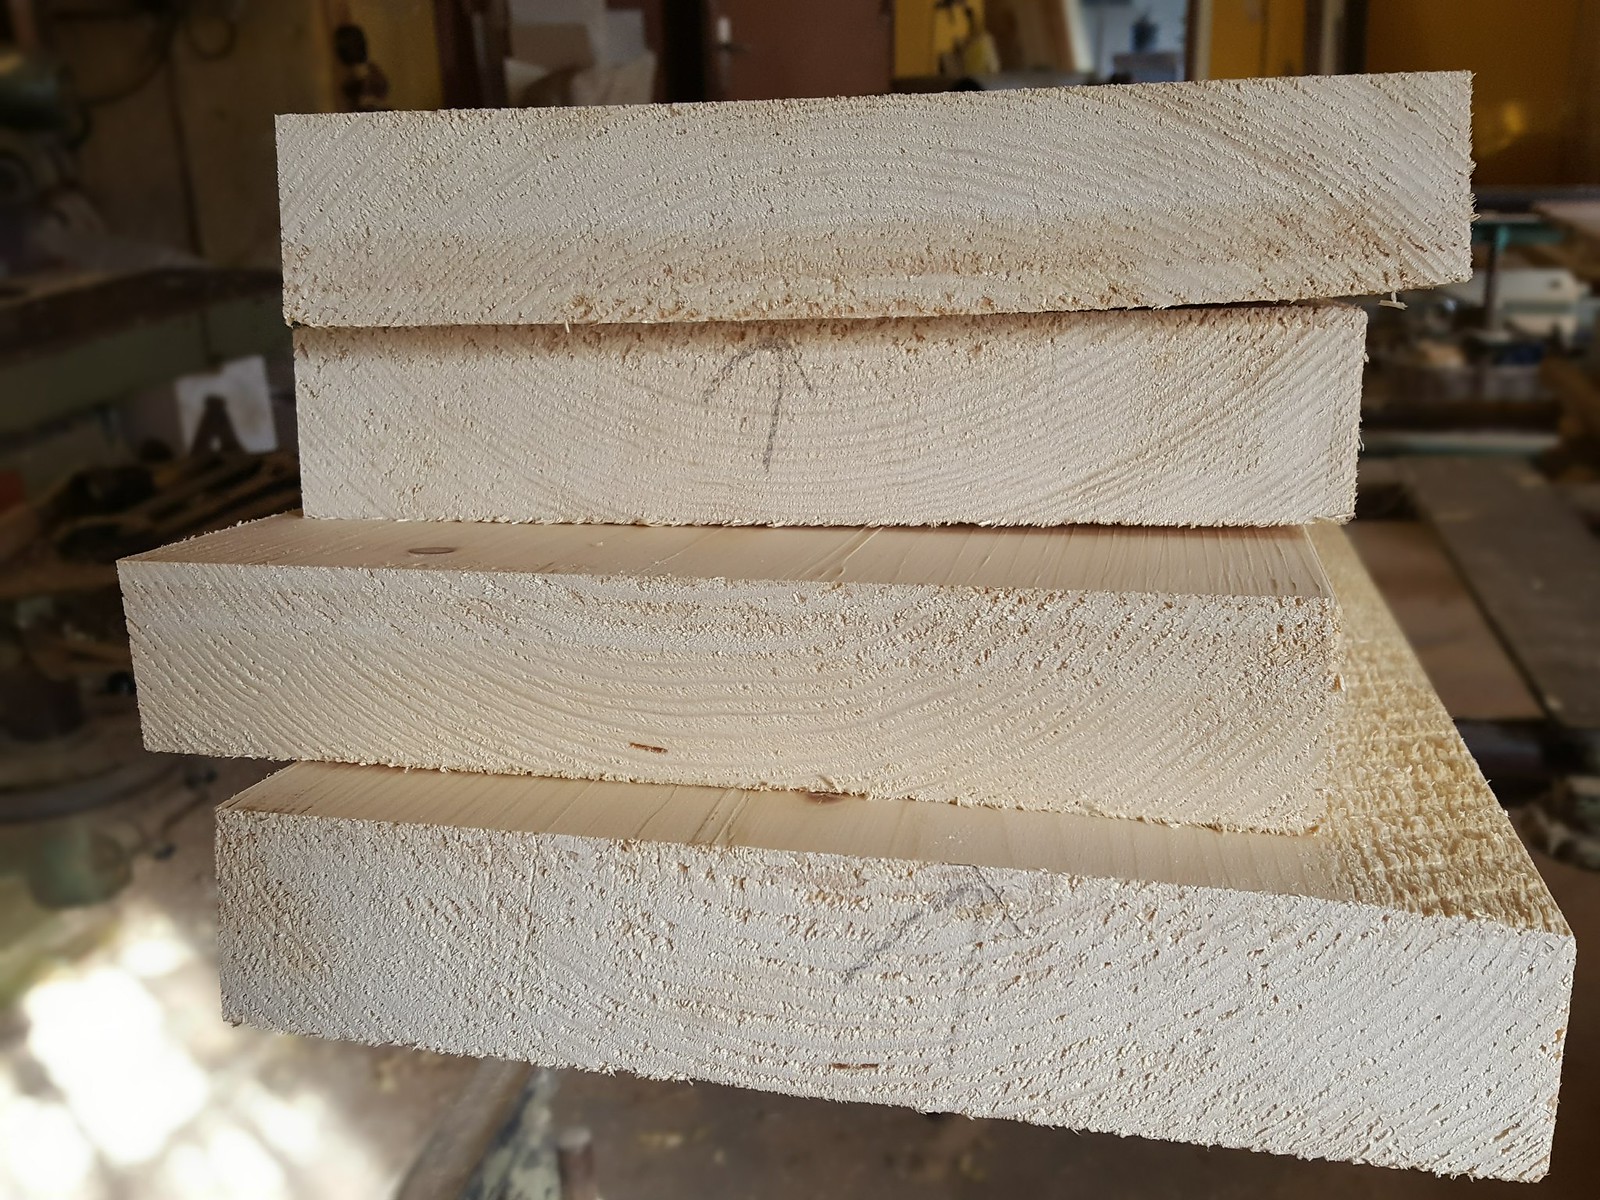
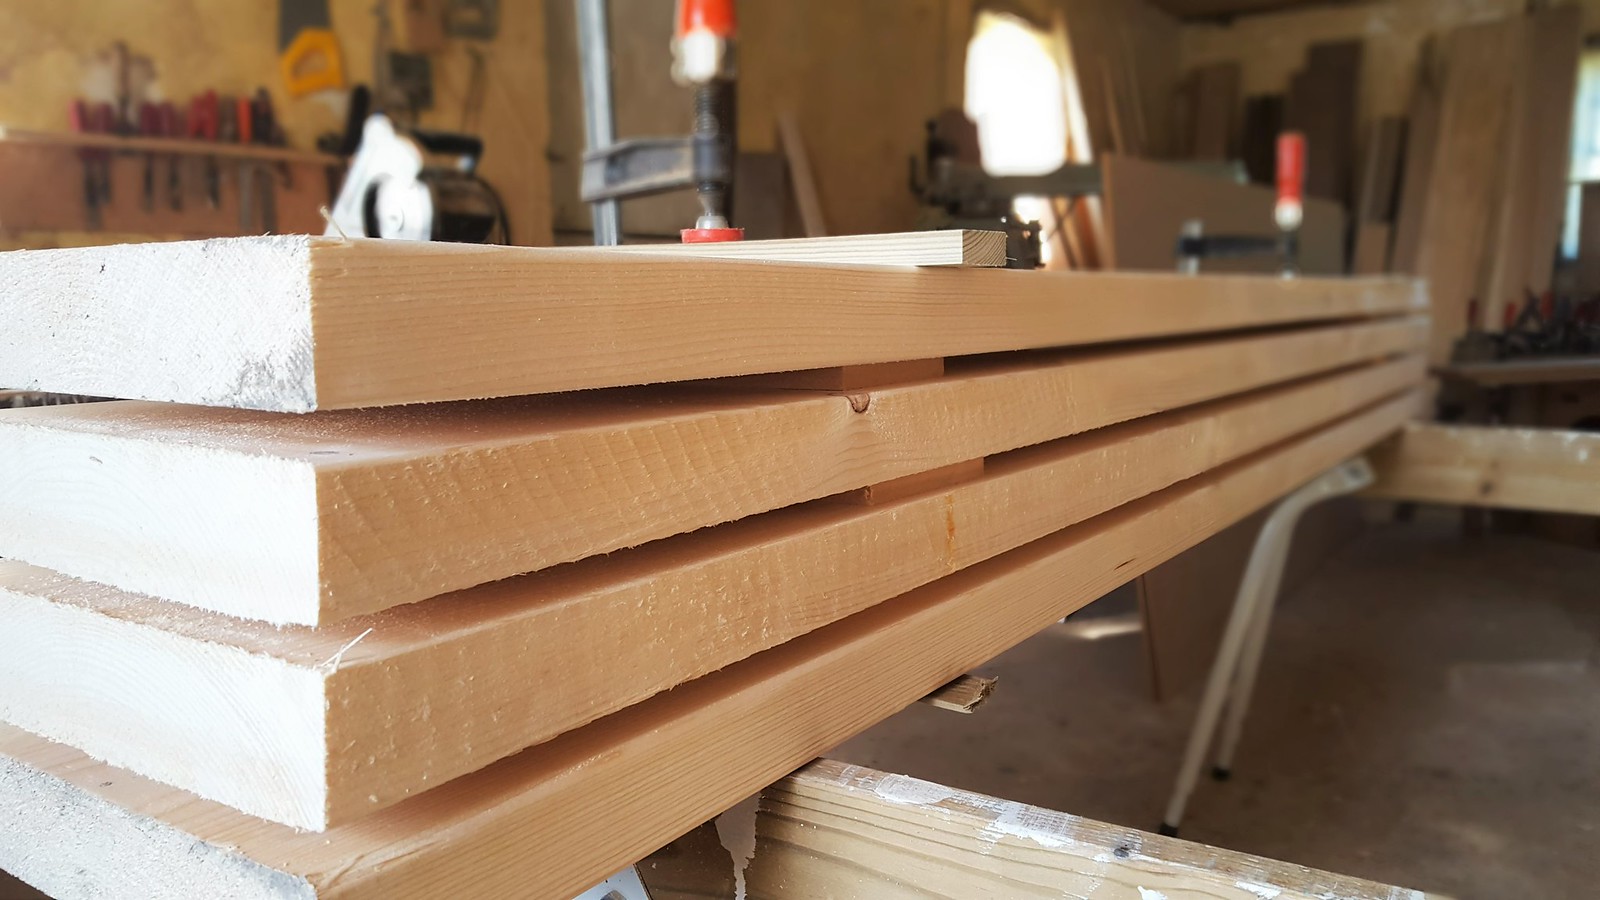
Another good way of avoiding a crooked table is to let the wood planks dry for 4-6 weeks before you built your table. When drying the planks you most fix them with two clamps like those that I have shown in the picture below. Also, add a couple of wood sticks in between the planks. This way you increase the probability that the wood will dry up and still keep the shape.
Step 3: Pre-Assemble the Table
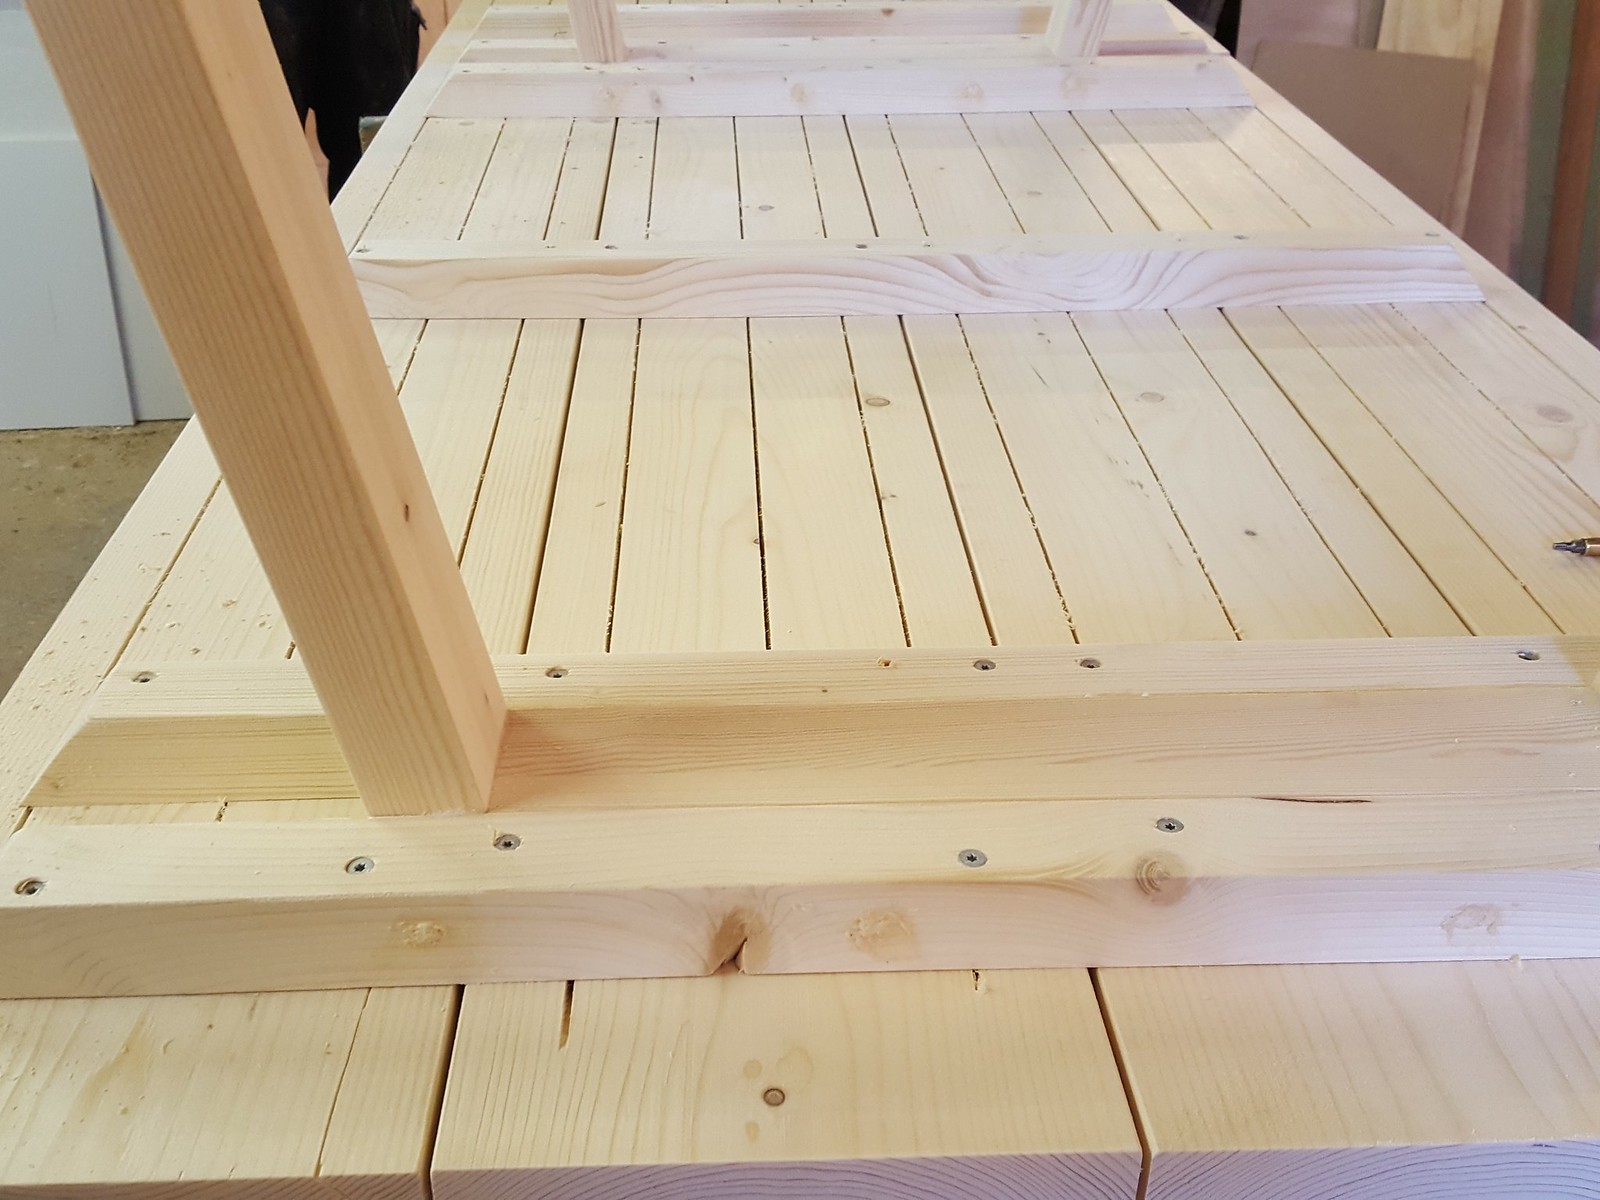
When all the planks and beams are cut into the right sizes, then you are ready to preassemble the table. Pick the better of the two sides of the planks and make this the top of the table. Install the transverse beams underneath the table using screws. This step is to make sure everything is correct before you start oiling the wood. If you feel confident, you can just skip this step.
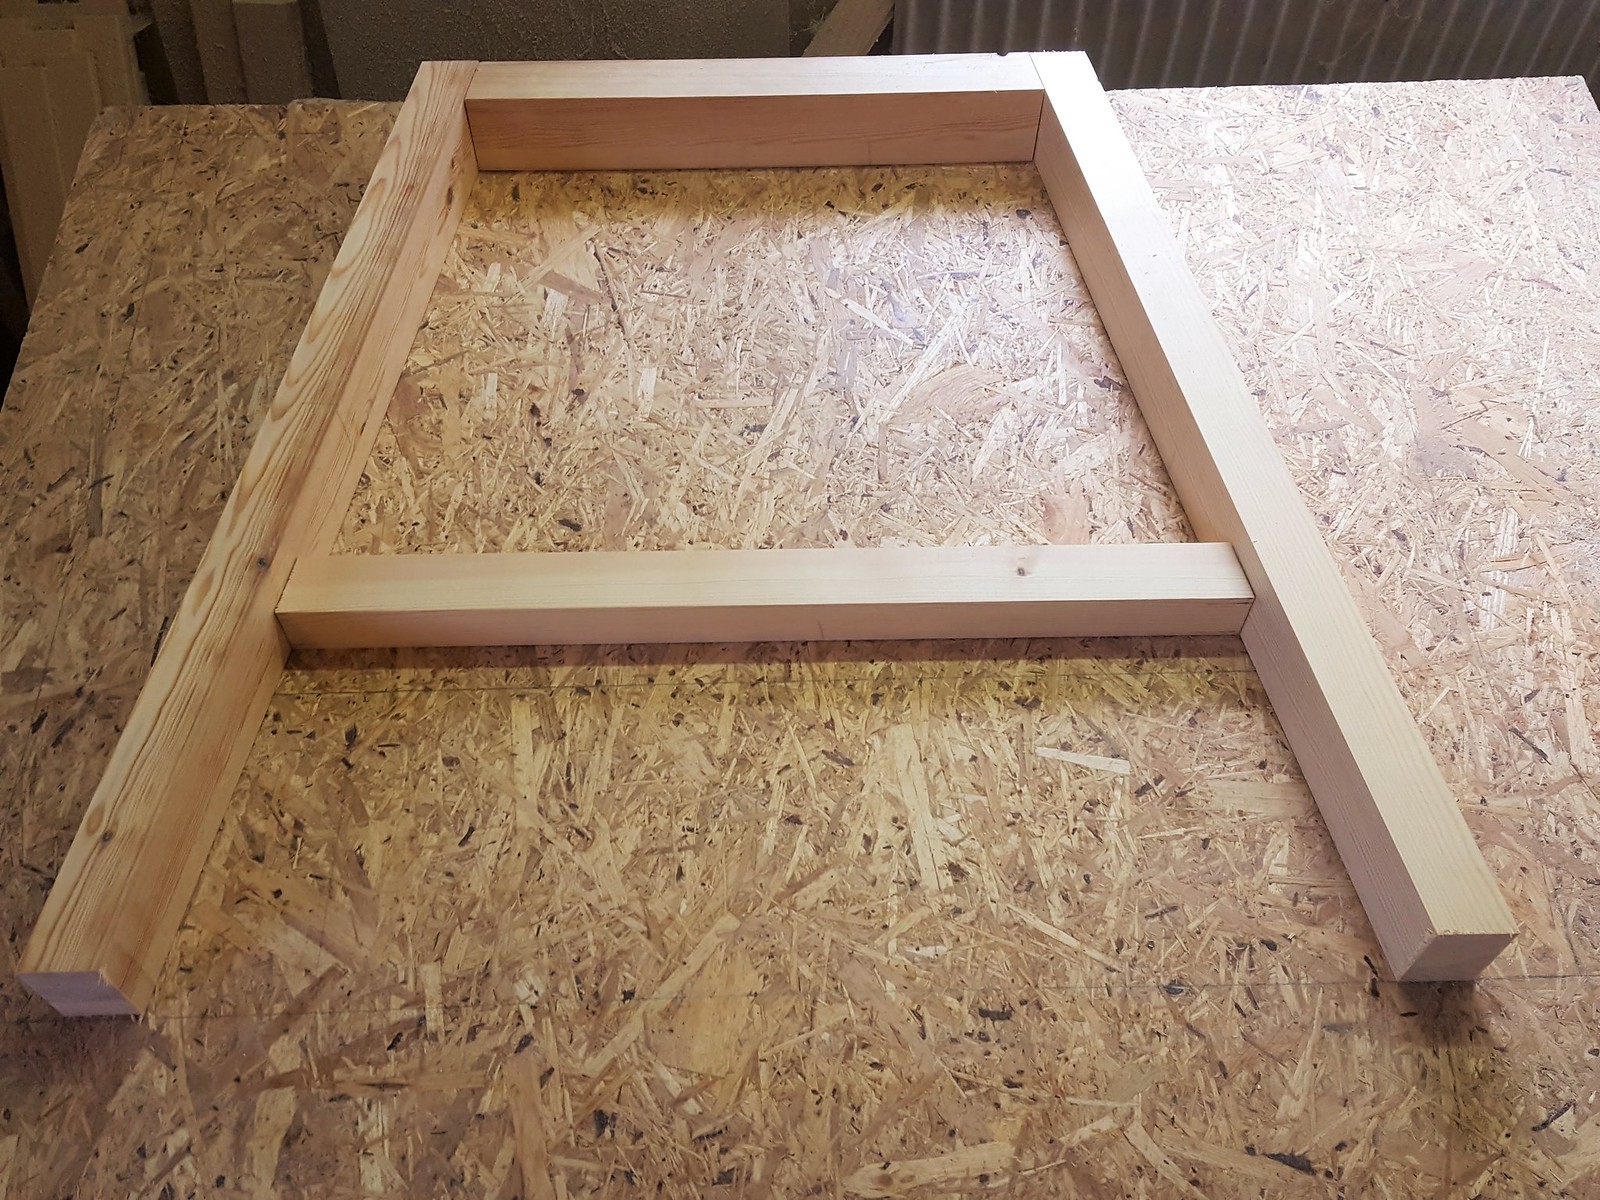
Step 4: Making the Legs
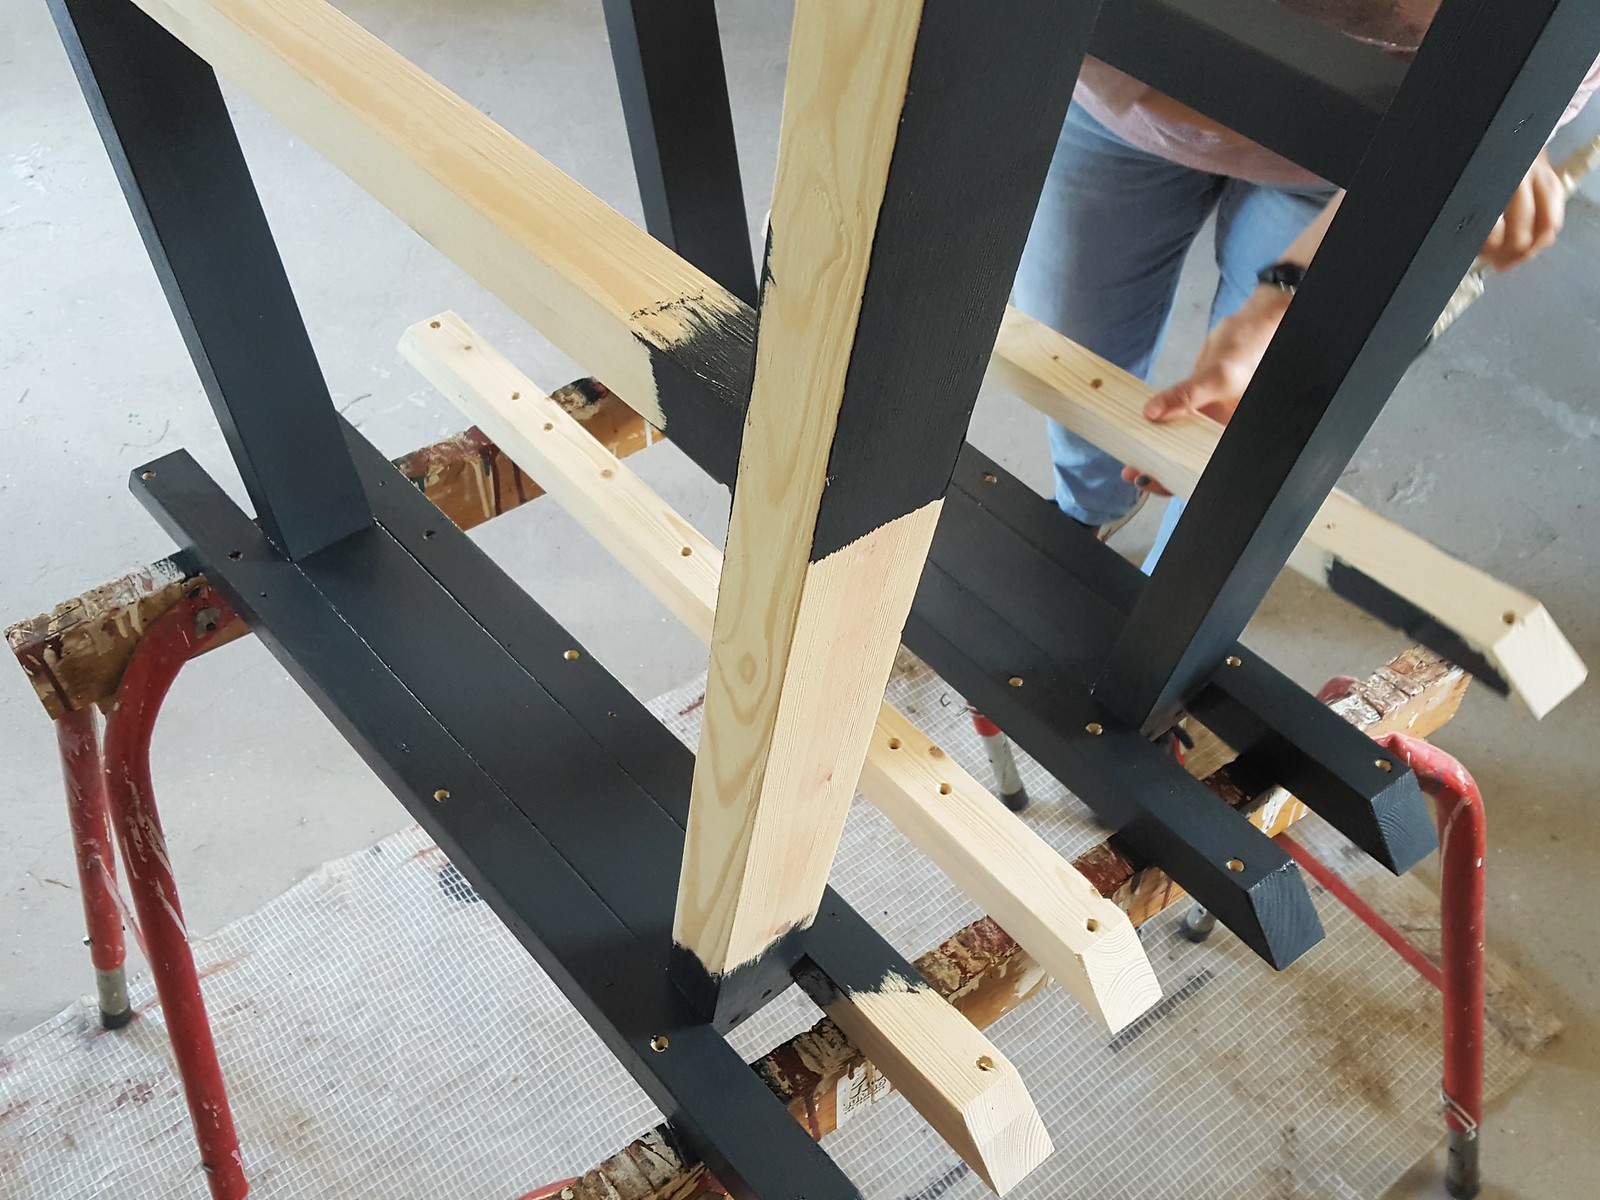
Now it is time to make four legs. I decided to make my own design and built the legs my selves. However, you can also just go to the local furniture store and buy some. This is totally up to you. You can look at my pictures to get some inspiration. I decided to make some wood legs and give them a black color, which I think goes great together with the color of the tabletop.
Step 5: Surface Treatment
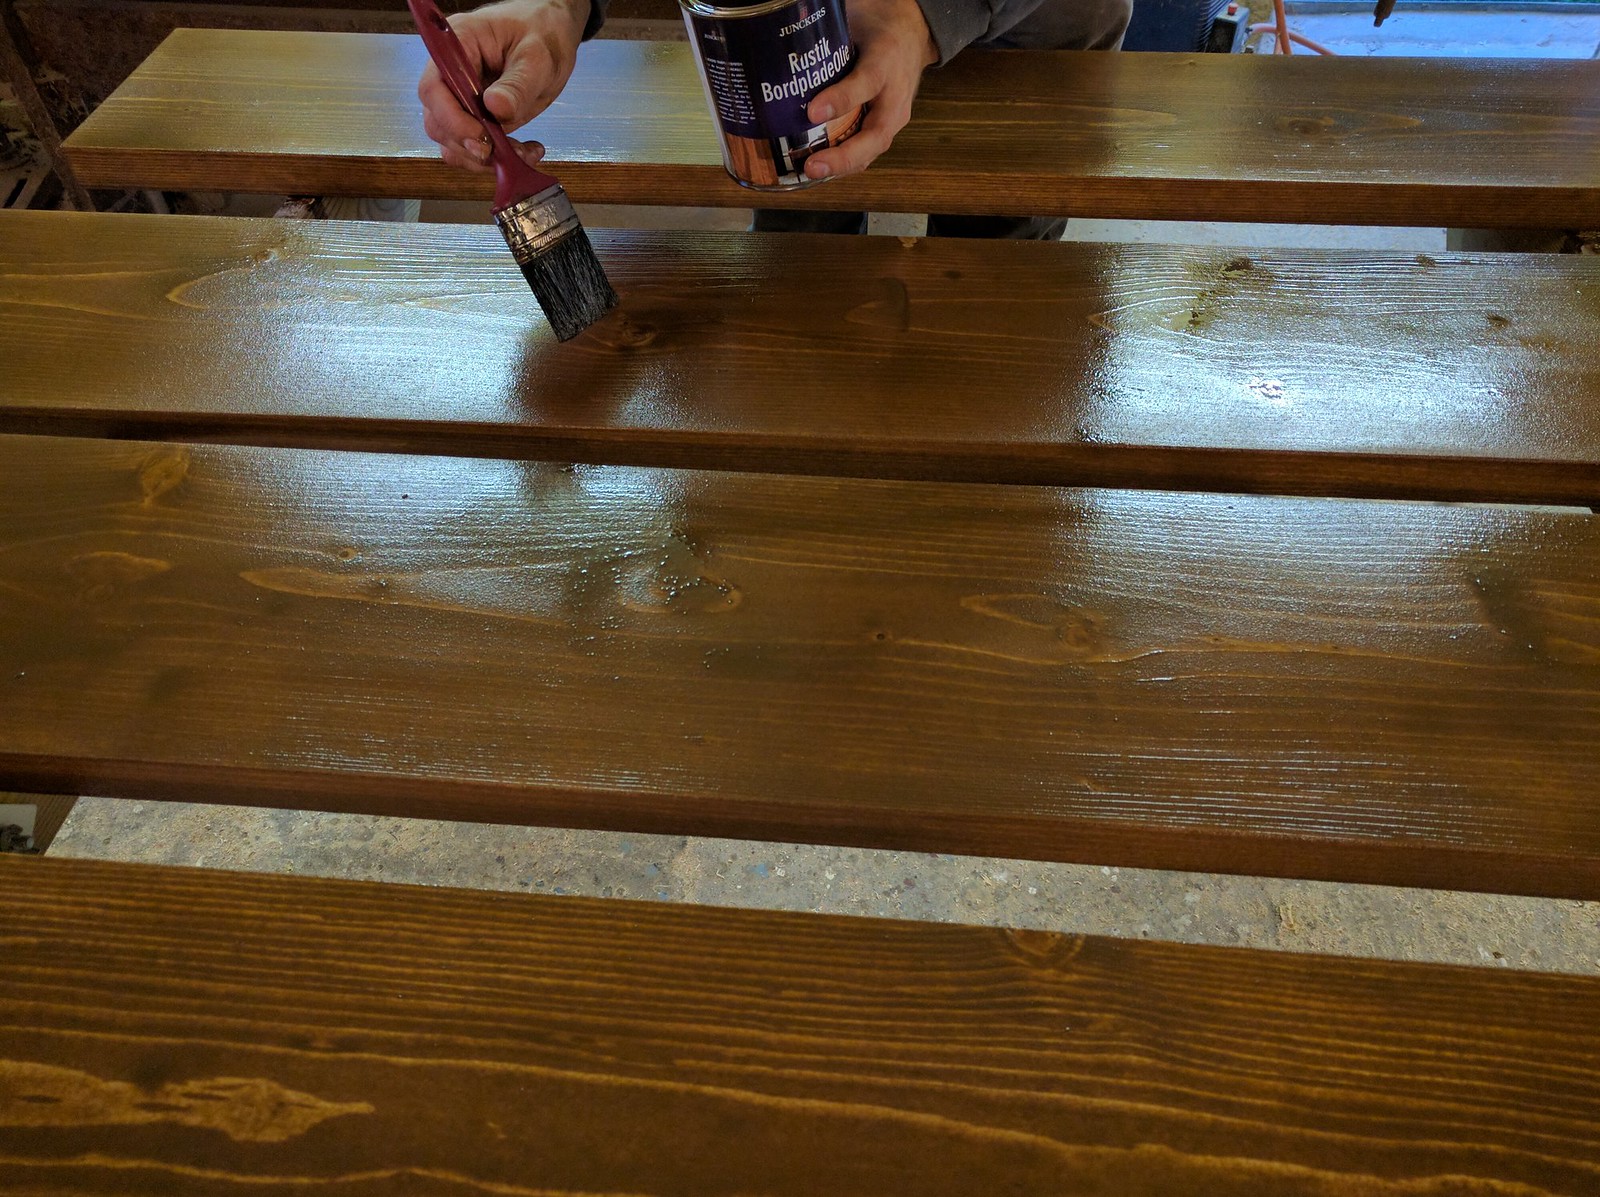
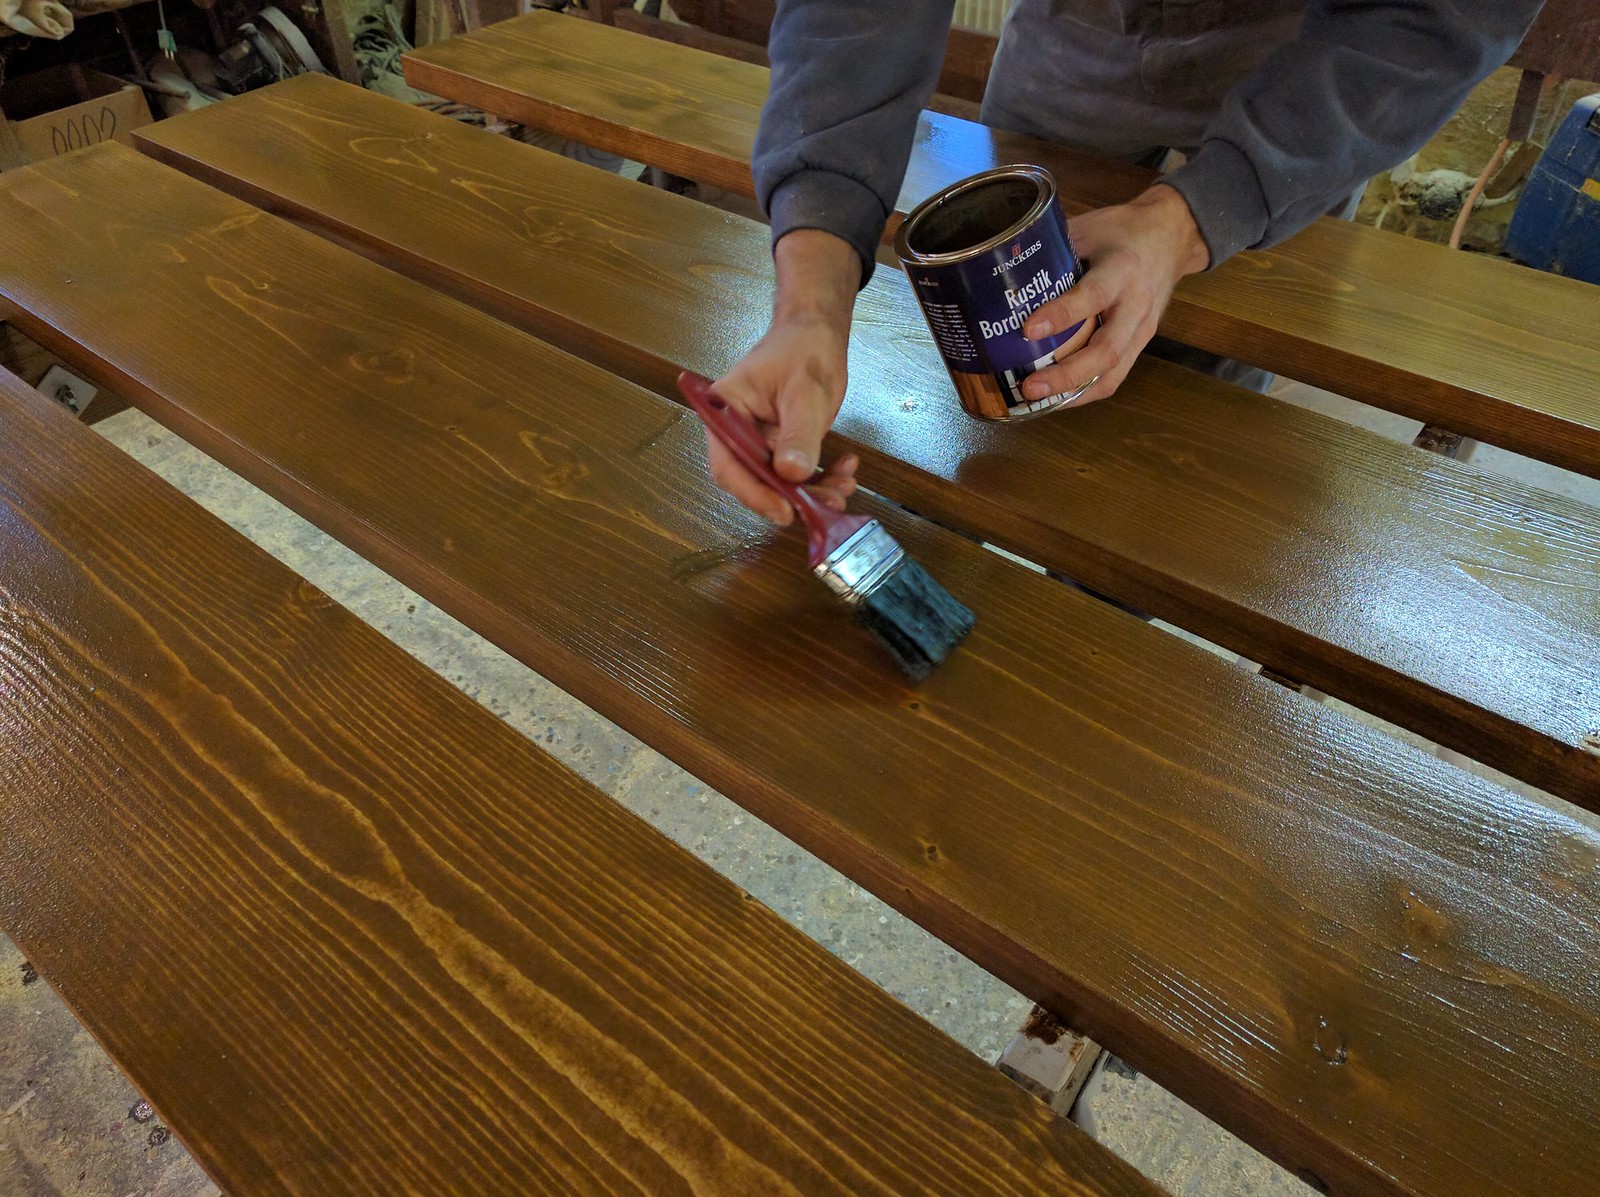
When you buy the wood for your table, it is typically untreated. Untreated wood is like a sheet of paper towel it will soak up dirt and liquids. Therefore, it is important that you treat your new table. So now it is time treat the wood with some good wood oil.
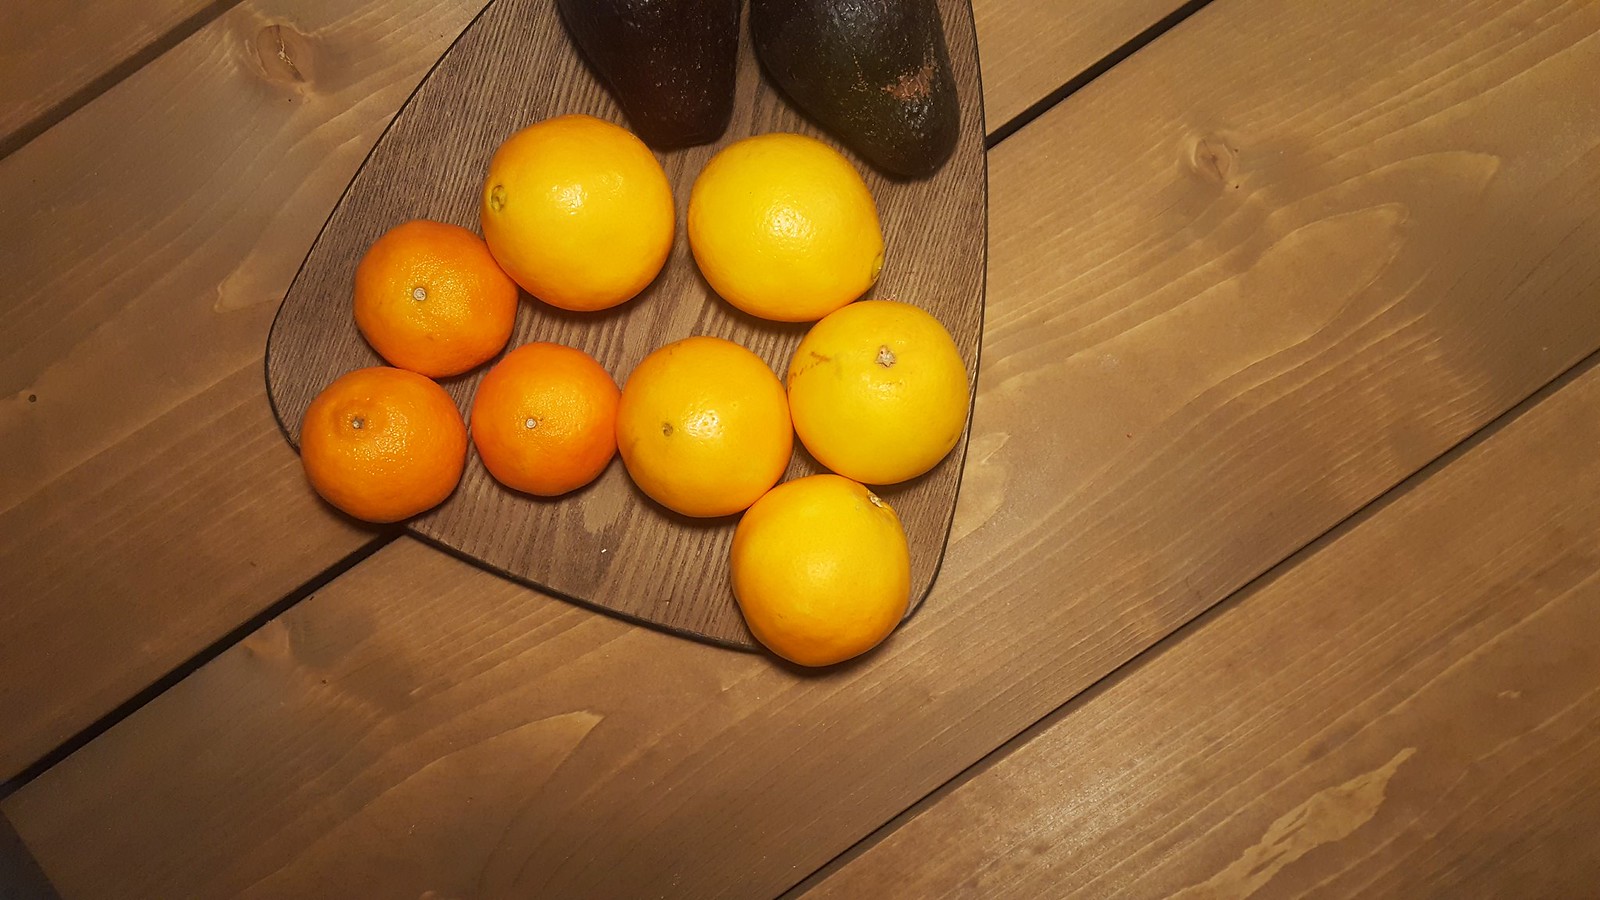
There are several different ways you can treat the surface of the table. The table I have made is simply just treated with an oil with a walnut color. The oil will close the surface of the wood and prevent it from getting dirty over time.
I decided to use a darker walnut-colored oil. I thought that would be best suited for my living room. However, the most popular colors in Denmark are more white/light or washed-out colors so that the wood gets a more old and raw look.
Before you start to assemble the table, treat the entire surface of all the materials with oil. Follow the instructions on the label. Sometimes it can be necessary to gently sand the table, after the oil treatment, using some fine sandpaper.
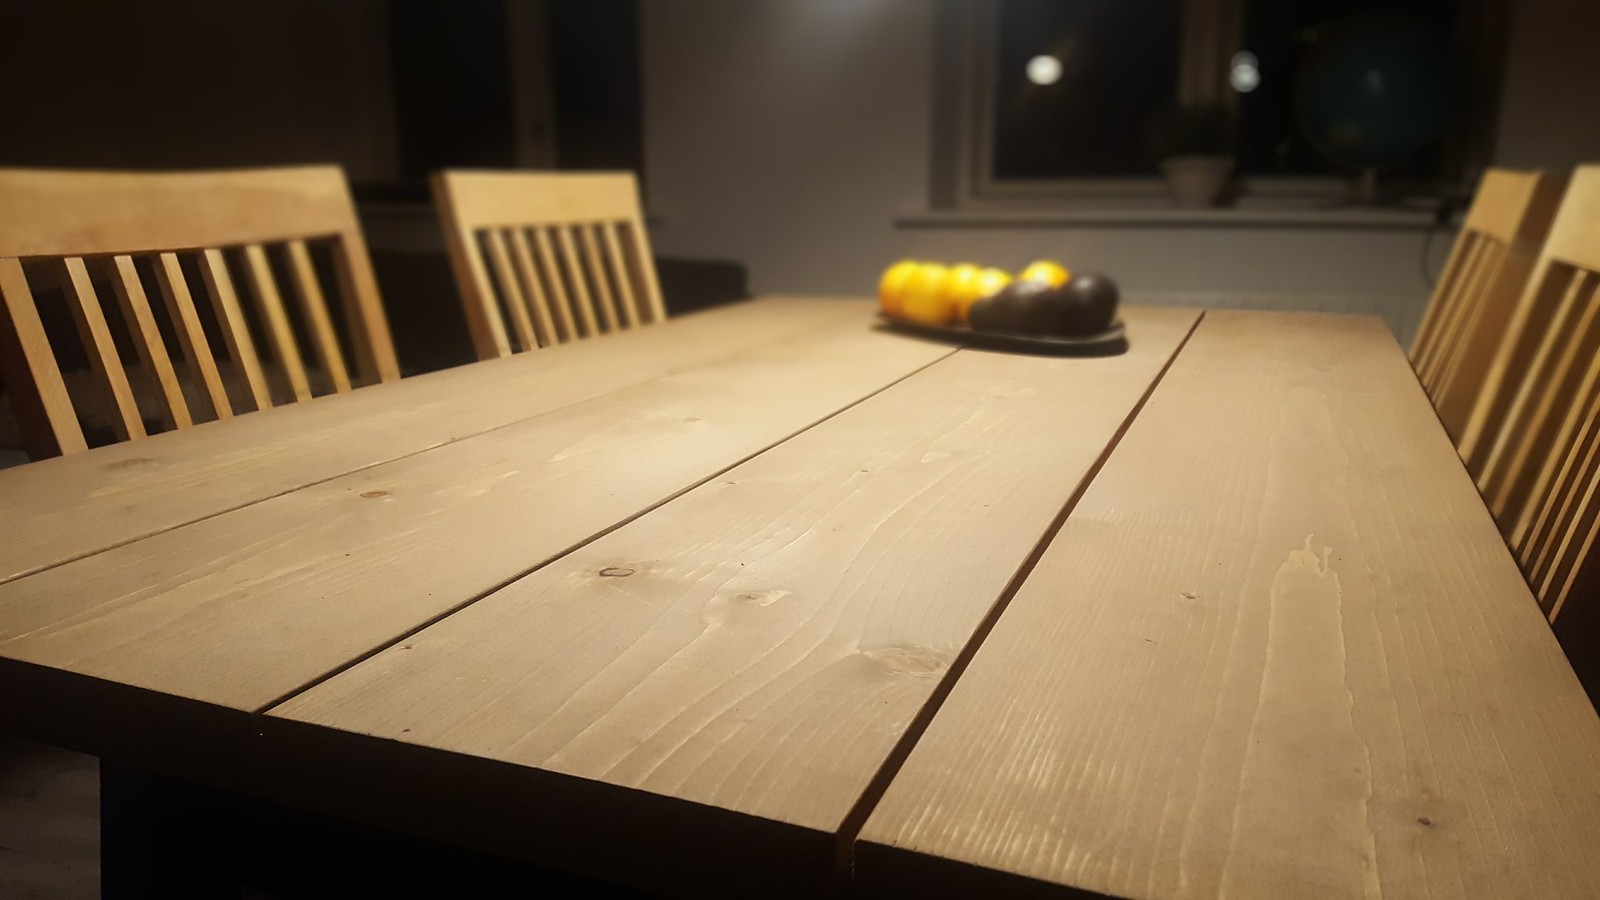
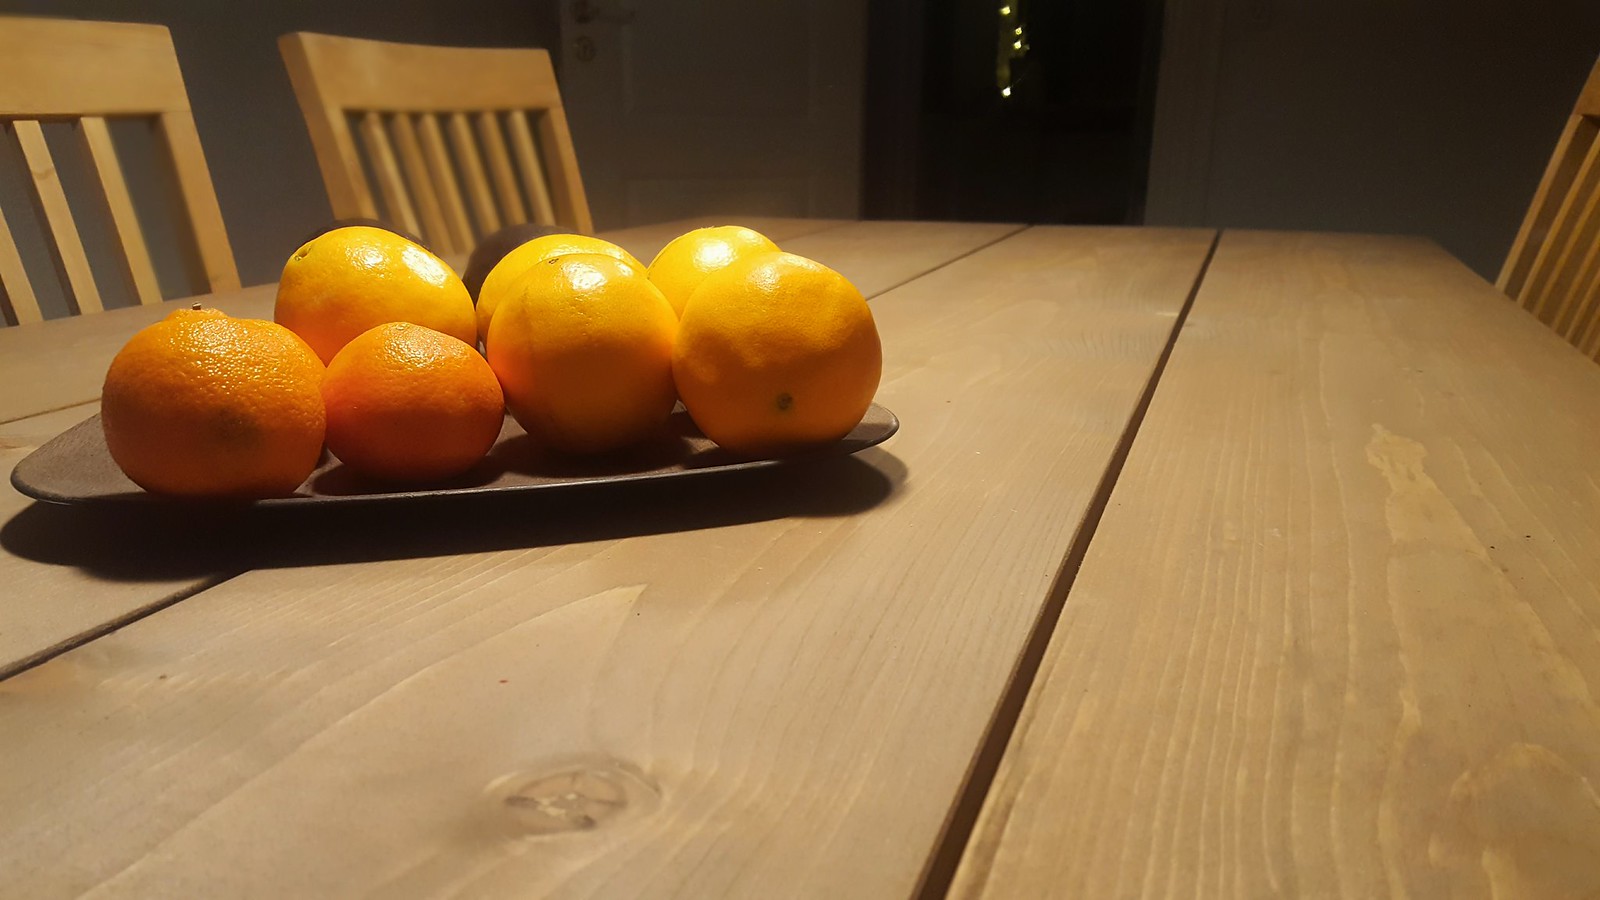
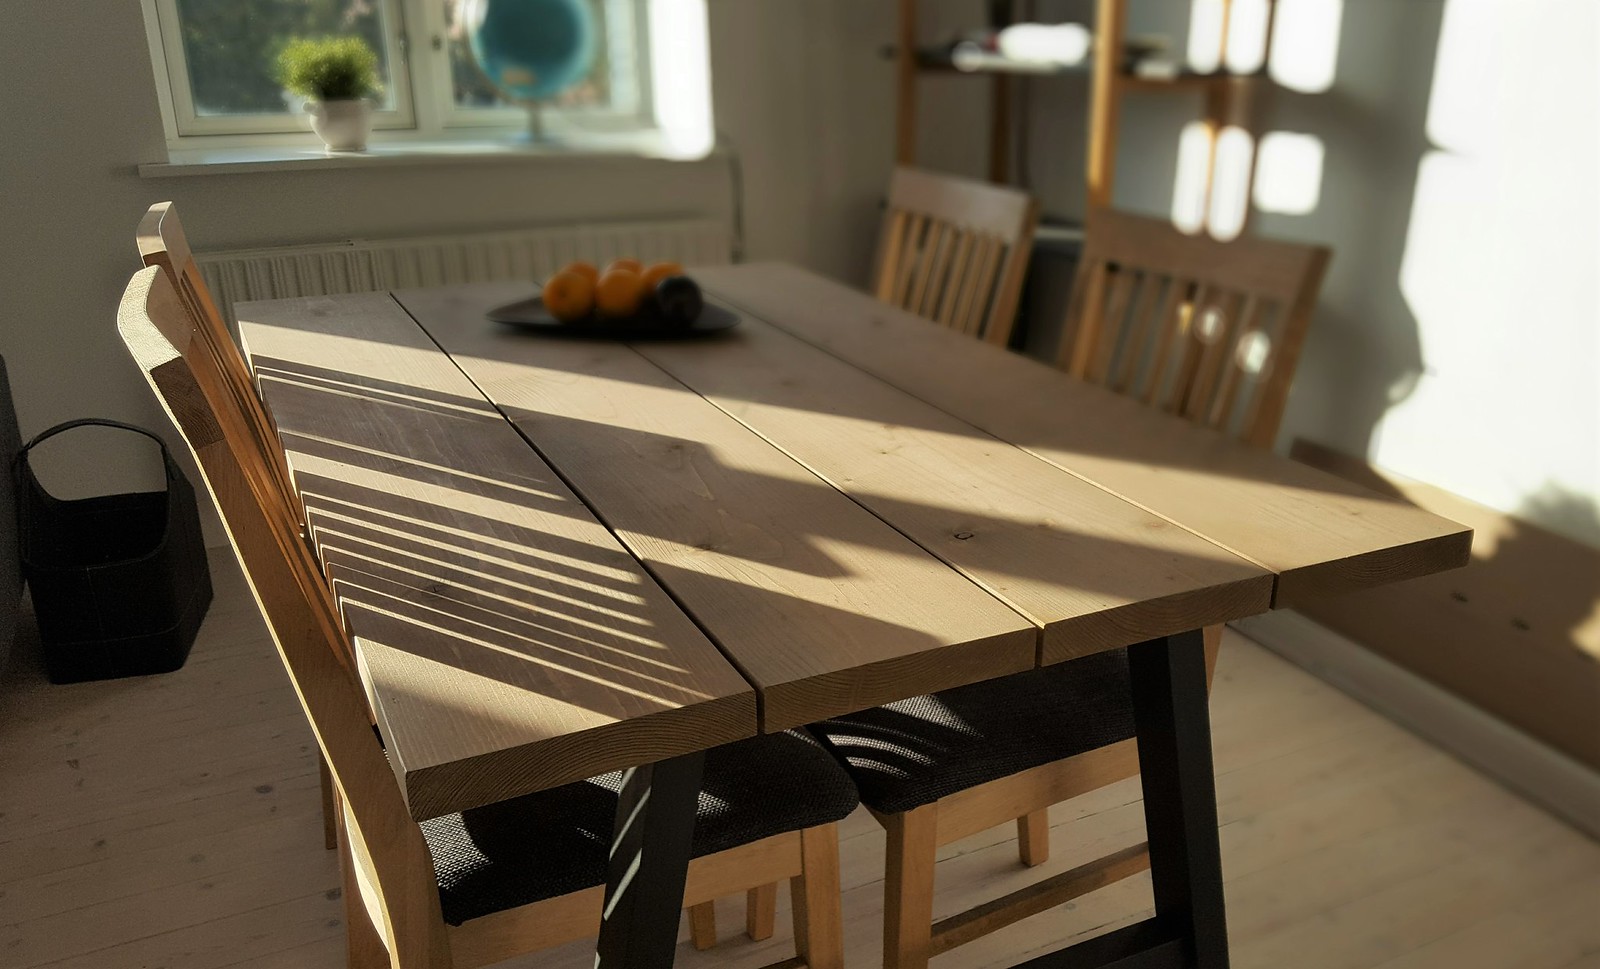
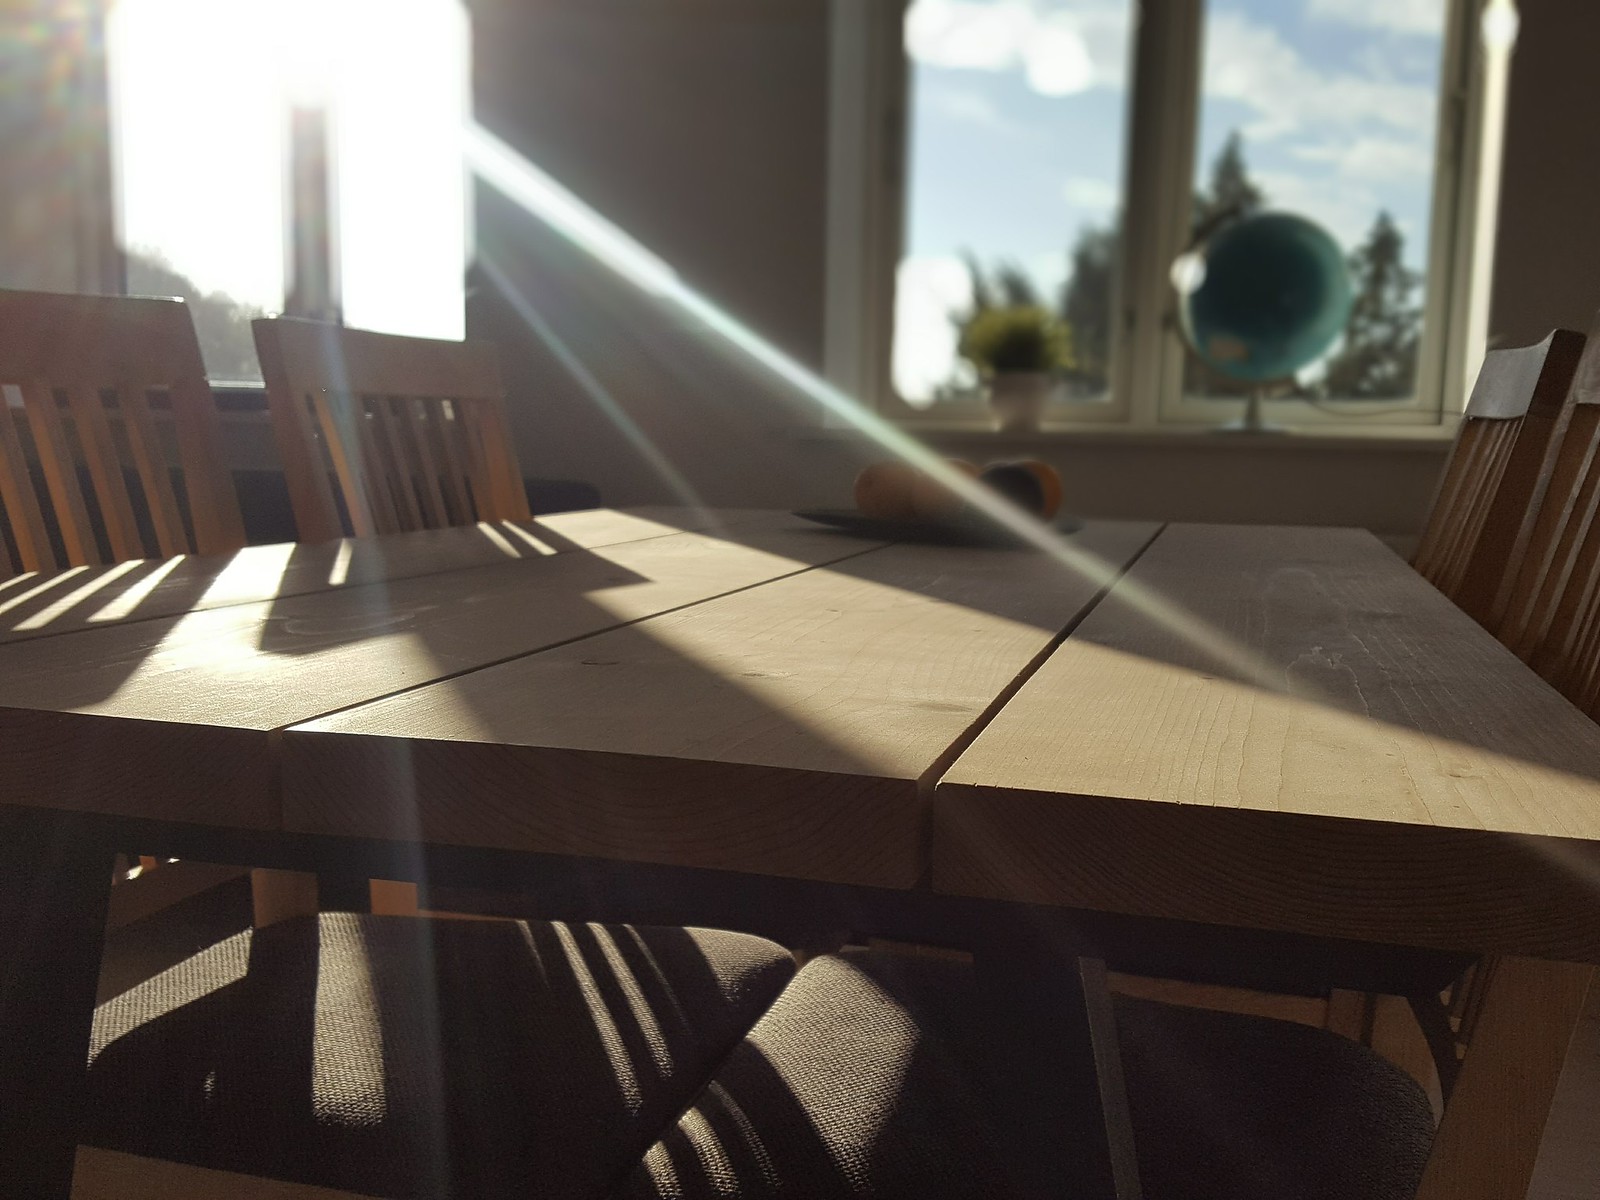
Step 6: Wood Dining Table
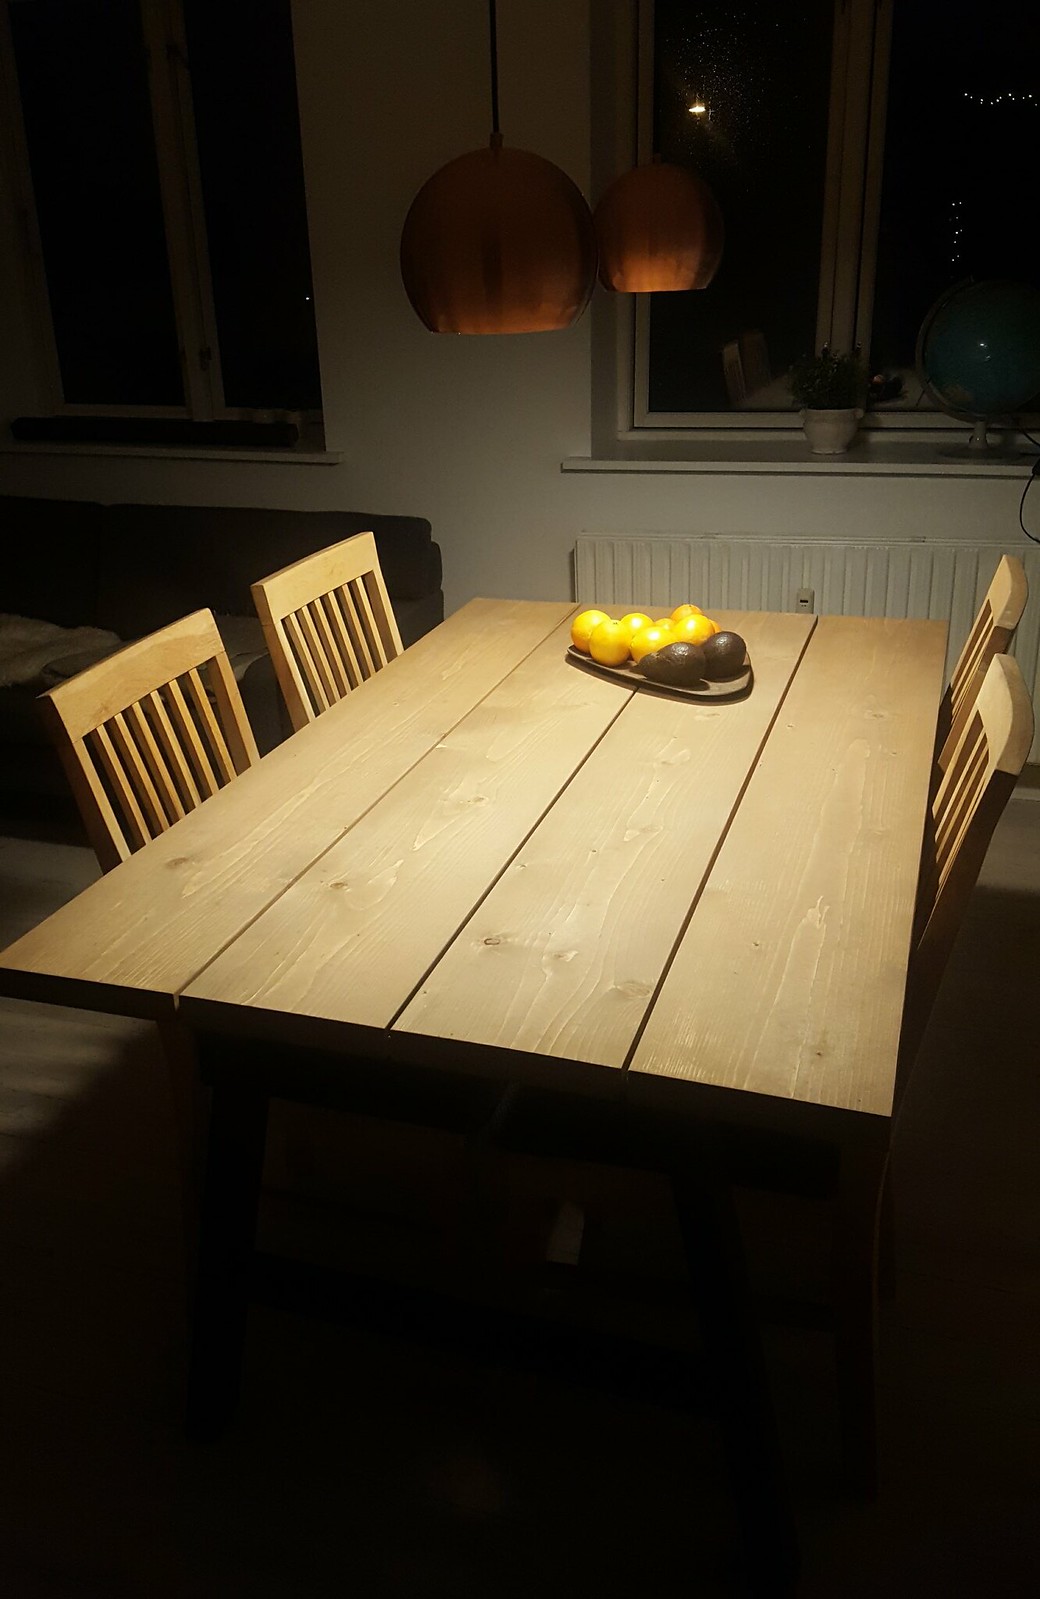
When you have oiled and painted the legs; then you are ready to assemble the table again. Remember that the oil typically takes up to 7 days to completely cure. However, you can start using the table gently once the oil is dried after about 8-10 hours. After some time you might need to refresh the treatment and give it some extra oil - this is of course depended on how must you uses the table.

Write me a comment