Nordic Food & Living

menu icon
go to homepage
  • Breakfast
  • Lunch
  • Dinner
  • Traditional Danish
  • Nordic Bread
  • Nordic Christmas
  • Nordic Dessert
search icon
Homepage link
  • Breakfast
  • Lunch
  • Dinner
  • Traditional Danish
  • Nordic Bread
  • Nordic Christmas
  • Nordic Dessert
×

"Home"

"Home"

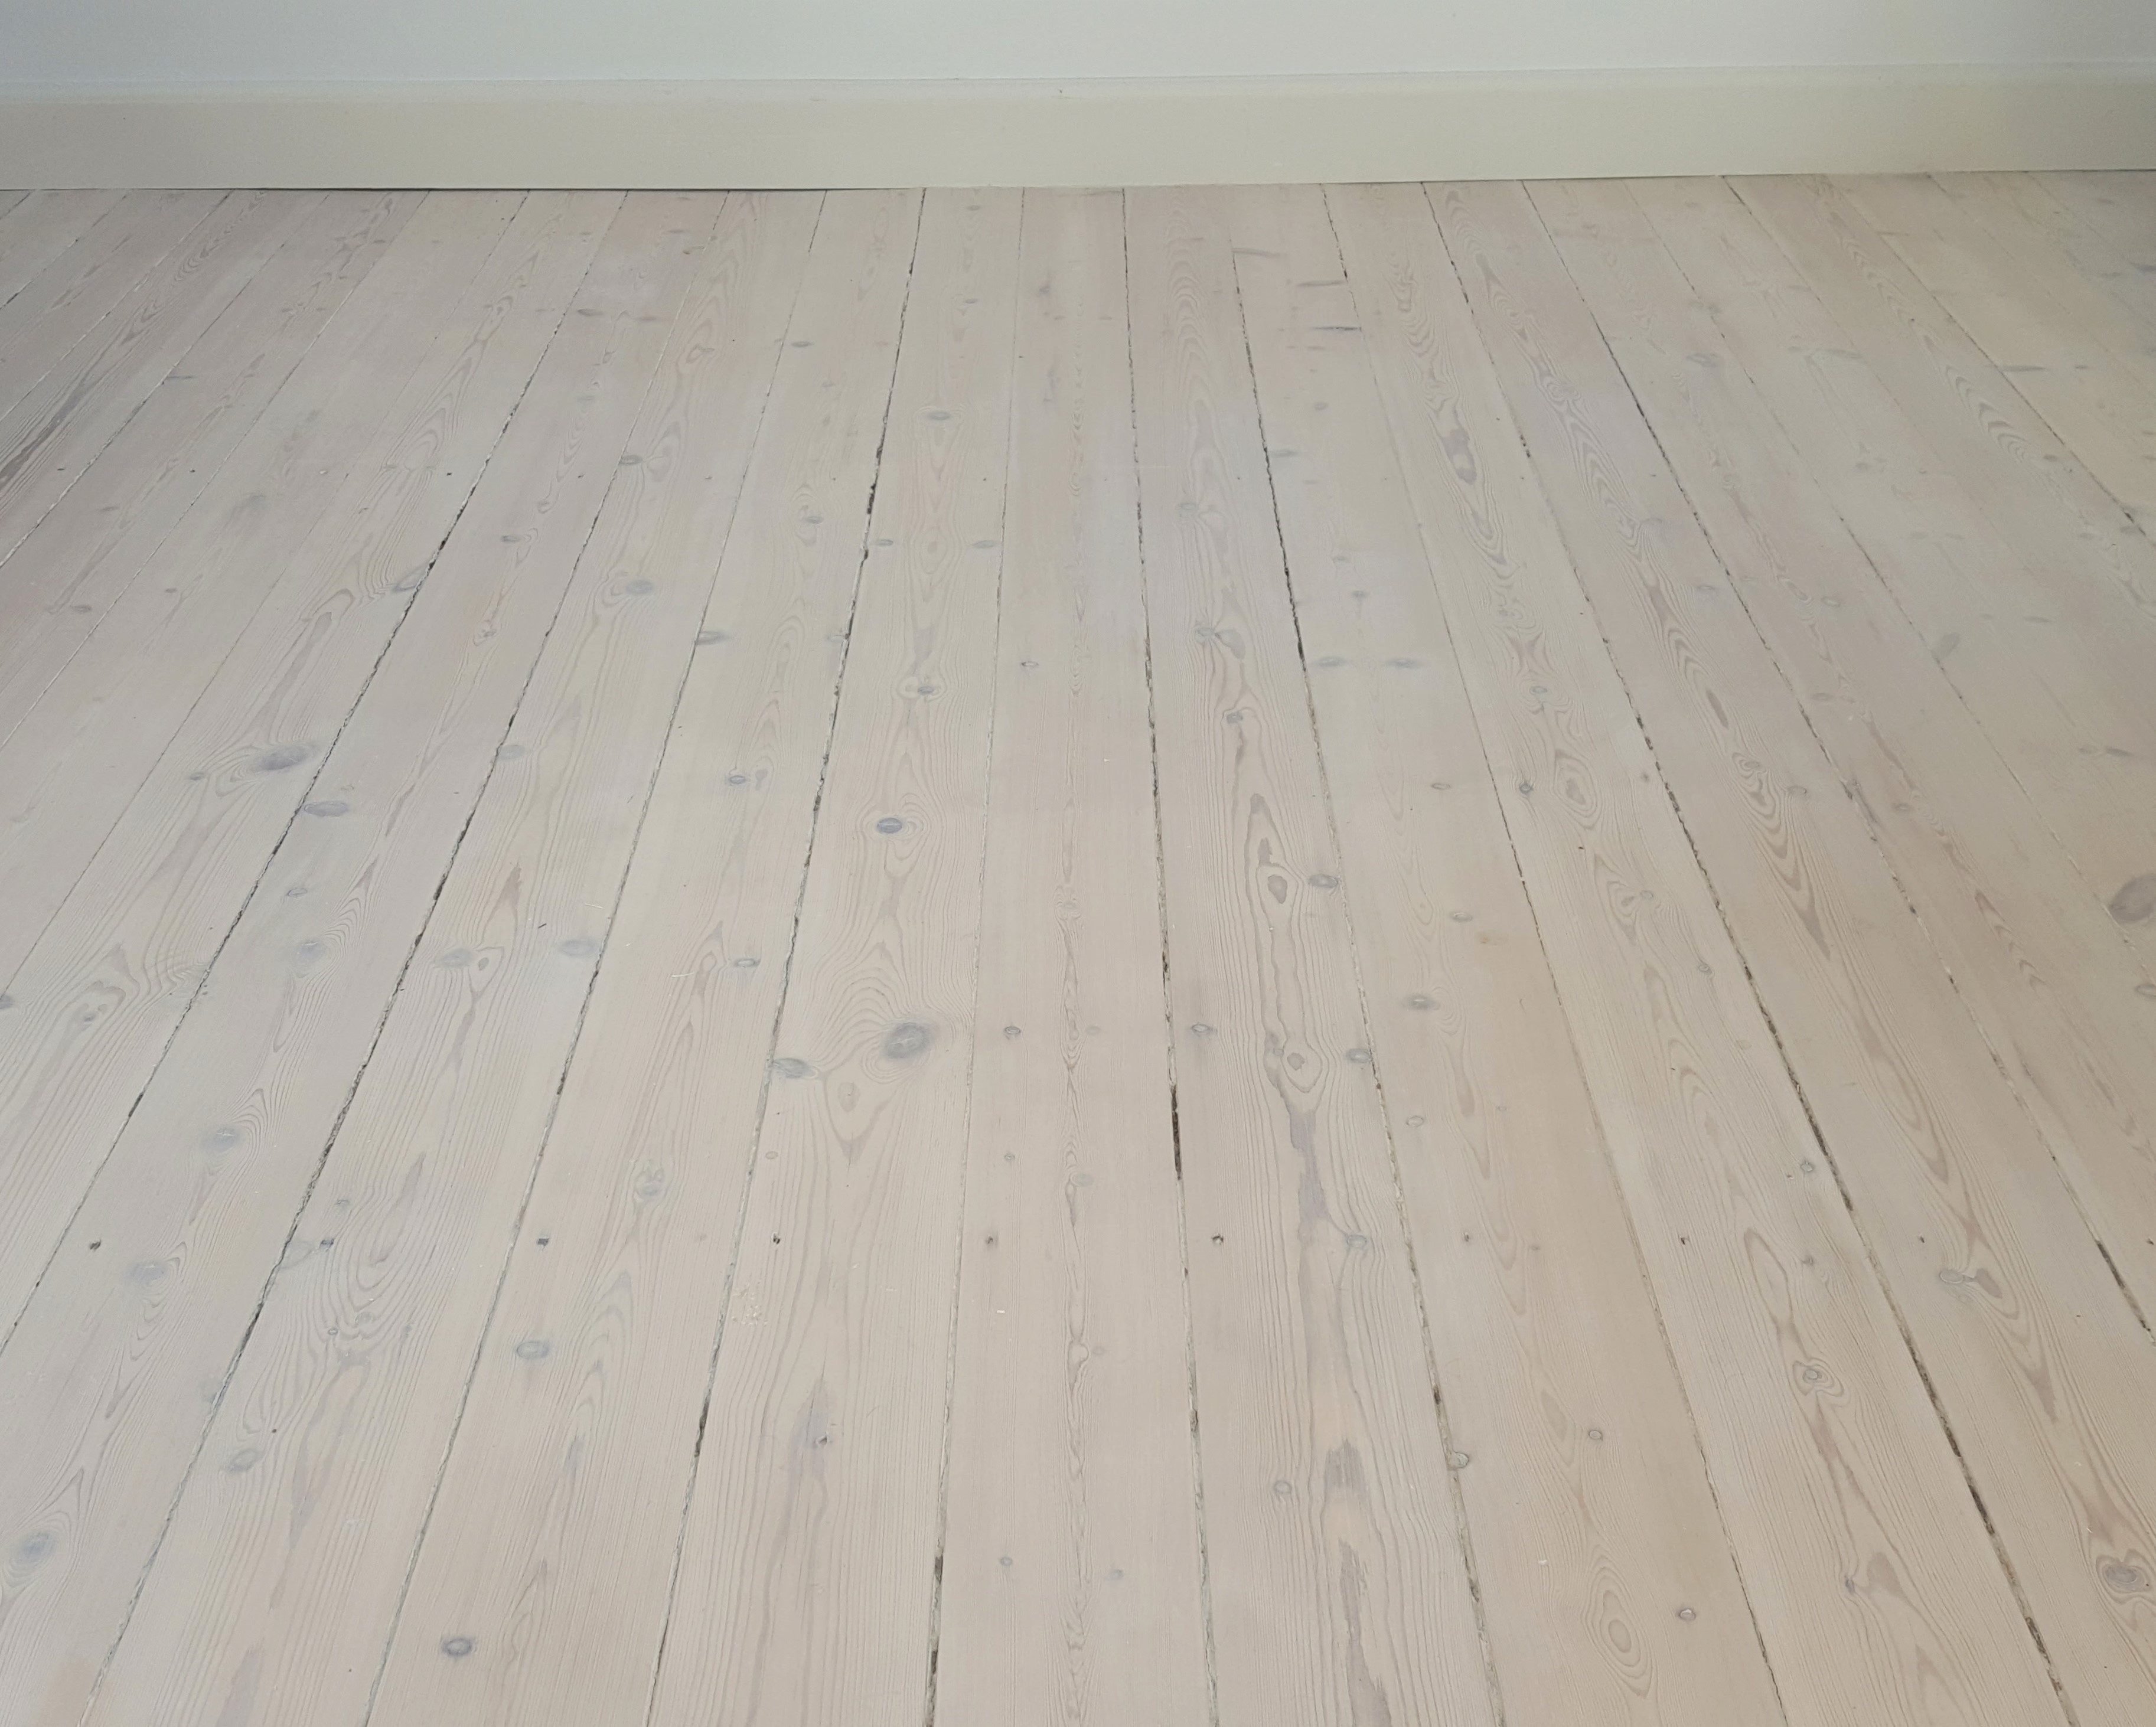
Guide: Give Your Floor a Nordic Look

Categories: Do It Yourself

Nordic look floor

Guide: Give Your Floor a Nordic Look

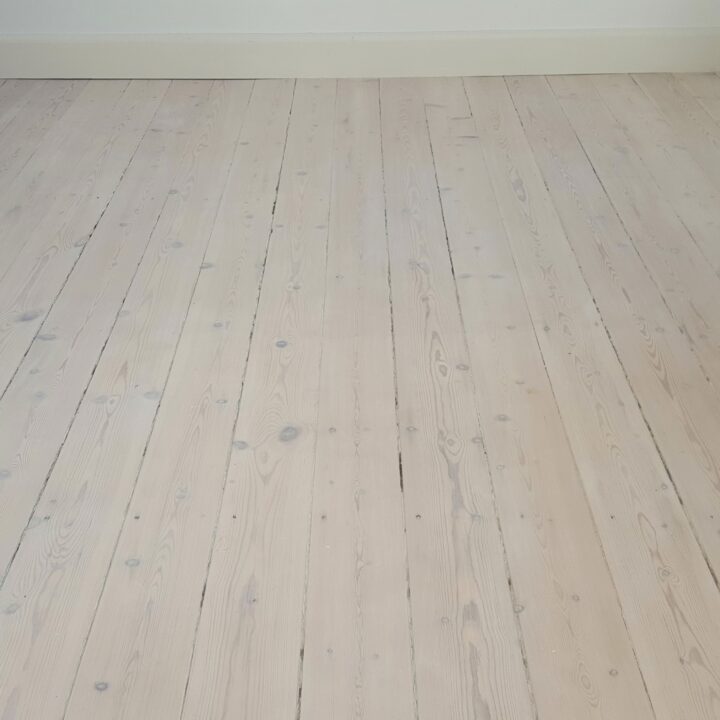
In this guide I will show you how to give your old wood floor a new and fresh Nordic look. The floor in this guide is from my own apartment where a doll gray carpet has covered it for many years. After I took over this apartment this old floor was high on my to-do list to get fixed.

In the following I will describe how I sanded and later lye and oil treated my floor. There are of cause several different ways and techniques to make a floor like mine. You should therefore always follow the instruction from your local paint shop where you also can buy all the stuff you need for this project. Especially, in the lye and oiling process is important to follow the instructions provided on the labels as this may be different from brand to brand. [Read more...]
Guide: Make a Nordic Wood Dining Table

Categories: Do It Yourself

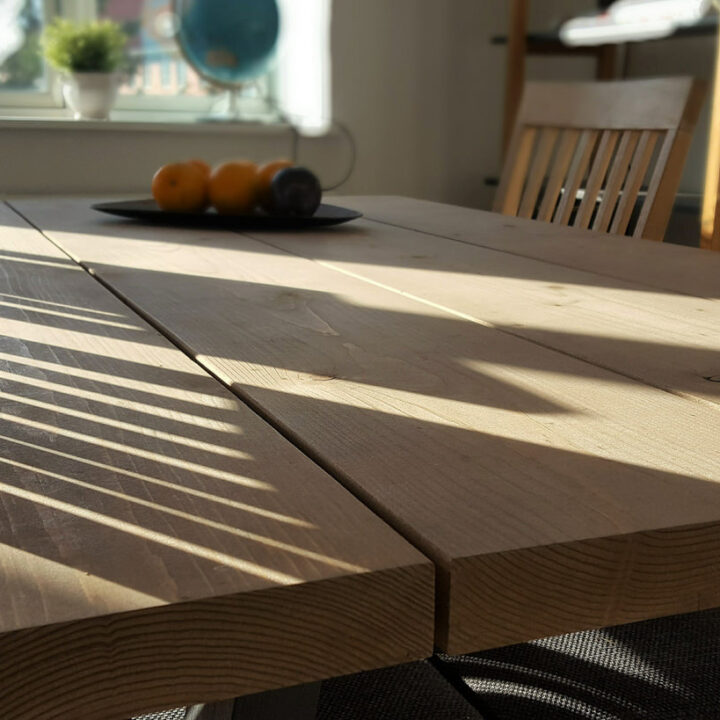
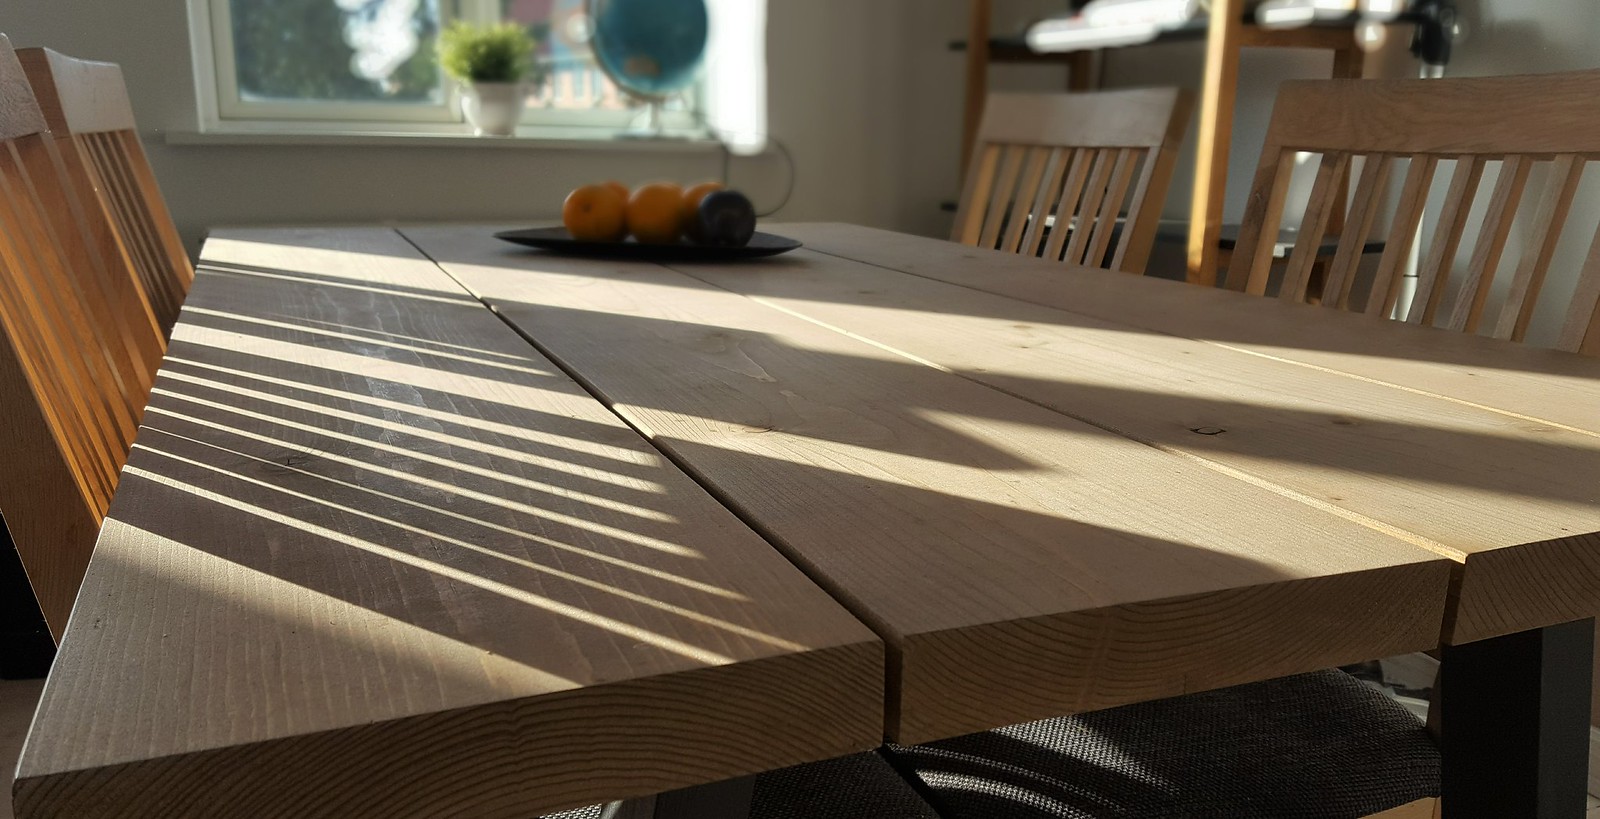
Guide: Make a Nordic Wood Dining Table


I have been asked several times for a guide how I have made my wood dining table. So of course I have made this guide how you can make your own Nordic inspired dining table.. It is actually not that difficult and the materials are not that expensive. It is differently much cheaper compared to the tables you can buy at the local furniture store. So if you like these kind of dinner tables I will absolutely recommend you to spend a weekend and make your own. [Read more...]
Guide: Lower Ceiling and Install LED Downlights

Categories: Do It Yourself

Guide: Lower Ceiling and Install LED downlight

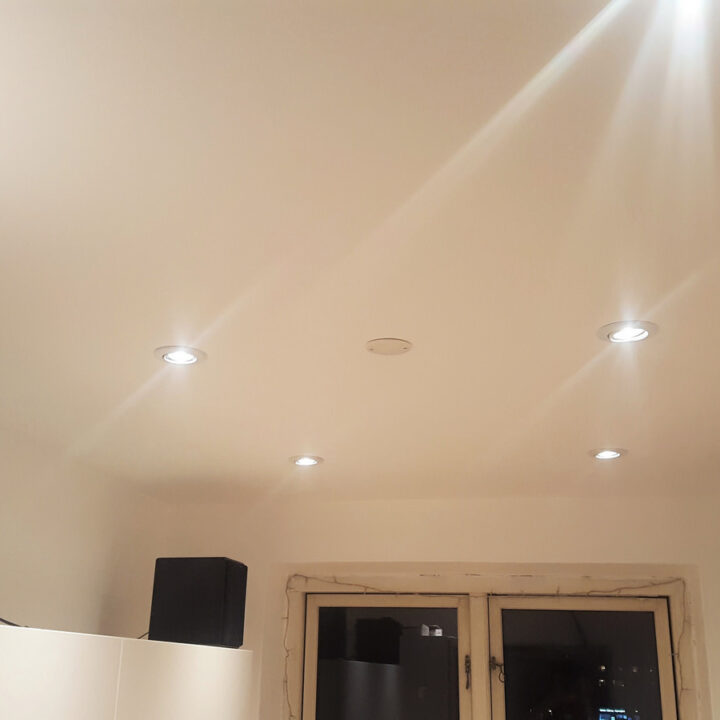
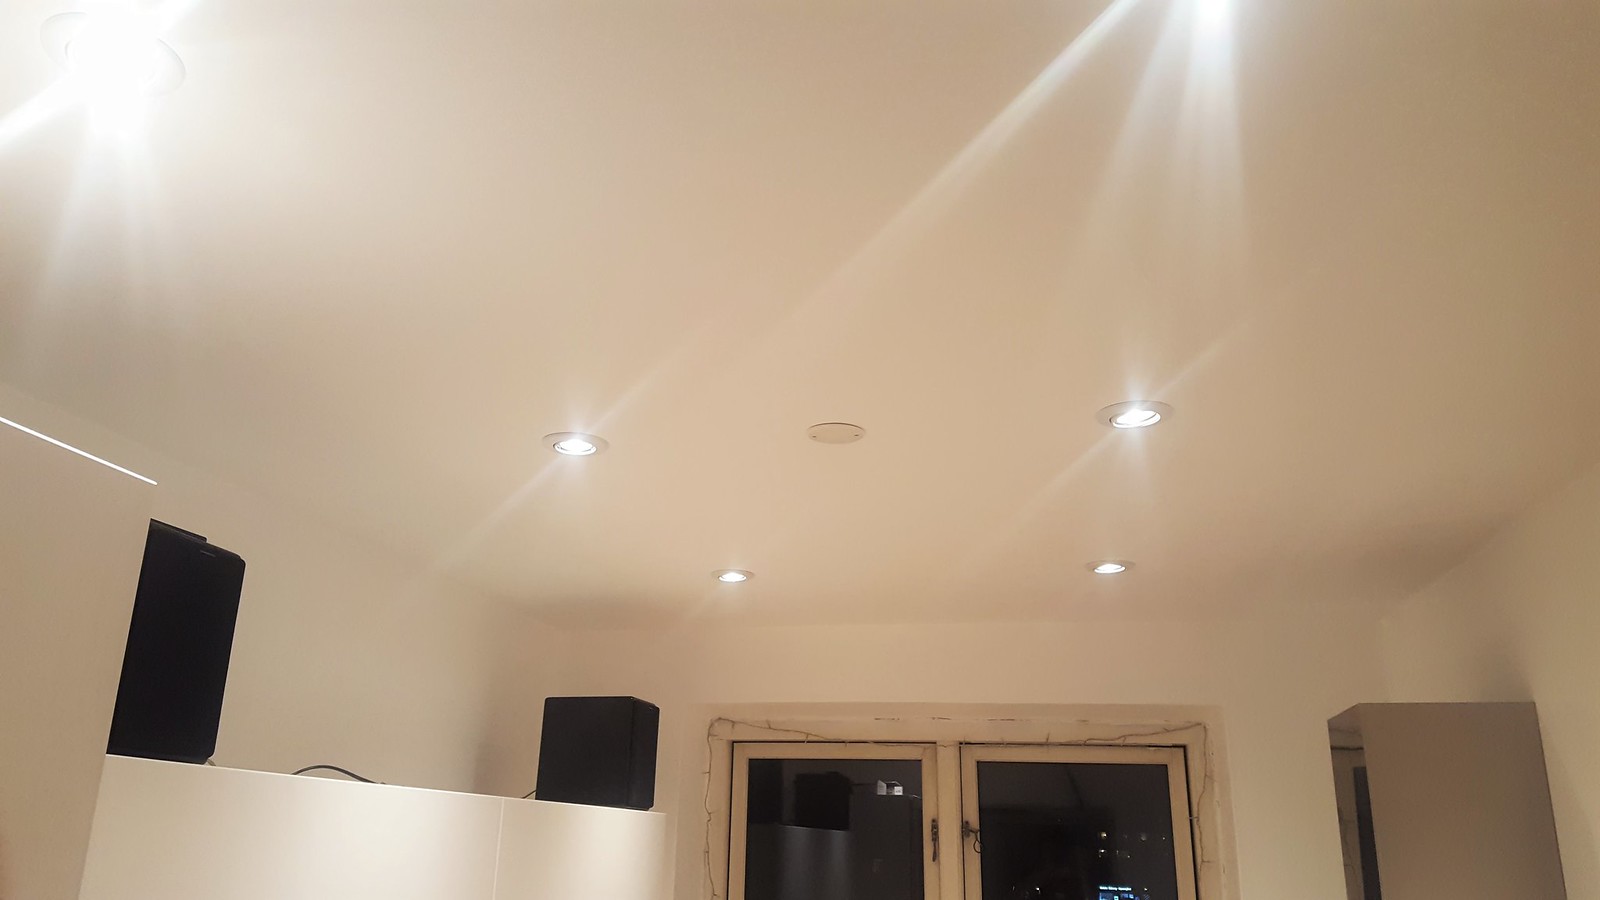
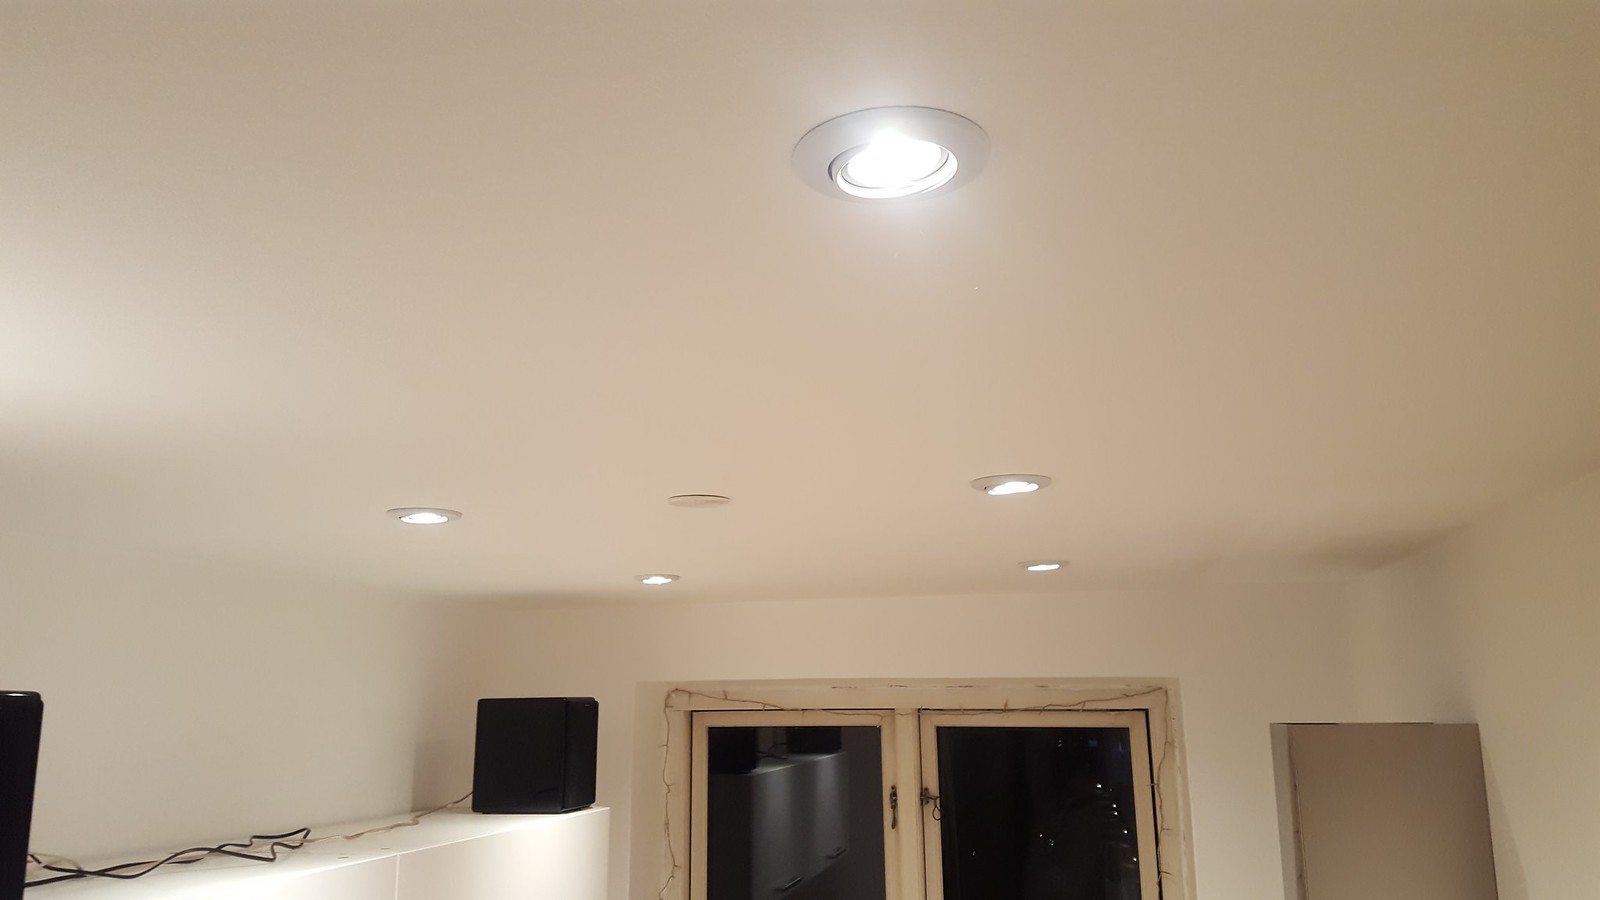
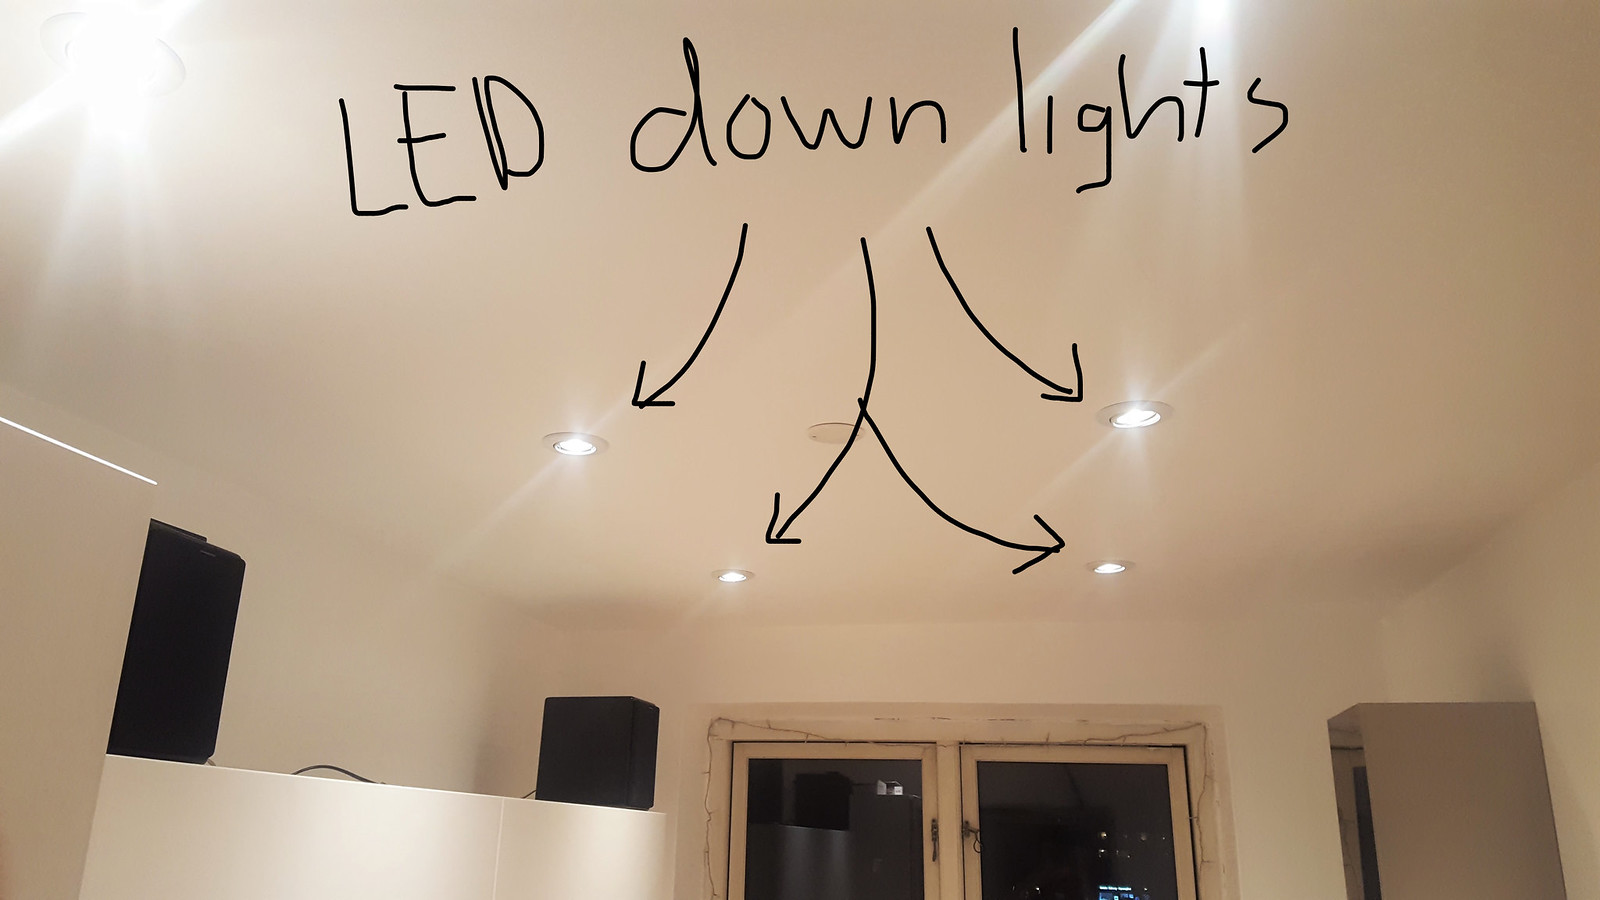
In this small guide I would like to show you how you easily can lower you ceiling a little bit and install some LED downlights. LED downlights are a great way to get a very good distribution of light in a room and that is especially very important in, for instance, the kitchen where you are working several times a day.

There are two important factors you need to consider when buying your new downlights; the design of the actually downlight and then the quality of the LED light bulb. I have described both issues a bit more below.

Design and Installation Height
There are many different types and designs of LED downlights which can be installed in the ceiling. I you plan to lower your ceiling only with the purpose to install downlights then you should look for some lights with the lowest possible installation height. The smaller the installation height is, the less you have to lower your ceiling. This is especially important for smaller rooms. Because the lower you make your ceiling the 'smaller' the room becomes and feels. So look for the smaller downlights which takes the less space.

Quality of the Light
Besides the design and size of the downlight, it is also very important to get some quality LED bulbs. In the resent years there have been a great investment in developing new and better LED bulbs. Today, the best bulbs can replicate the same quality of light as the old and traditional light bulbs. The bad thing is that the market is still flooded with bad LED bulbs which gives a terrible light.

When looking at the quality of the light there are two important factors; the actually color of the light also known as the color temperature and then the quality of color. For most indoor use, and especially in the kitchen, I will recommend a color temperature of 2700 Kelvin. The higher the 'temperature' the more 'colder' the light will gets - yes it is opposite of what makes sense.
The second important factor is the Color Rendering Index (CRI) also sometimes known as RA. This factor goes from 0-100 where 100 is the best quality. For instance the light from the sun is quality 100. Today, the best LED bulbs have a CRI value of about 95 which is very good. However, these bulbs are also in the more expensive end. I will never recommend to install bulbs with a value lower than CRI-80. The CRI valve is an indication how good the color of the light is. For instance, light with a low CRI valve can make you ingredients in your kitchen look gray and boring instead of colorful and fresh.

The problem is that many manufactures do not write this CRI valve on the box where the bulb comes in. I will also not recommend buying a LED bulb where this number is unknown. It typically means that the quality of the light is in the lower end.

Step 1: Installing the Support Frame
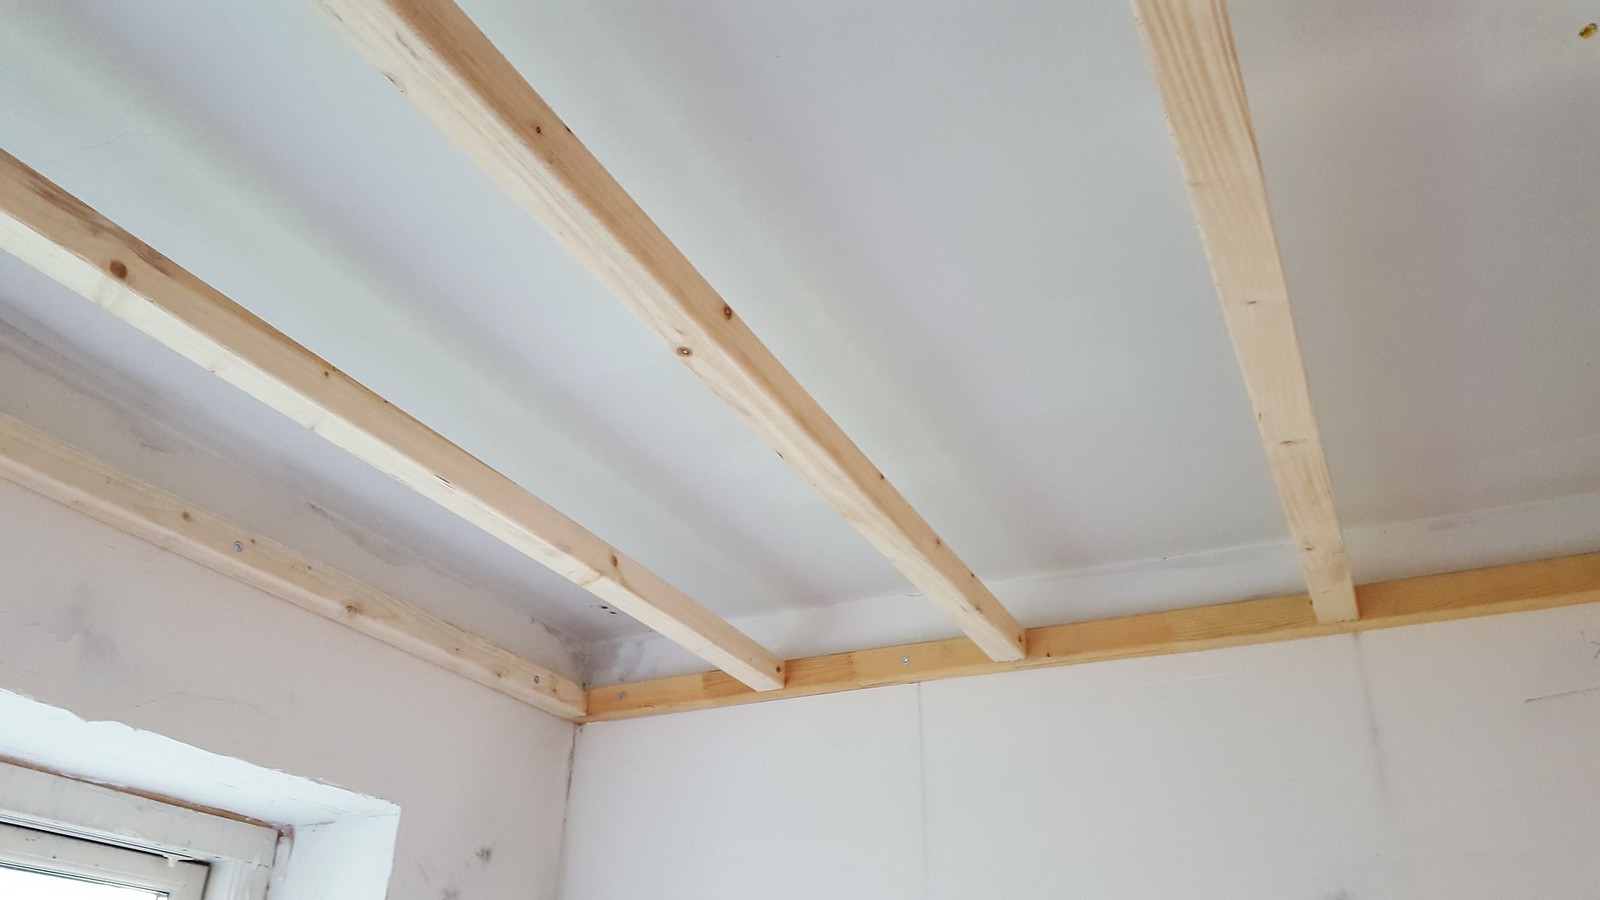
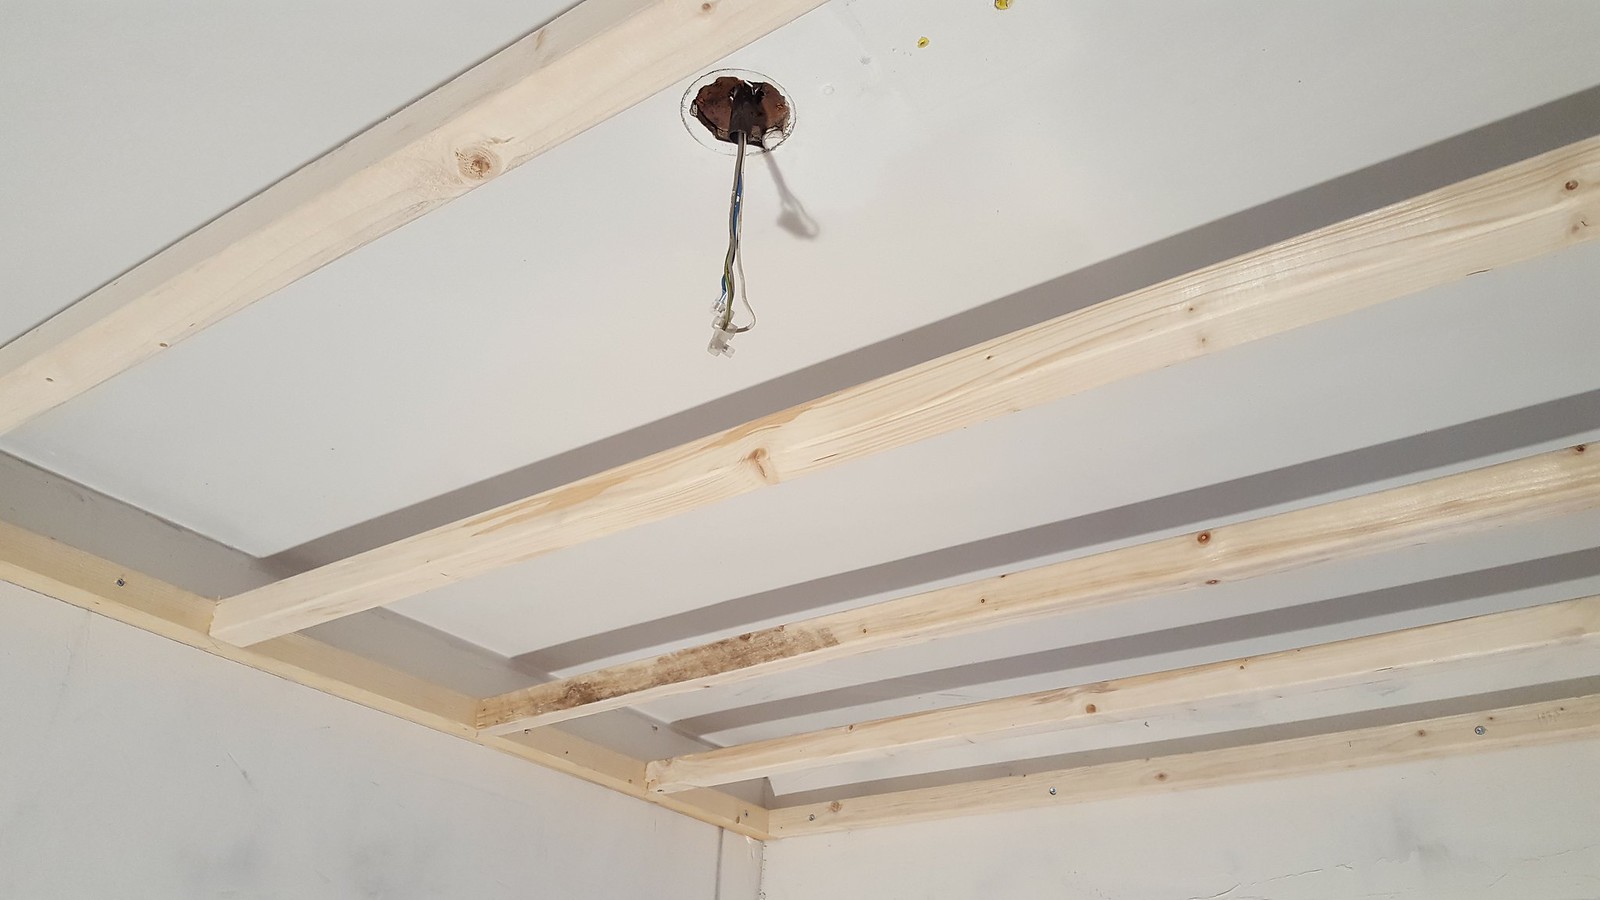
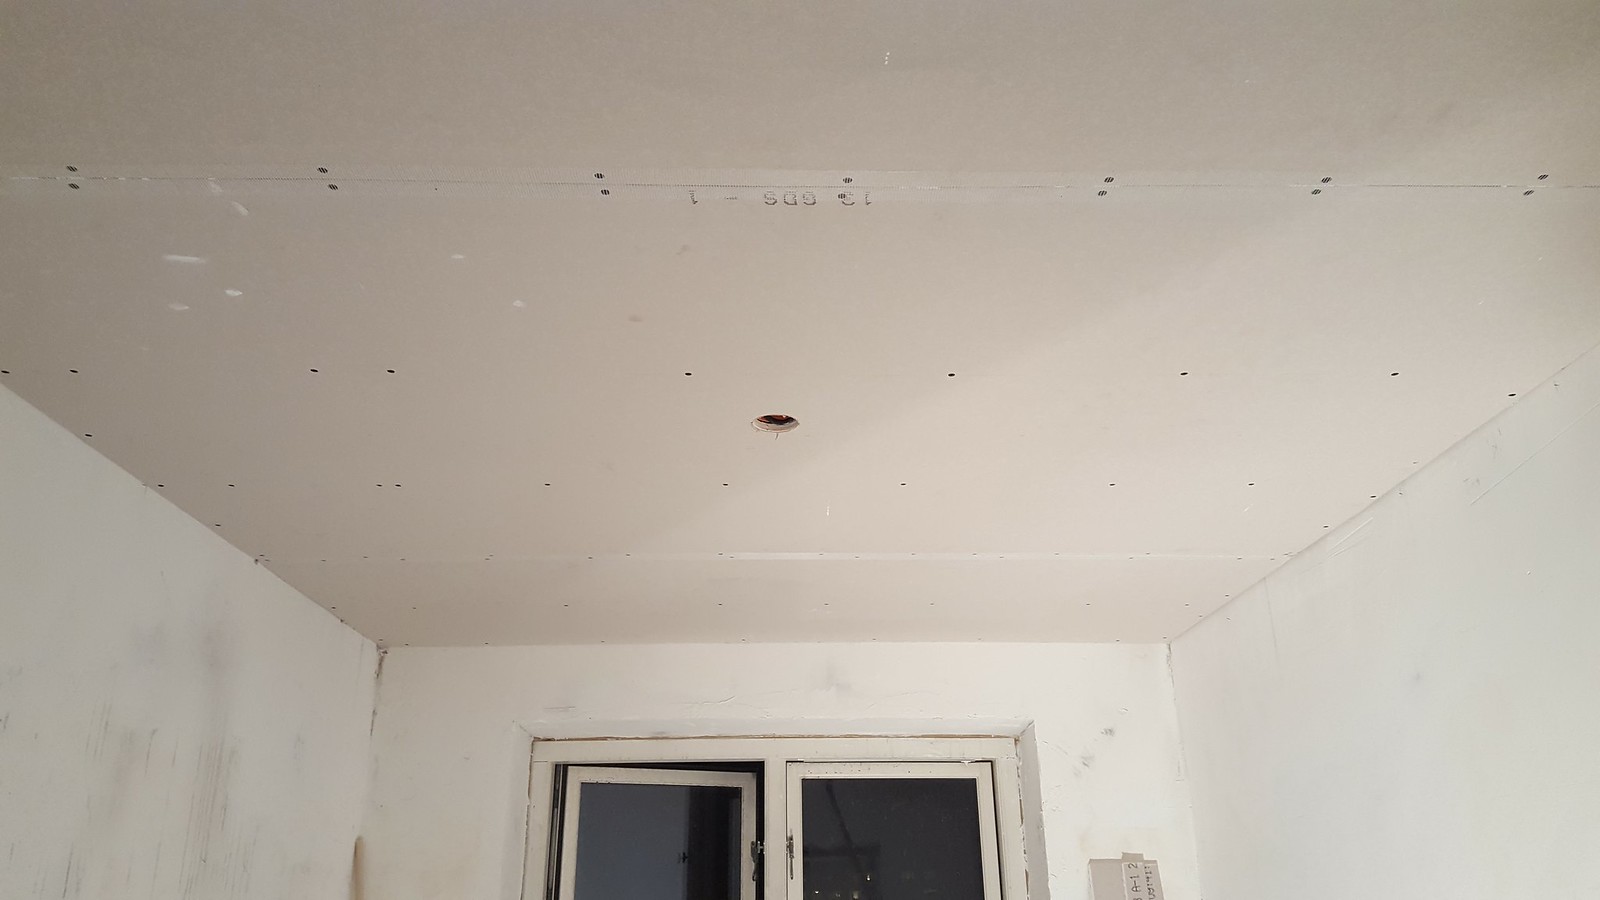
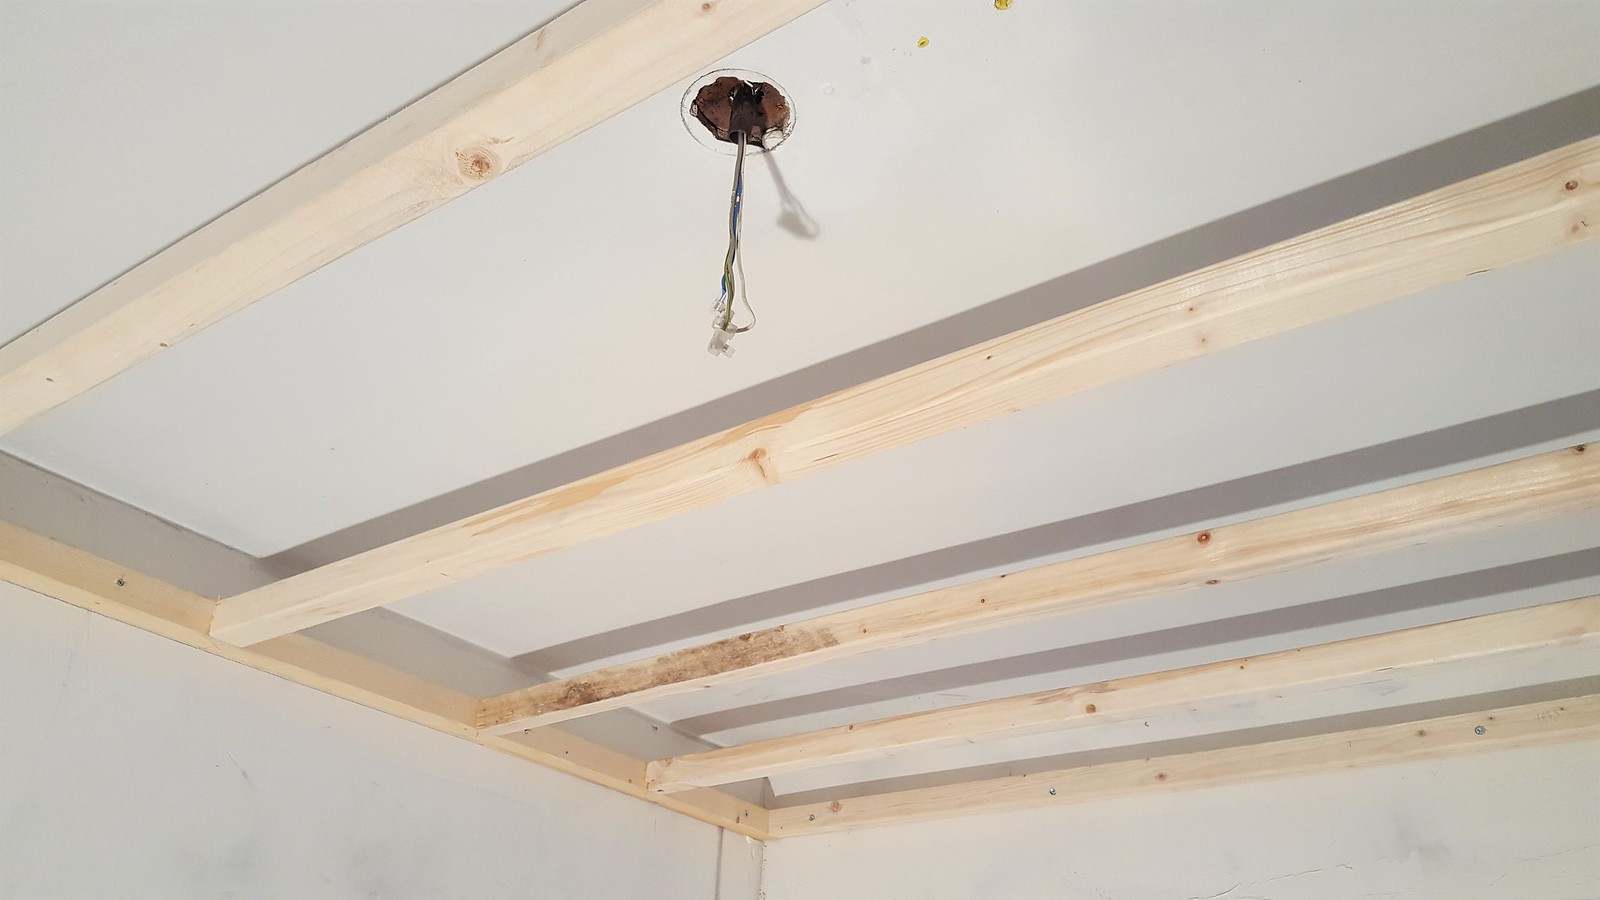
Lowering a ceiling is actually not that difficult as it sounds like. I will recommend start installing an outer supporting frame along the walls. Make sure that the frame is installed so that the total height including the ceiling plates is large enough to accommodate the height of the LED downlights. After you have installed the other frame then mount some transverse beams so that you get some more strength into the frame to carry the load from the weight of the ceiling plates.


Guide: Lower Ceiling and Install LED Downlight

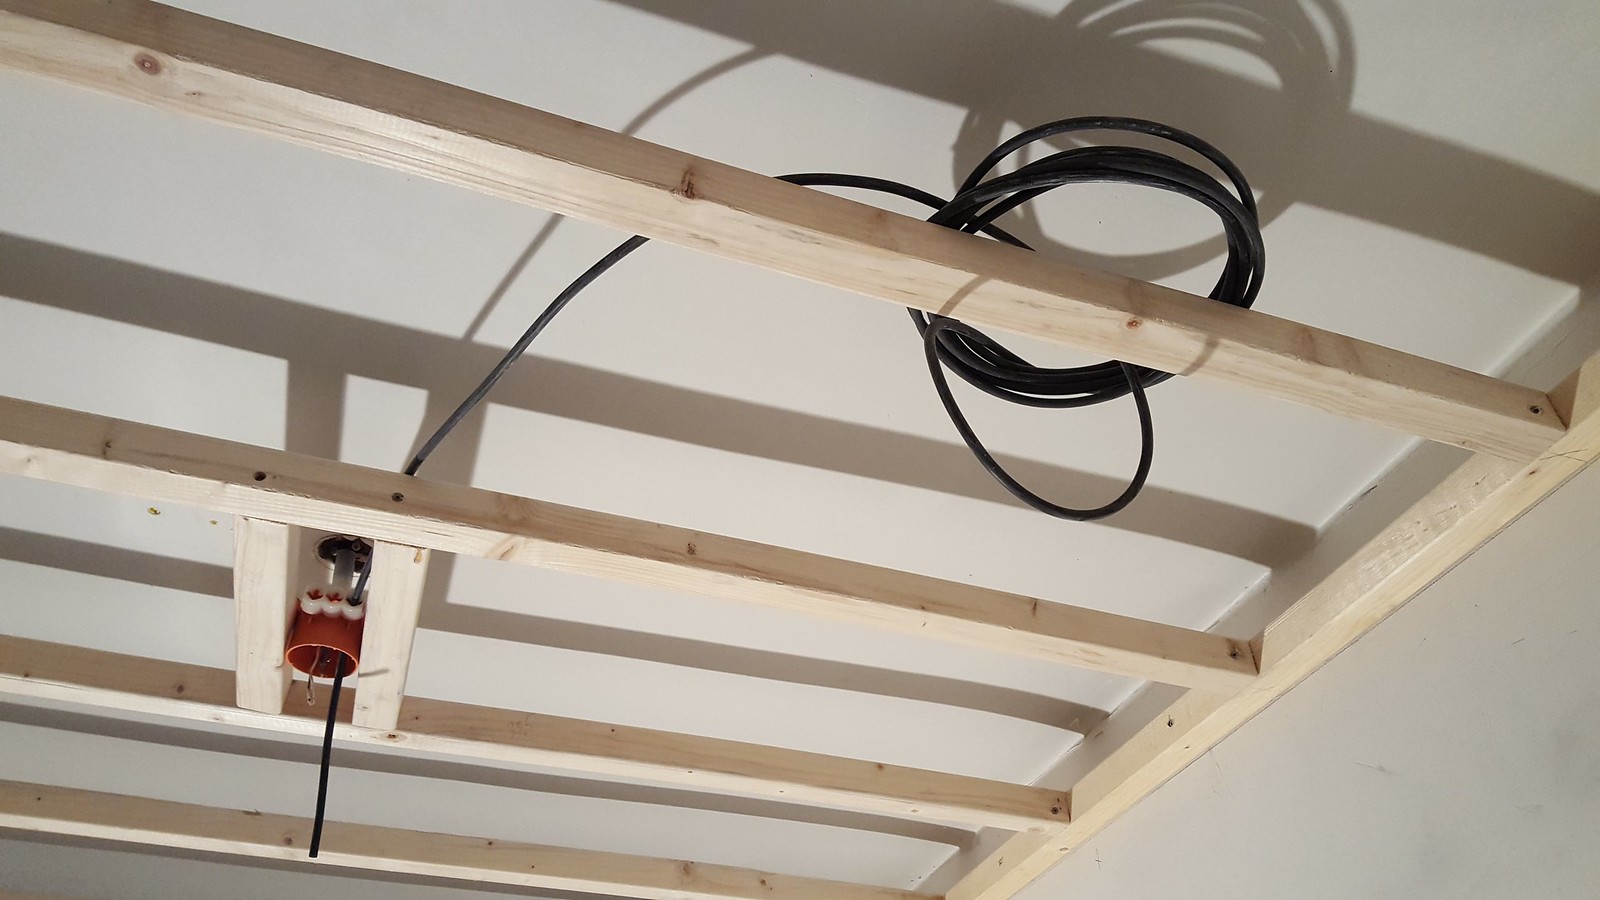
Guide: Lower Ceiling and Install LED Downlight

Guide: Lower Ceiling and Install LED Downlight

Step 2: Cabling
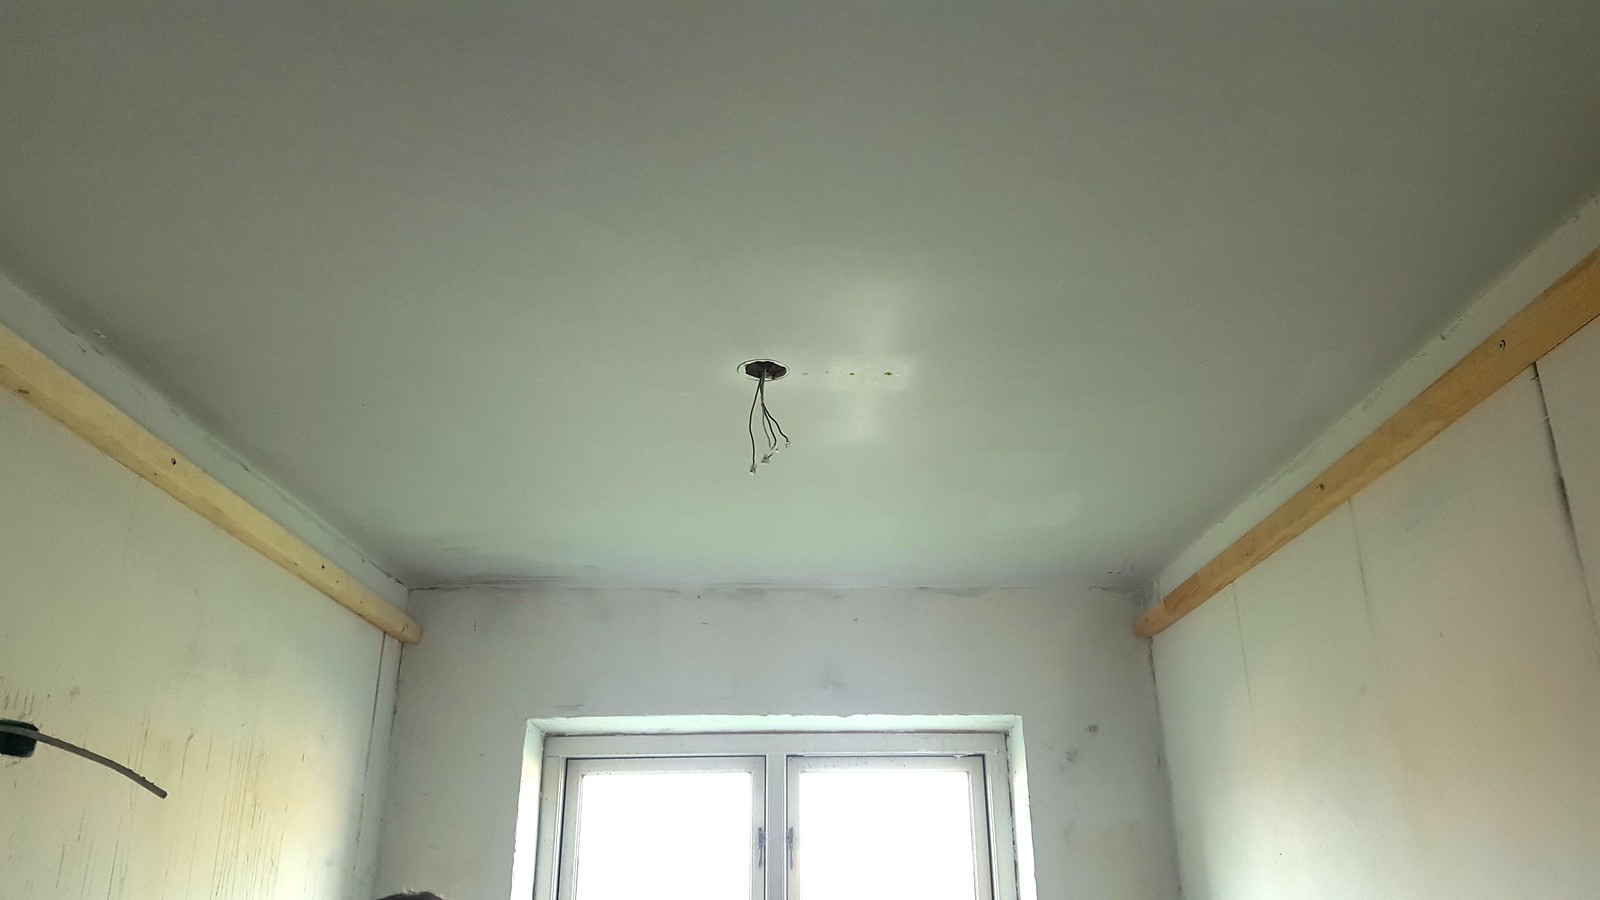
Once the frame is in place it can be a good idea to install the electrical cables before you install the ceiling plates. Once the plates are install the space will be limited to pull the cable from downlight to downlight.
Depending on which part of the world you are from, it is important to check what the local regulations are for types of cables you are allowed to use and if you are allowed to install the downlights yourself. In Denmark we are allowed prepare most of the work but the actually wiring in each end most be done by an authorized electrician.
In my case I found it easier to pull the cables after I installed the ceiling plates. You would have to decide on this in your specific project.


Guide: Lower Ceiling and Install LED Downlight

Guide: Lower Ceiling and Install LED Downlight

Step 3: Installing Ceiling Plates
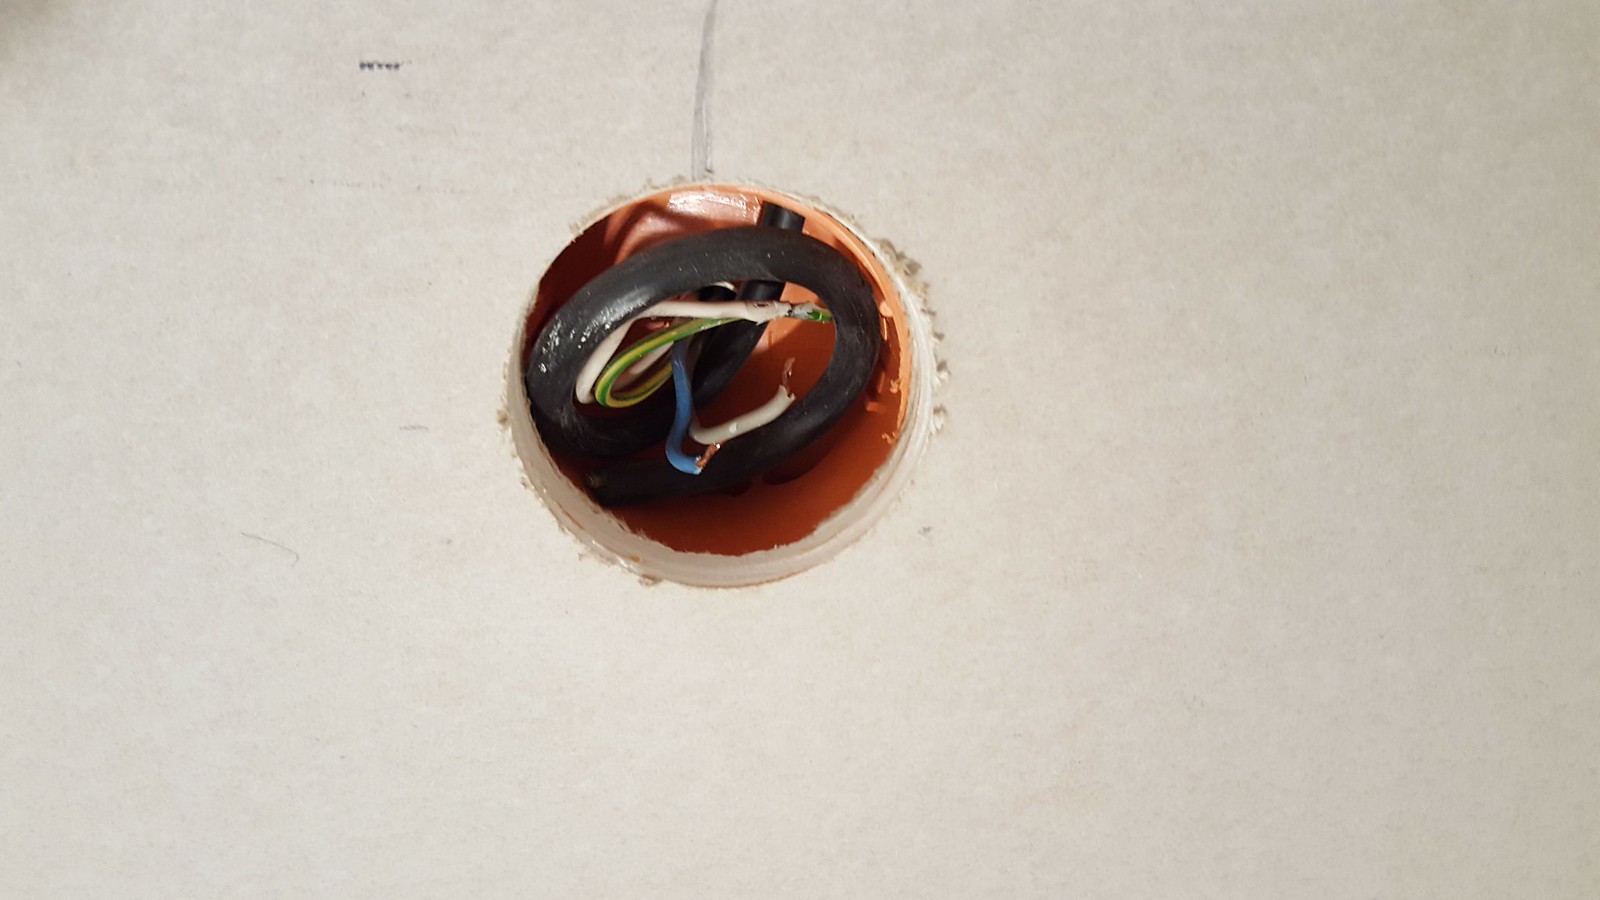
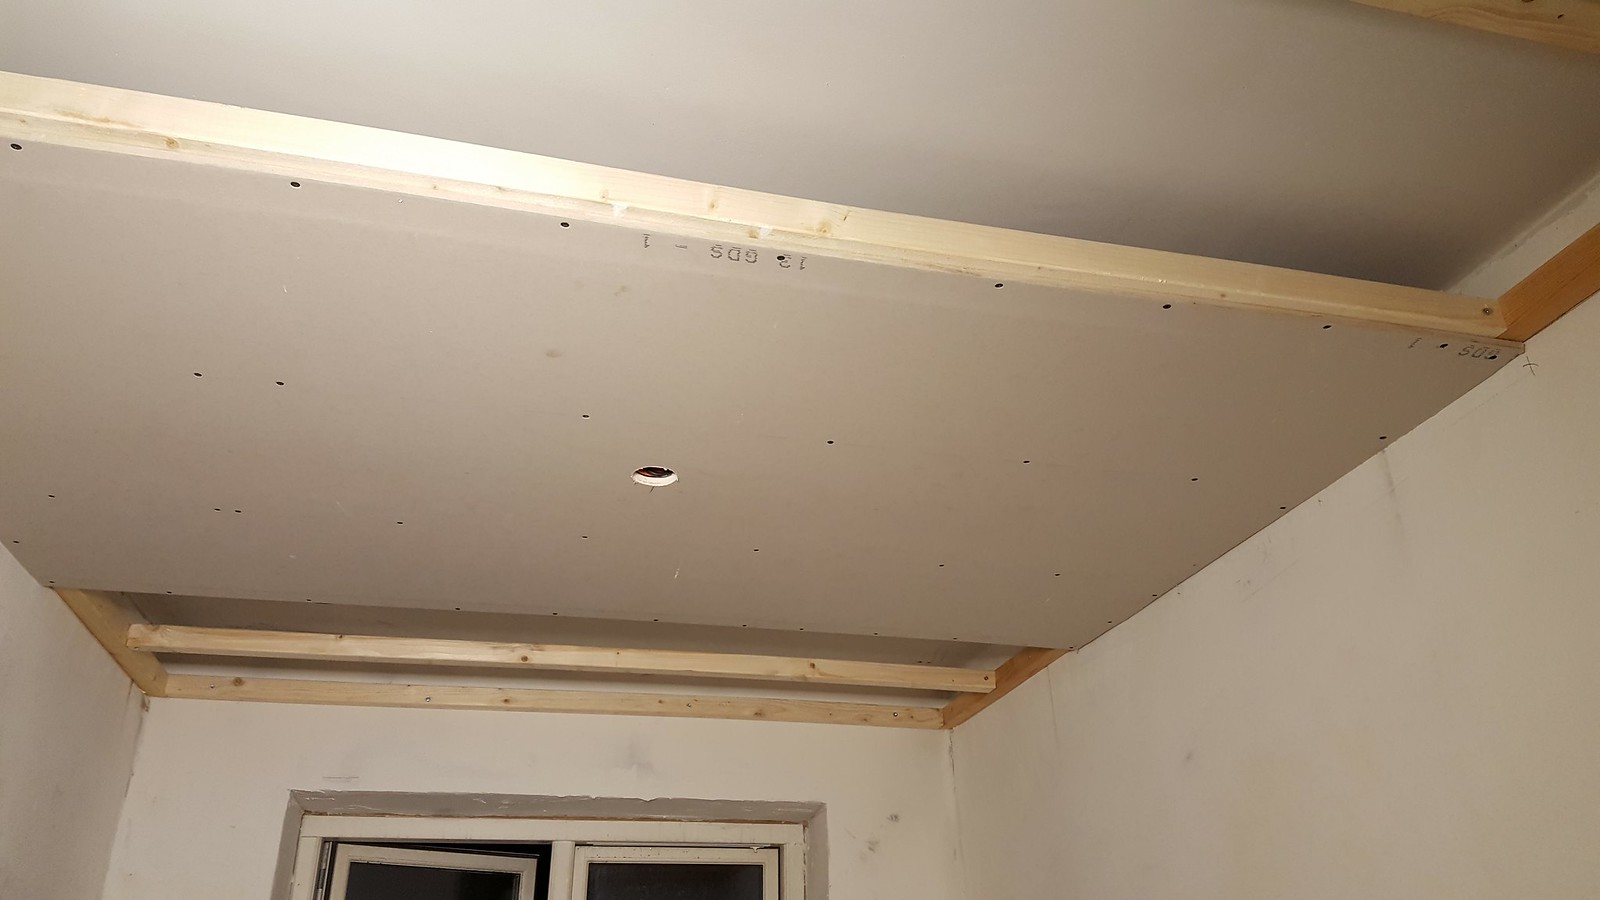
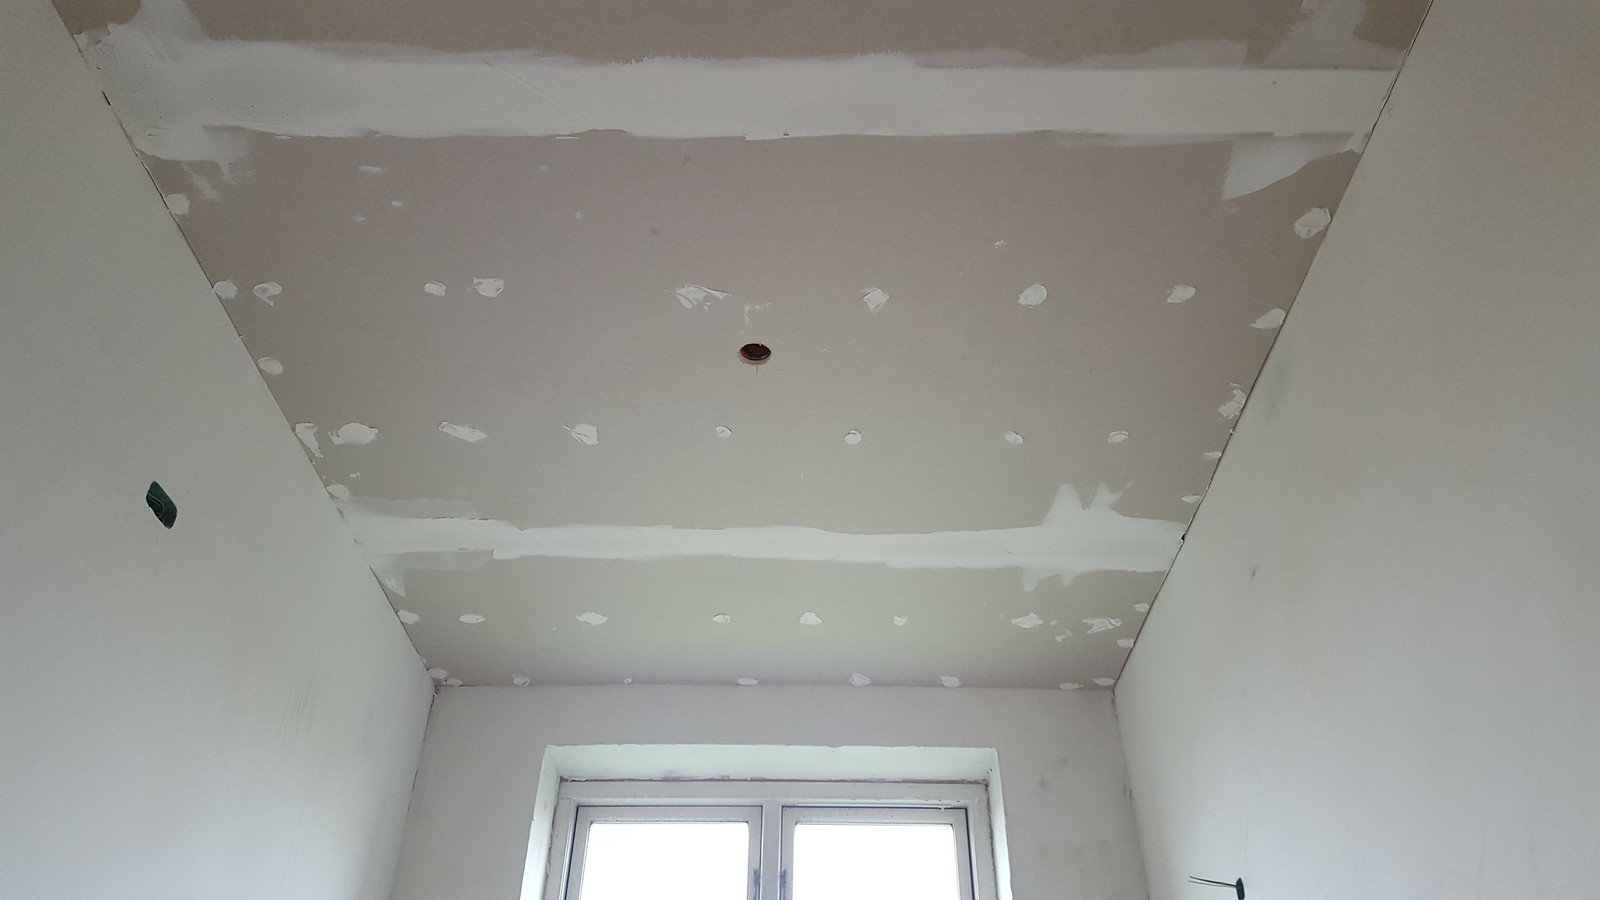
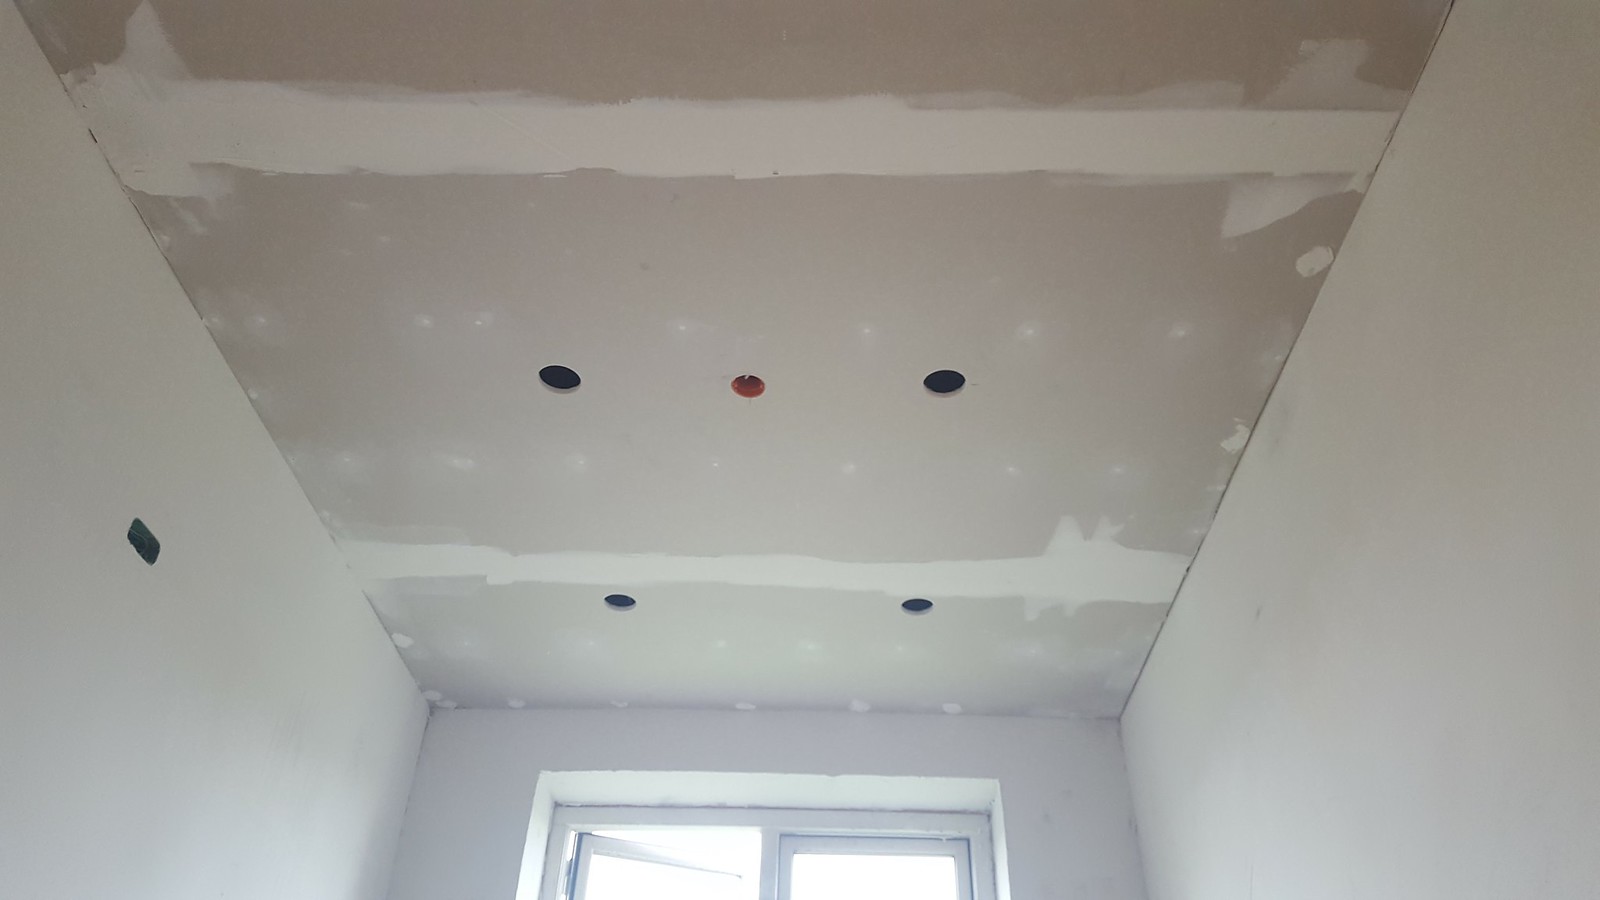
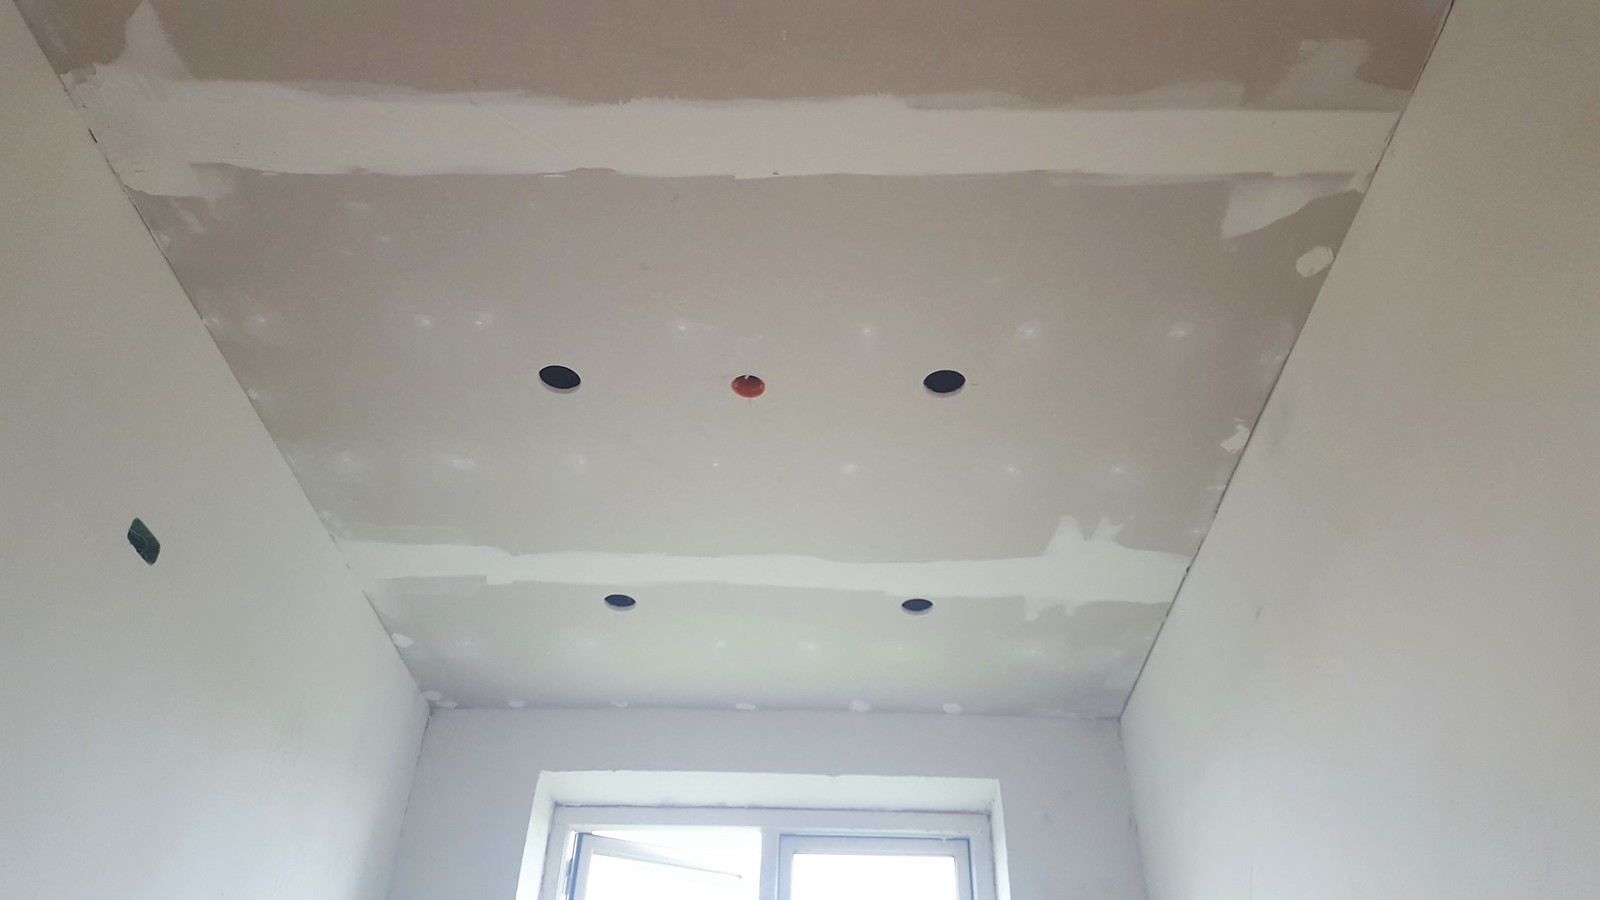
The final step is to install the ceiling plates and drill holes for the downlights. You can also drill the holes for the lights before you install the plates. However, I found it easier to do that once the plates were installed. Before you connect the lights you should cover the screw holes with some filling material and then paint the ceiling with a nice color.

When you have the holes in place and the ceiling is painted, then you can connect the downlights. Remember this step of wiring the downlights must, in some countries, be done by professionals.


Guide: Lower Ceiling and Install LED Downlight

Guide: Lower Ceiling and Install LED Downlight

Guide: Lower Ceiling and Install LED Downlight

Guide: Lower Ceiling and Install LED Downlight

Guide: Lower Ceiling and Install LED Downlight

Questions or comments
I have tried to cover the most important parts on this page. However, if you have questions to my installation you are absolutely welcome to contact me in the comments section below.

Guide: Install a Nordic IKEA Kitchen

Categories: Do It Yourself

Guide: Give Your Floor a Nordic Look

The following guide is my own experience and is not sponsored by Ikea.
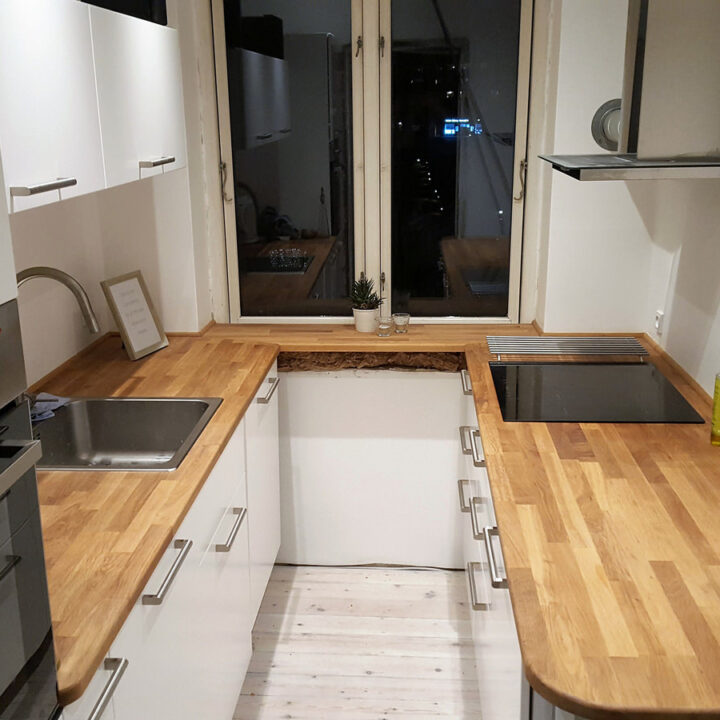
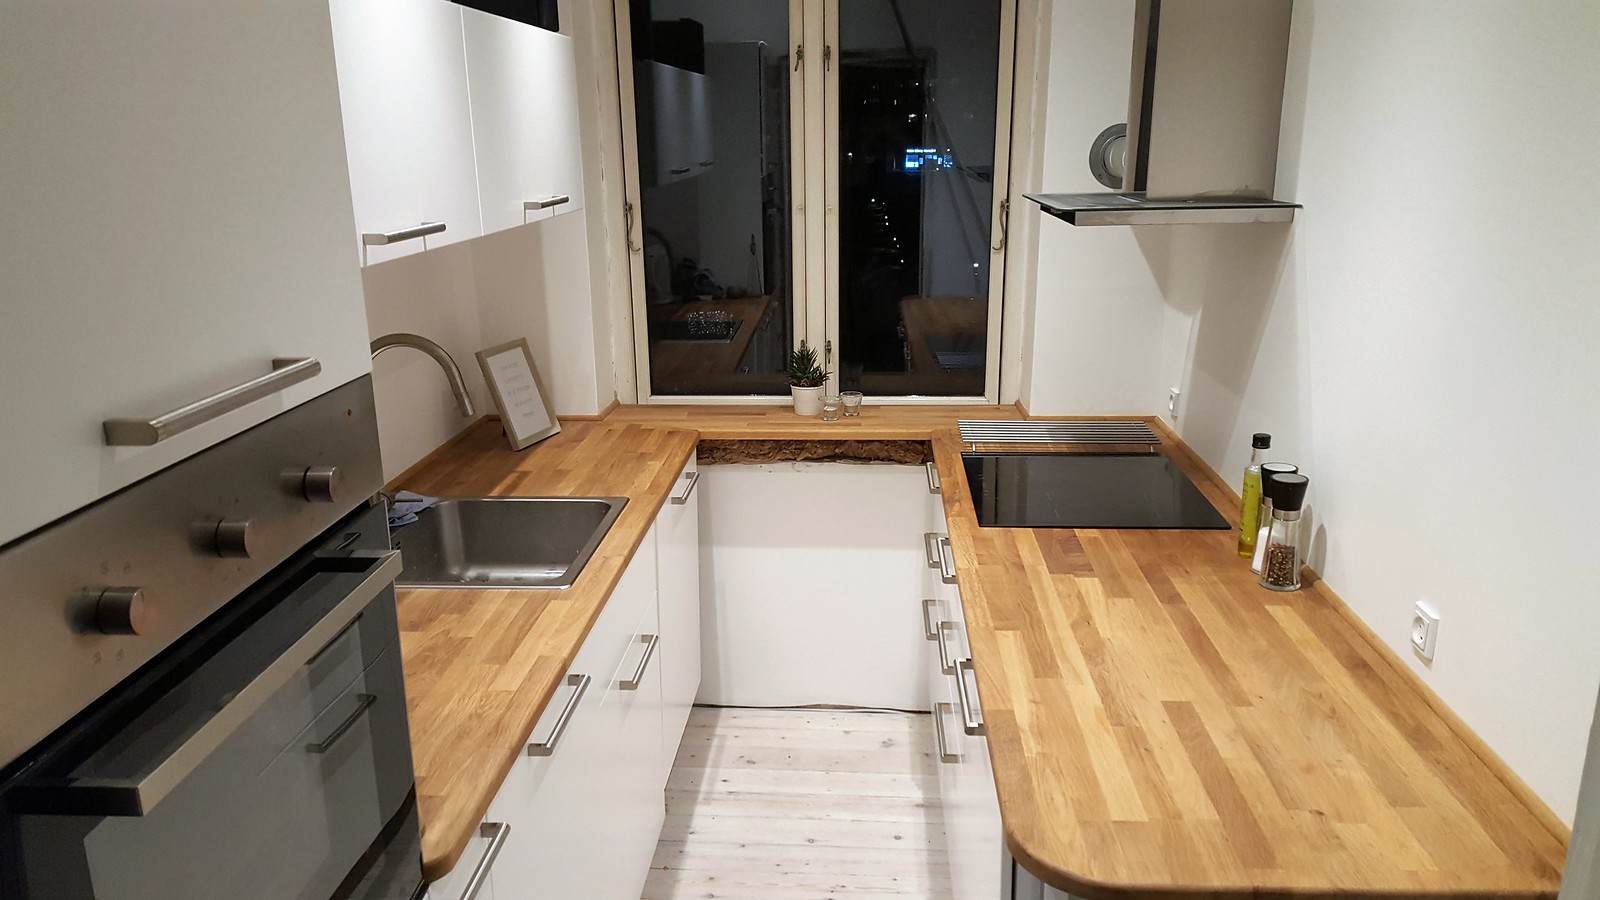
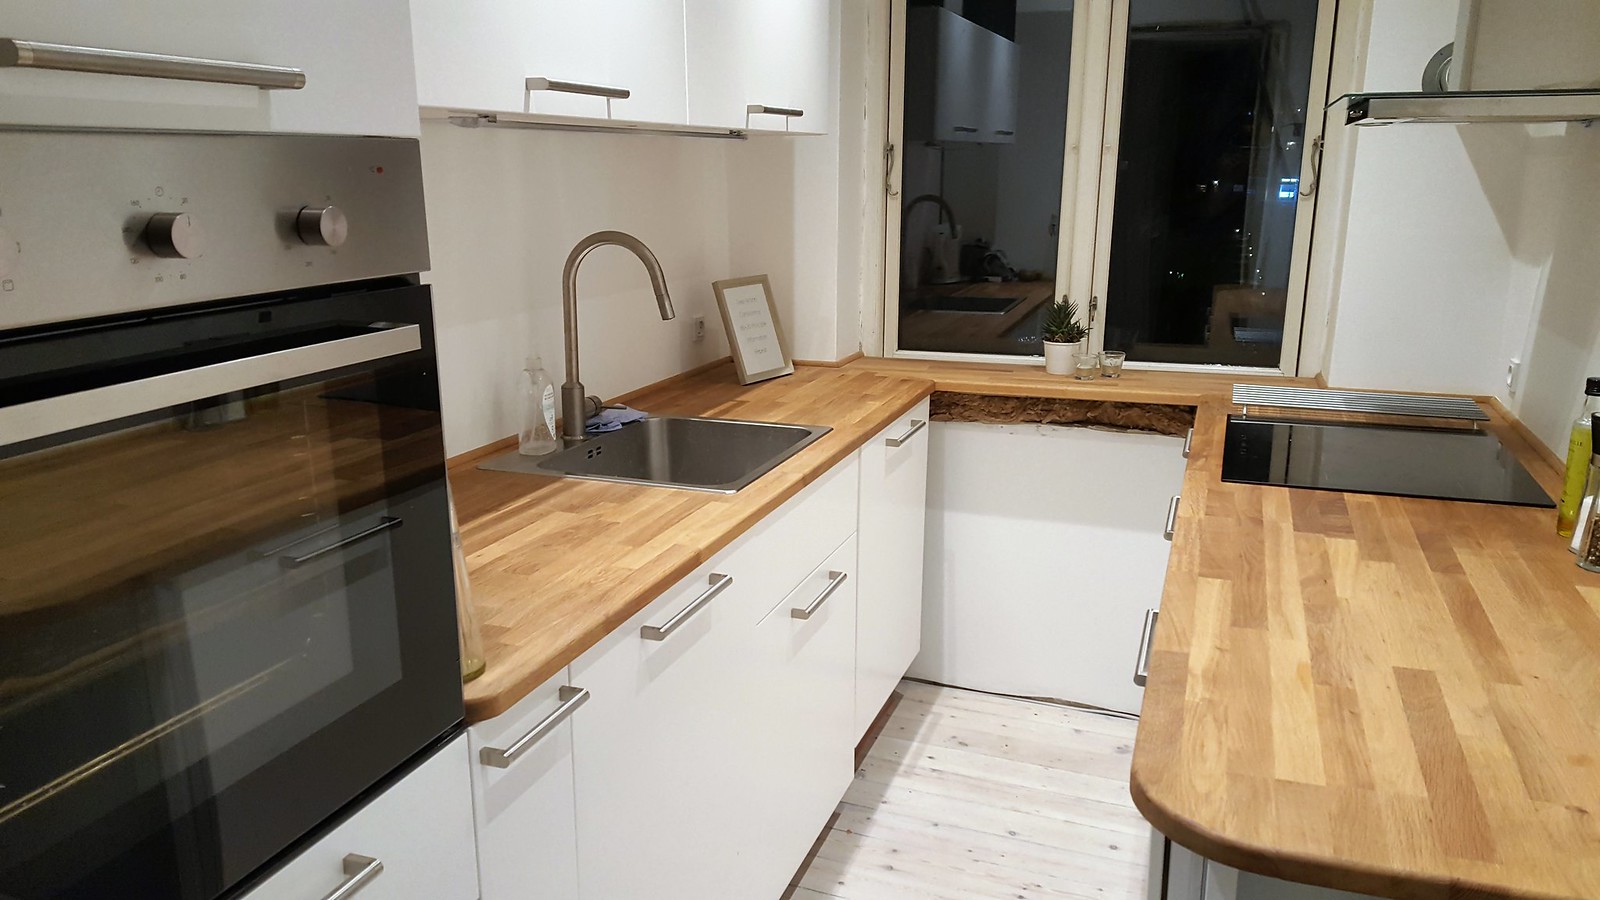
In this guide I would like to show how I have completely renovated my old kitchen and how easy it is to install a new IKEA kitchen. The old kitchen was in really bad shape when I got the apartment so it was differently the top-1 priority to get fixed. Tearing down an old kitchen and installing a new one can for many people seem to be an impossible taske - this was also my first thought. However, if you have a little handyman or handy-woman hidden inside you it can actually be done by yourself.

IKEA kitchen
Because I live in Denmark, I have easily access to an IKEA store. For those who are not familiar with IKEA I will briefly explain the concept. IKEA is originally a Swedish furniture store. However, in the recent years IKEA has invested and expanded, both in its numbers of stores but also in its product range. Today, IKEA is a sort of a multi store where you can buy IKEA televisions, beds, lamps but also complete kitchen solutions. Basically everything you would need for your home. The concept of IKEA is that the quality most be in top and the price low.

Especially, the IKEA kitchens have a good reputation. I think the IKEA kitchens have a great Nordic design and the price is competitive with other kitchen companies. Therefore, I quickly decided to buy an IKEA kitchen. In the following pages, I will show how easy it is to design your own kitchen, purchase it and then install it. The process of designing and installing your new kitchen can roughly be divided into four main steps.

1. Design your Dream Kitchen Online
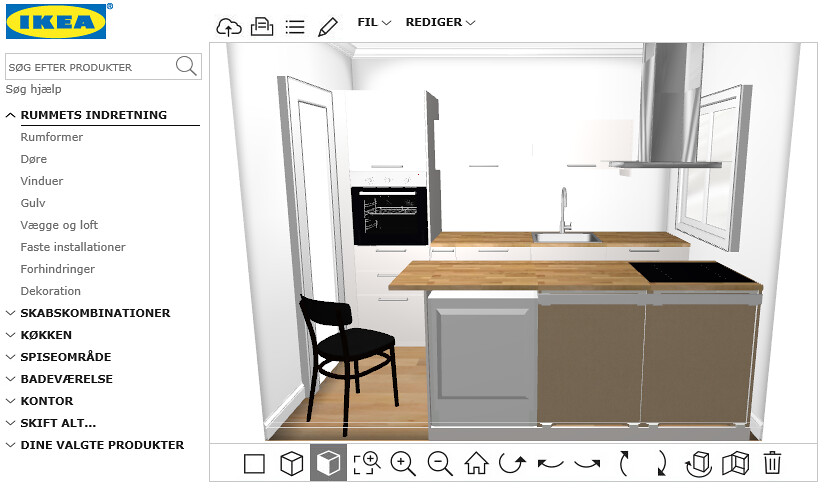
Before I went to an IKEA store I started online where I used the simple 3D design tool, developed by IKEA, to stick together all the many different parts of my kitchen. I especially liked this part because it was so easy to sit quietly at home and design my own personal kitchen. I saved my kitchen design on my online profile and then I went to my local IKEA store.


Design your own IKEA kitchen online

2. IKEA Kitchen Experts
At the IKEA store, you get to sit together with an IKEA kitchen sales expert. This person will look at your design and make sure everything is correct and that you have included all the parts that are needed to assembly the kitchen. Especially, all the small screws, supports and cover plates tend to be forgotten.


Design your own IKEA kitchen

3. Purchase and Home Transport
When you have designed, and have it looked over by an IKEA sales person, then you are ready to go and pick up all the parts for your new kitchen. I have highlighted this step because I thought it was a very good experience. From the IKEA sales person you get a print out with the complete list of things that you need to go to the warehouse and pick up yourselves. And of course the list is made in the exact way the items are located in the warehouse so that you only have to go from one end towards the checkout counter. I think that is a small but very clever detail.

When you have collected and purchased all the parts, then you need to transport everything back to your home. I used my own large car. However, if you have a small car you can, of course, get help from IKEA. They can arrange the transportation for an extra fee.


IKEA Home transport, kitchen

4. Installation of the Kitchen
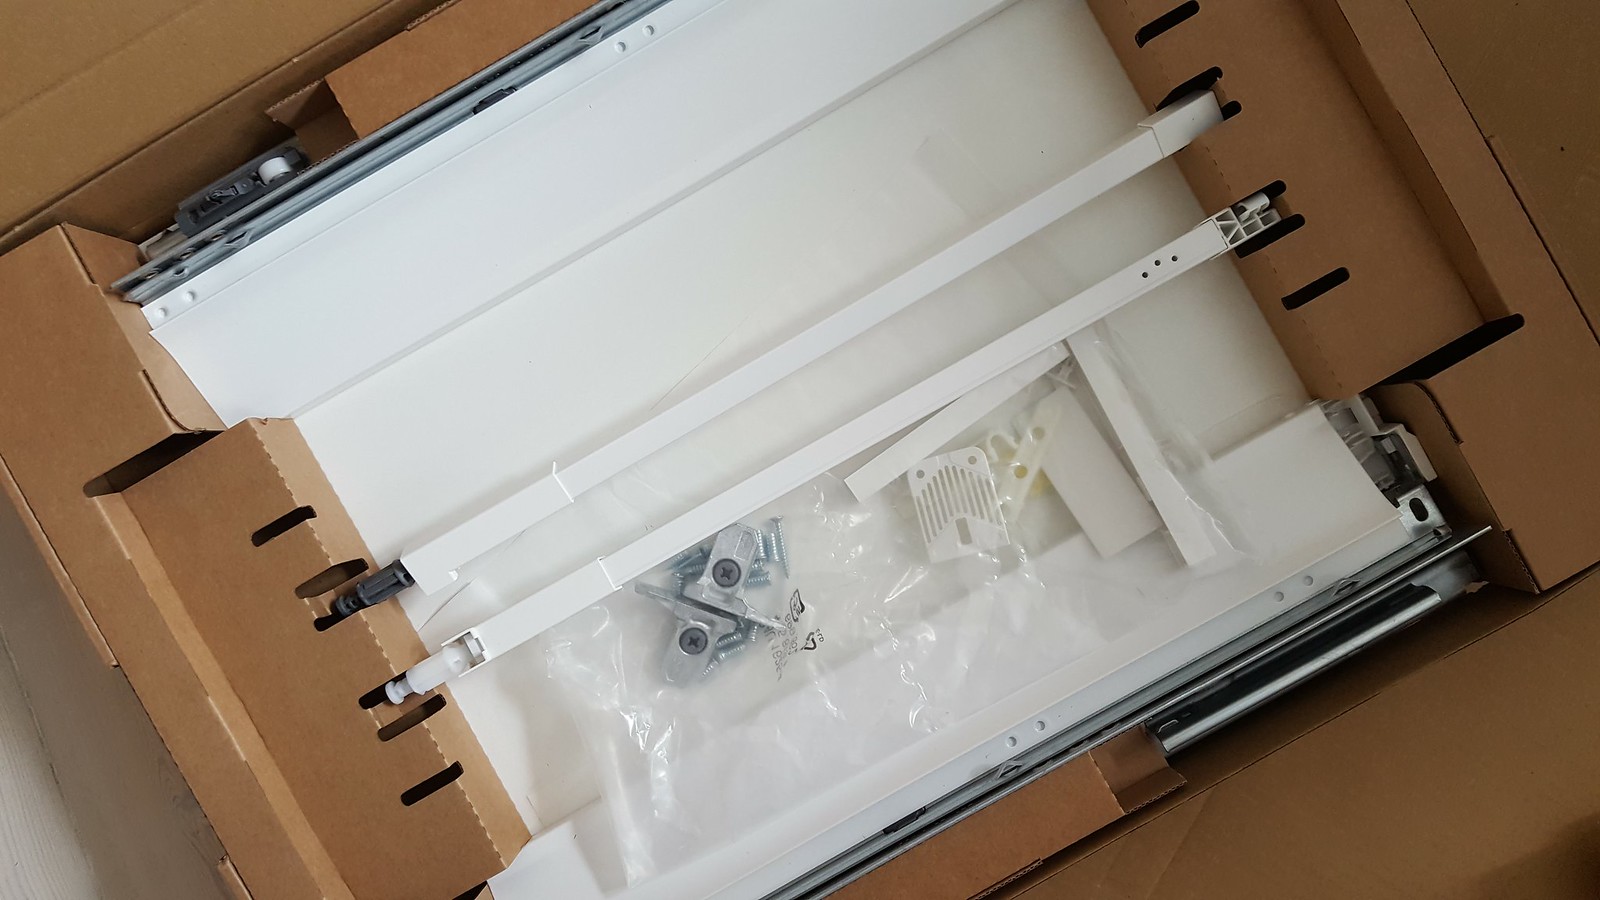
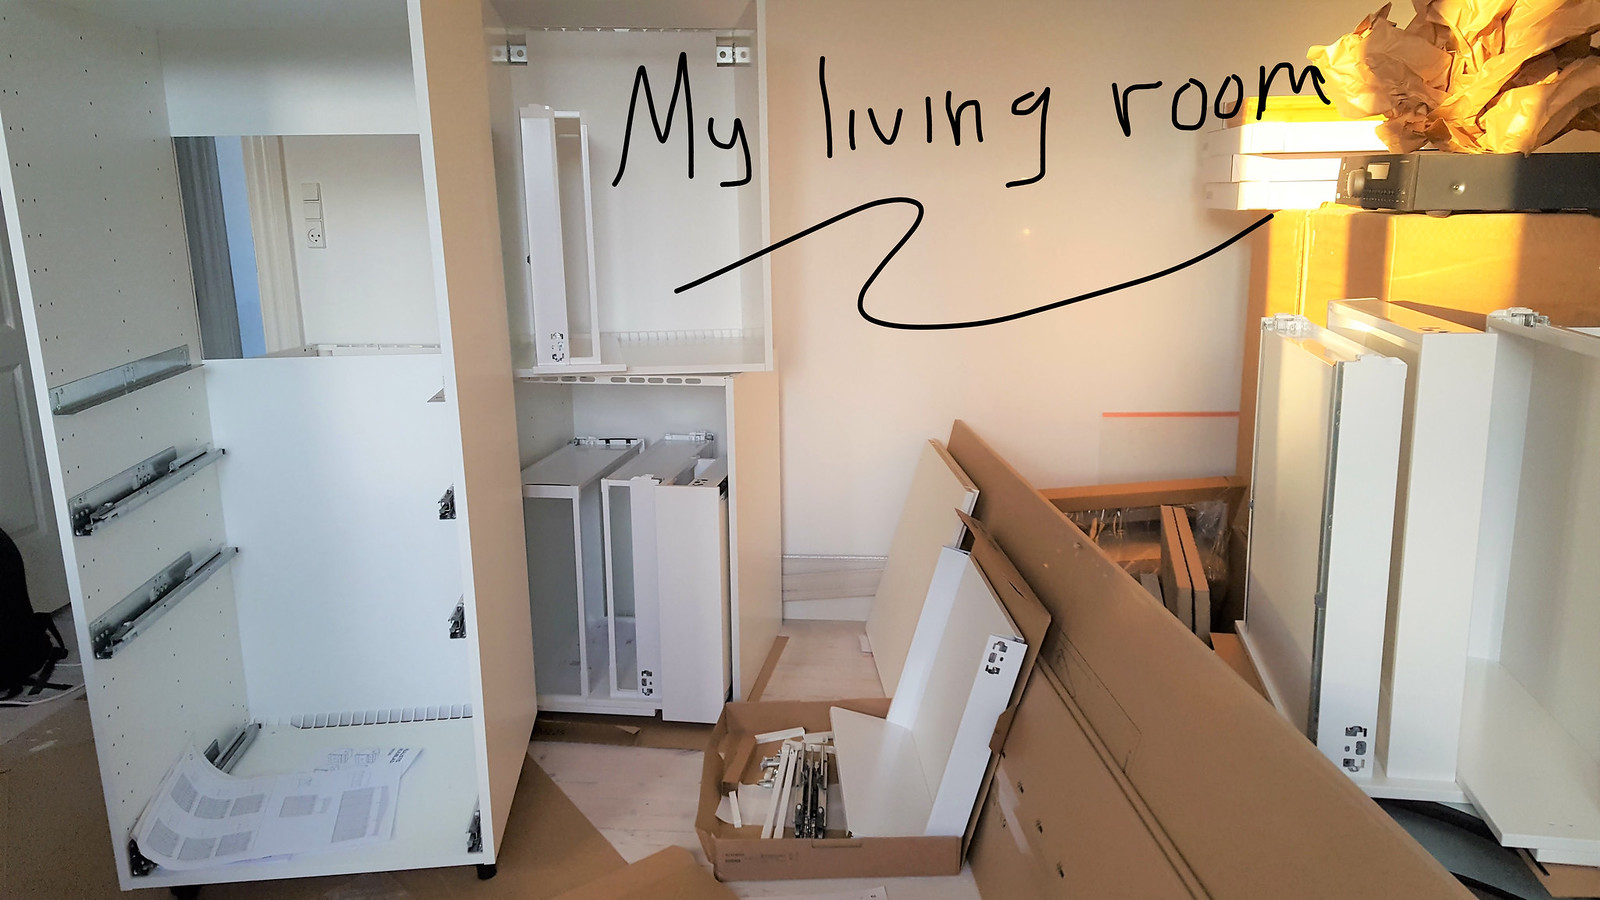
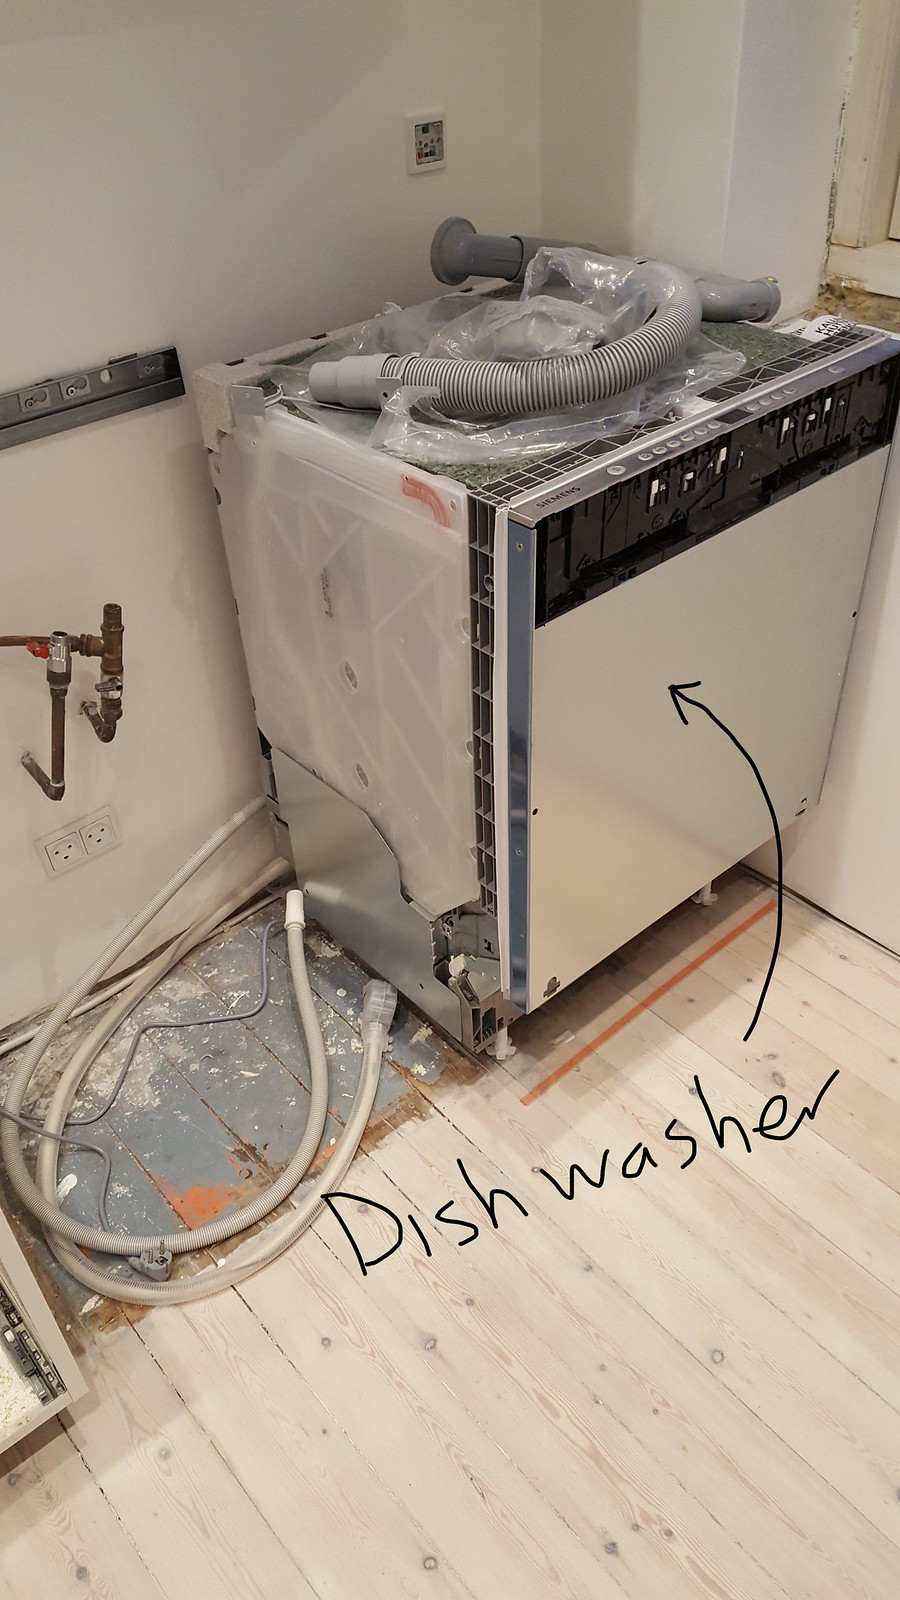
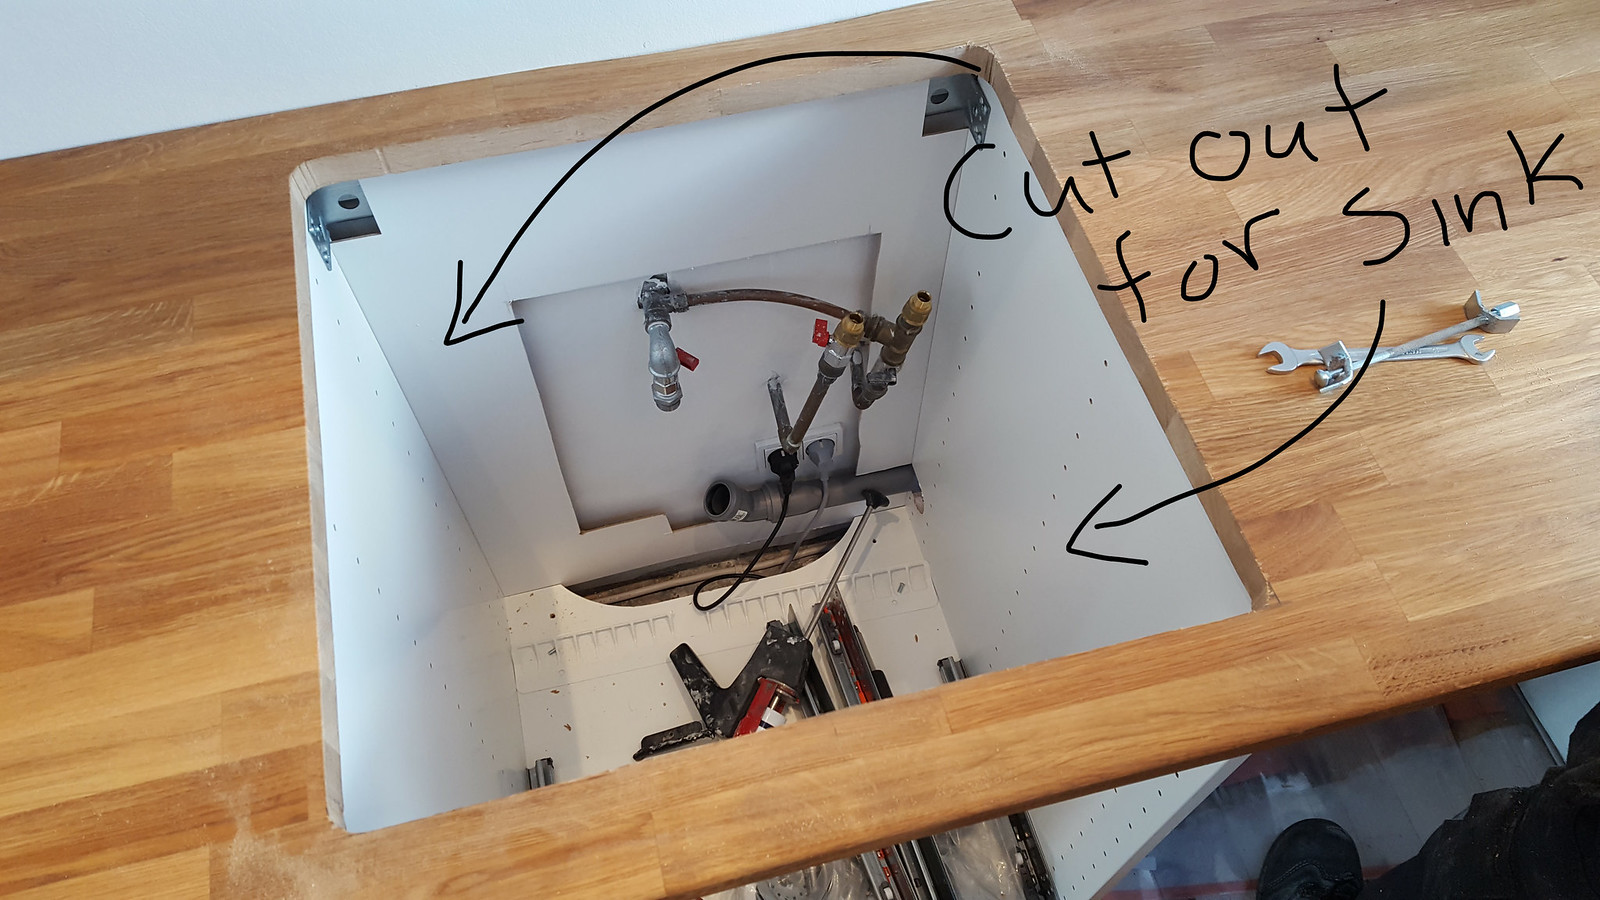
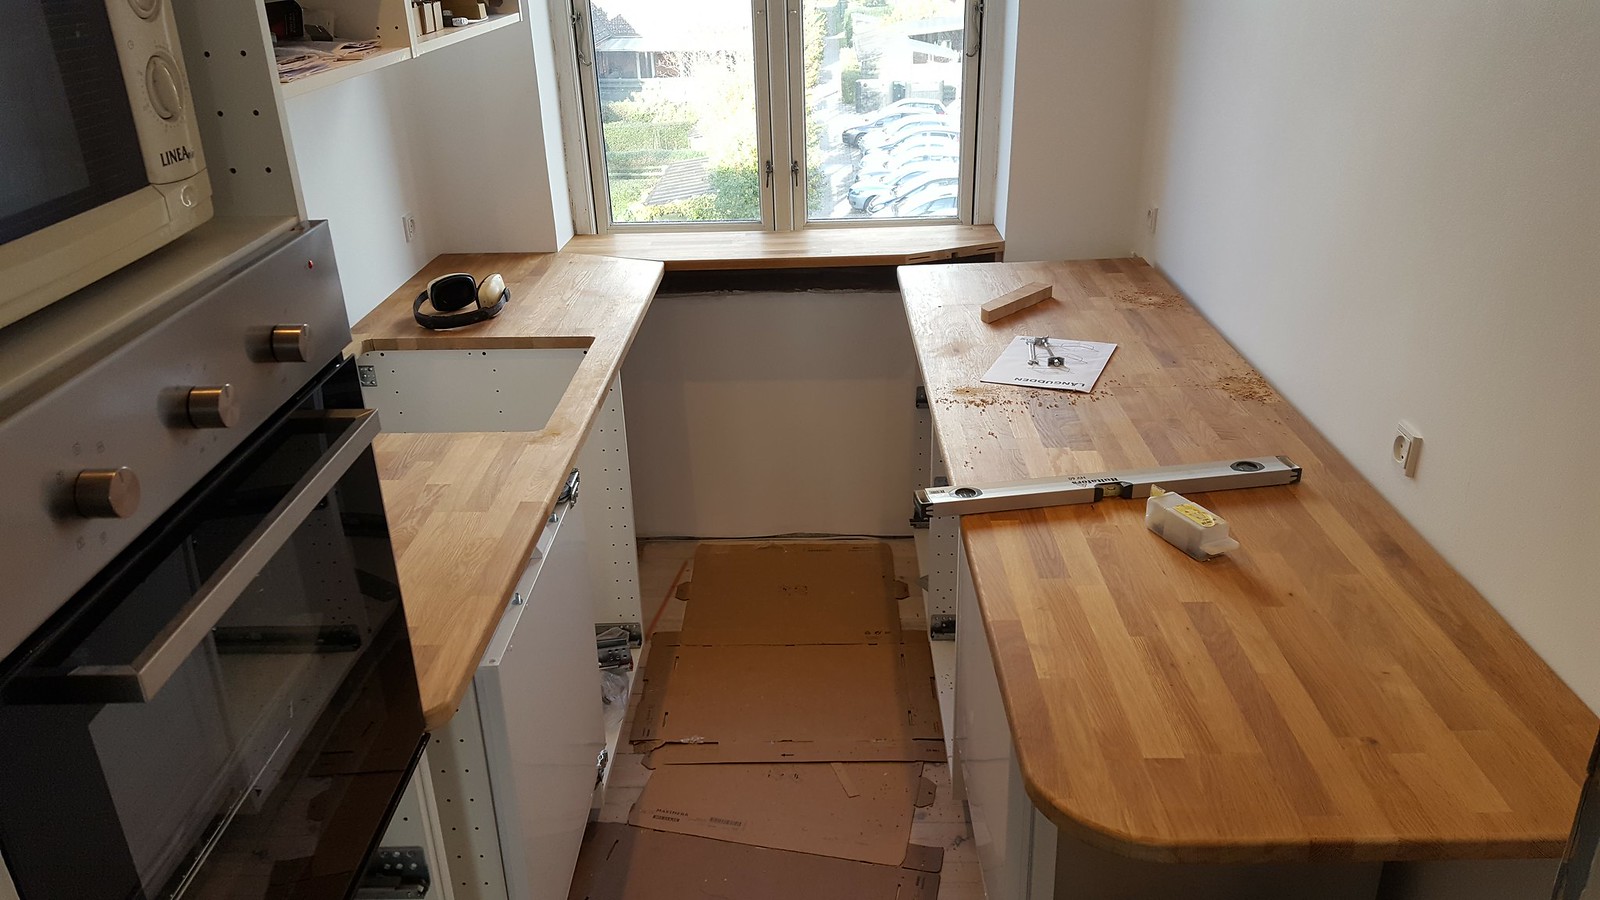
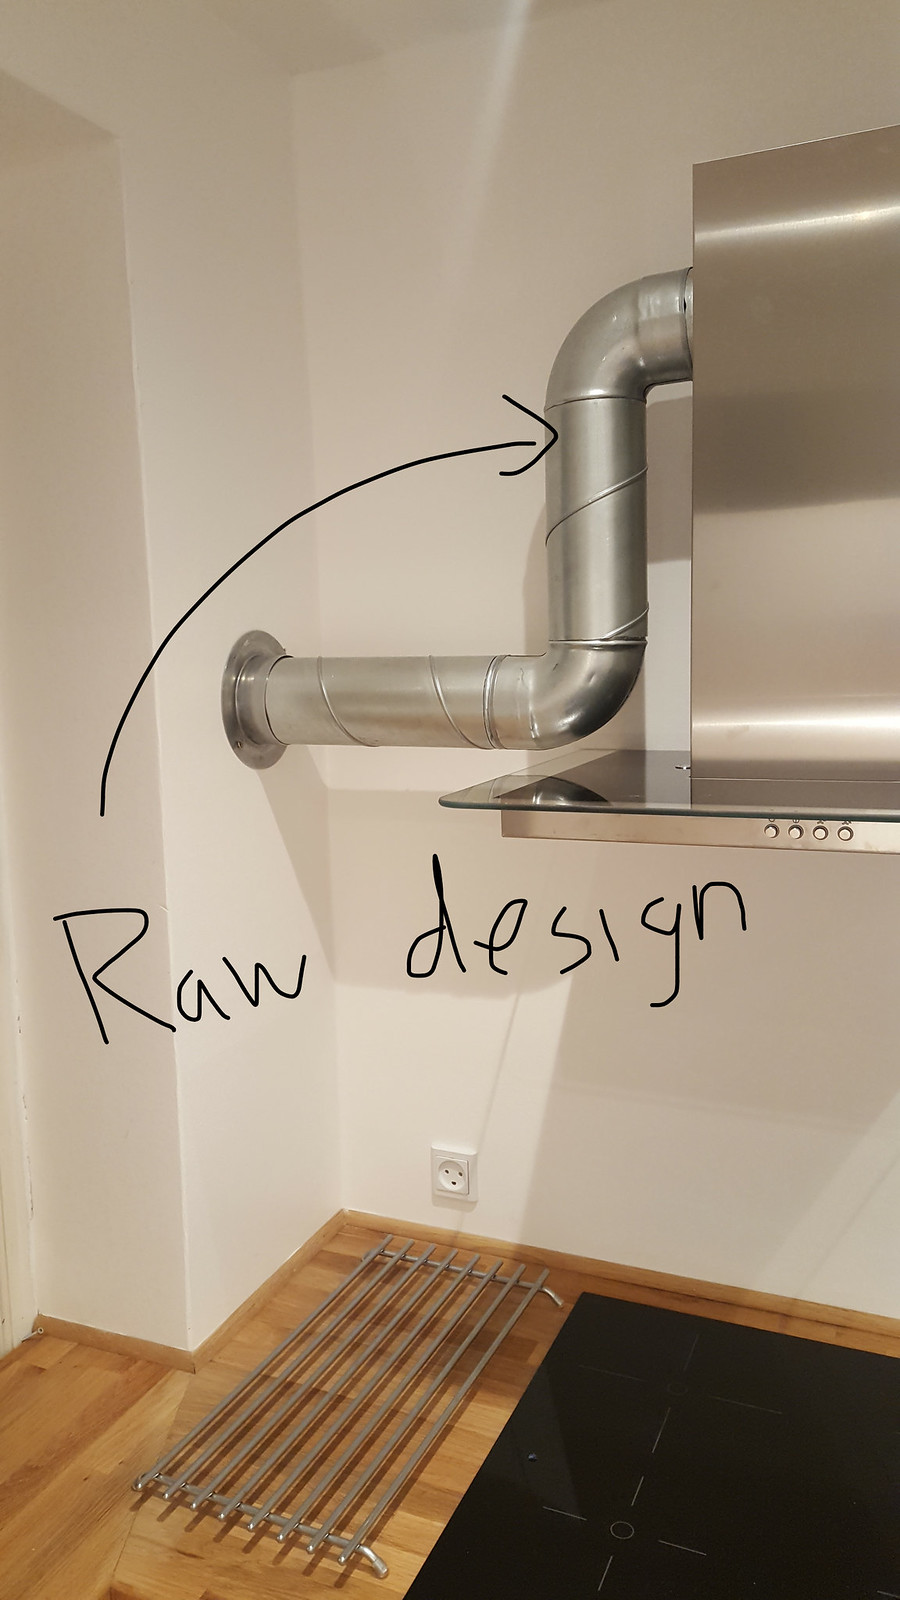
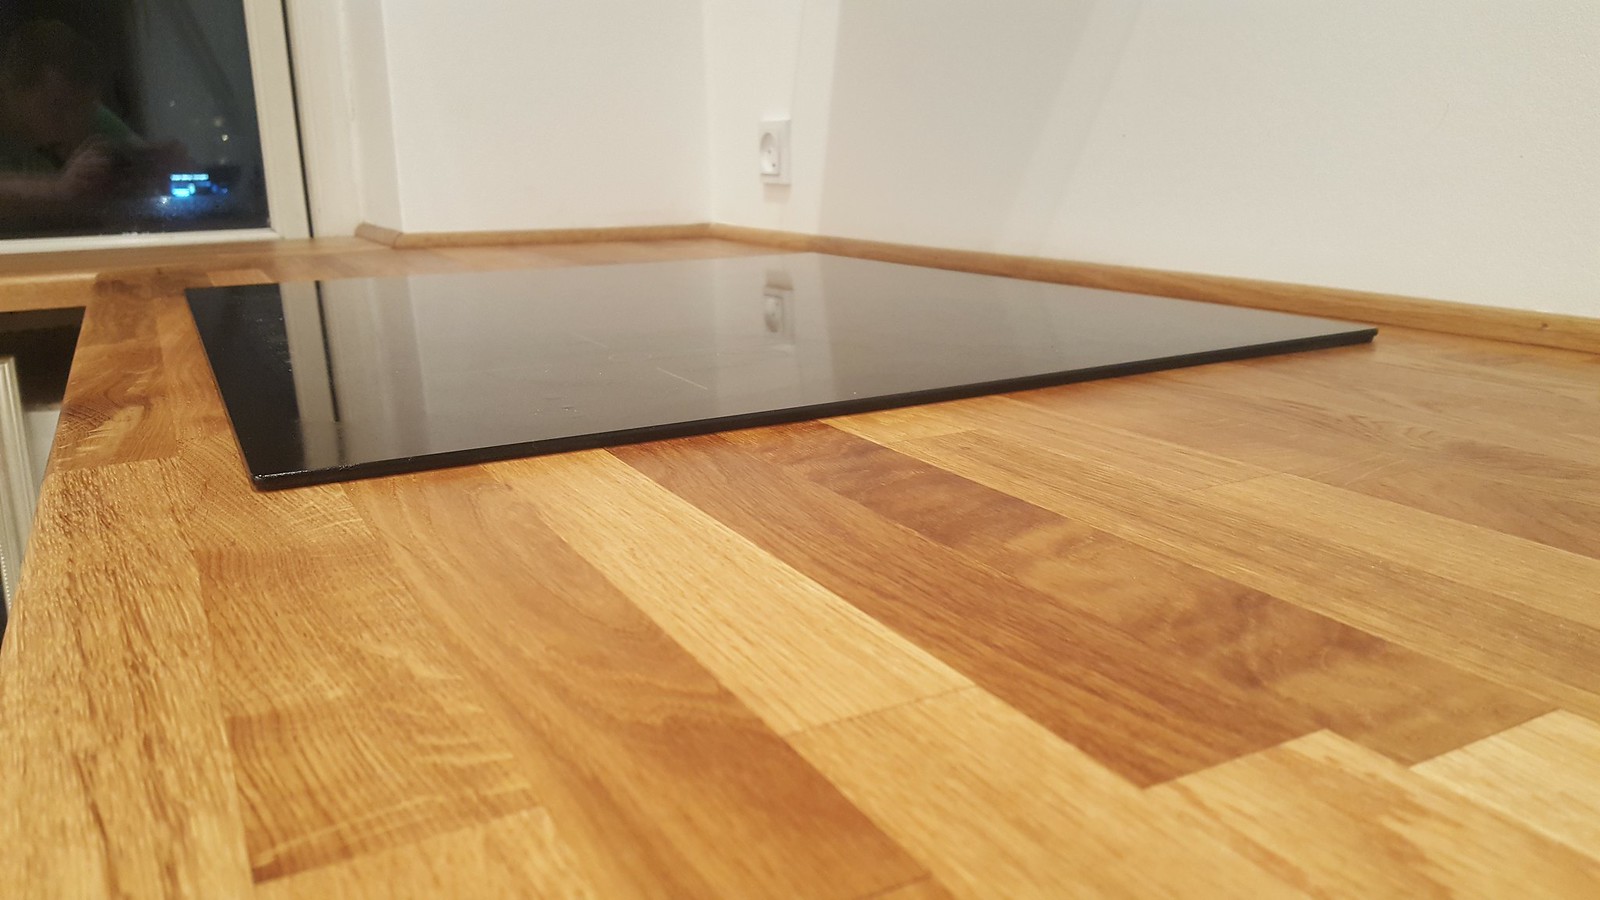
This step is the fun but also the most technical part. Once your new kitchen is still in its cardboard boxes, laying in your living room or garage, then it is time to prepare your kitchen room for the new kitchen. In my case, my old kitchen including the ceiling, electrical wiring, walls and floor was in such a bad shape that everything had to be stripped away and repaired. That you might need professional help for this step. I am an engineer with a background as a carpenter so of course I did everything myself except the electric part which would be against the Danish law.


How-to-guide Installation of IKEA kitchen

How-to-guide Installation of IKEA kitchen

How-to-guide Installation of IKEA kitchen

How-to-guide Installation of IKEA kitchen

How-to-guide Installation of IKEA kitchen

How-to-guide Installation of IKEA kitchen

How-to-guide Installation of IKEA kitchen

How-to-guide Installation of IKEA kitchen

Quality of the IKEA Kitchen
I would like give a few comments about the quality of the material and electrical appliances from the IKEA brand. Starting with the kitchen itself, meaning the drawers, cabinets and so on. The quality here is actually good. It is very easy to assemble - all the screw holes, assembly lines, connection pins and so on fits perfectly and everything clicks/fits nicely together. However when that said, I it also my opinion that in general the kitchen has a 'cheaper' feeling if that is the right word to use. Everything is working quite well but it is just not the top quality. However, I would also say that the quality is good enough for the majority of all people and I guess that is the kind of quality IKEA is designing its products for. Compared to my old kitchen which was hand crafted by a kitchen company, this IKEA kitchen is of course not the best.

Quality of the Electrical Appliances
As said above I think in general that the kitchen itself is in an acceptable quality. However, when it comes to the electrical appliances I think the quality is just a bit too low. For my kitchen I purchased the oven, the induction hotplate, the freezer and the refrigerator directly from IKEA. All the appliances I bought was from the cheaper end of IKEAs product range and maybe you just get what you pay. I personally think the electrical appliances, I bought from IKEA, is of a too low quality - all of it works but the quality-feeling is just too low, I think. Especially, the induction hotplate has a loud pitching noise when it is running. I went to IKEA with my problem but they just told me - that was normal for the low-priced products. It is also my experience it has problems detecting the pots and pans. The same applies to the oven, it works but the quality feeling is scoring minimum points on my scoreboard. The refrigerator and freezer is OK I think.

Overall my recommendation would be to purchase the electrical appliances from a different place than IKEA if you are looking for a higher quality. Just keep in mind some of the appliances only fits an IKEA kitchen like the dishwasher. Make sure to investigate on this issue before purchasing. However, the kitchen itself is acceptable.


IKEA Electrical Appliances

Hiding the Electrical Cables
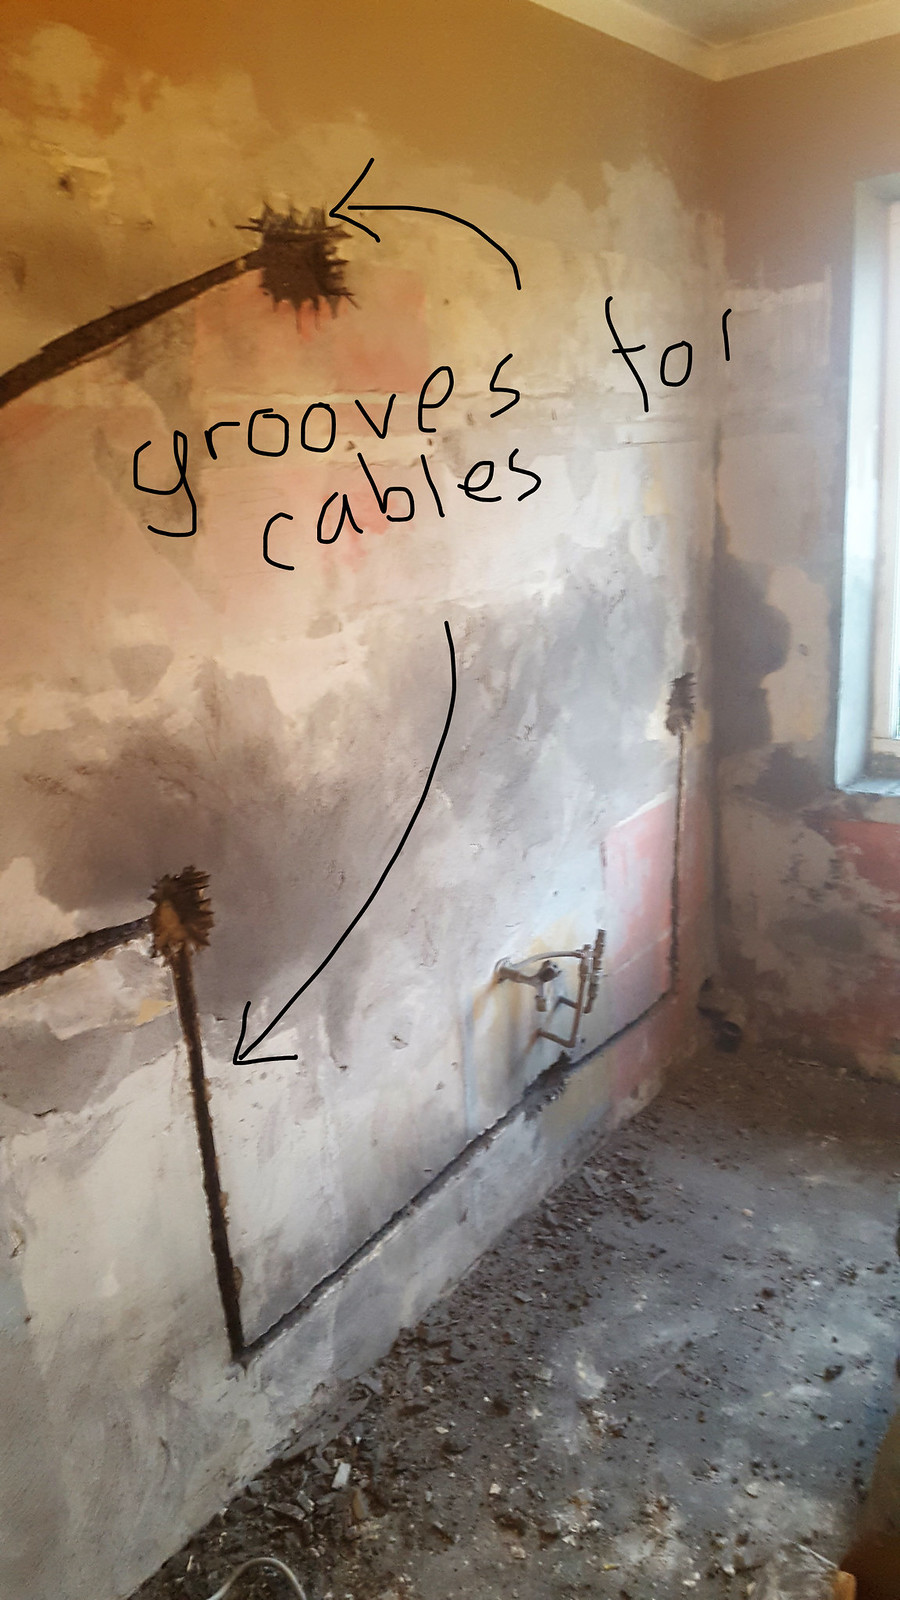
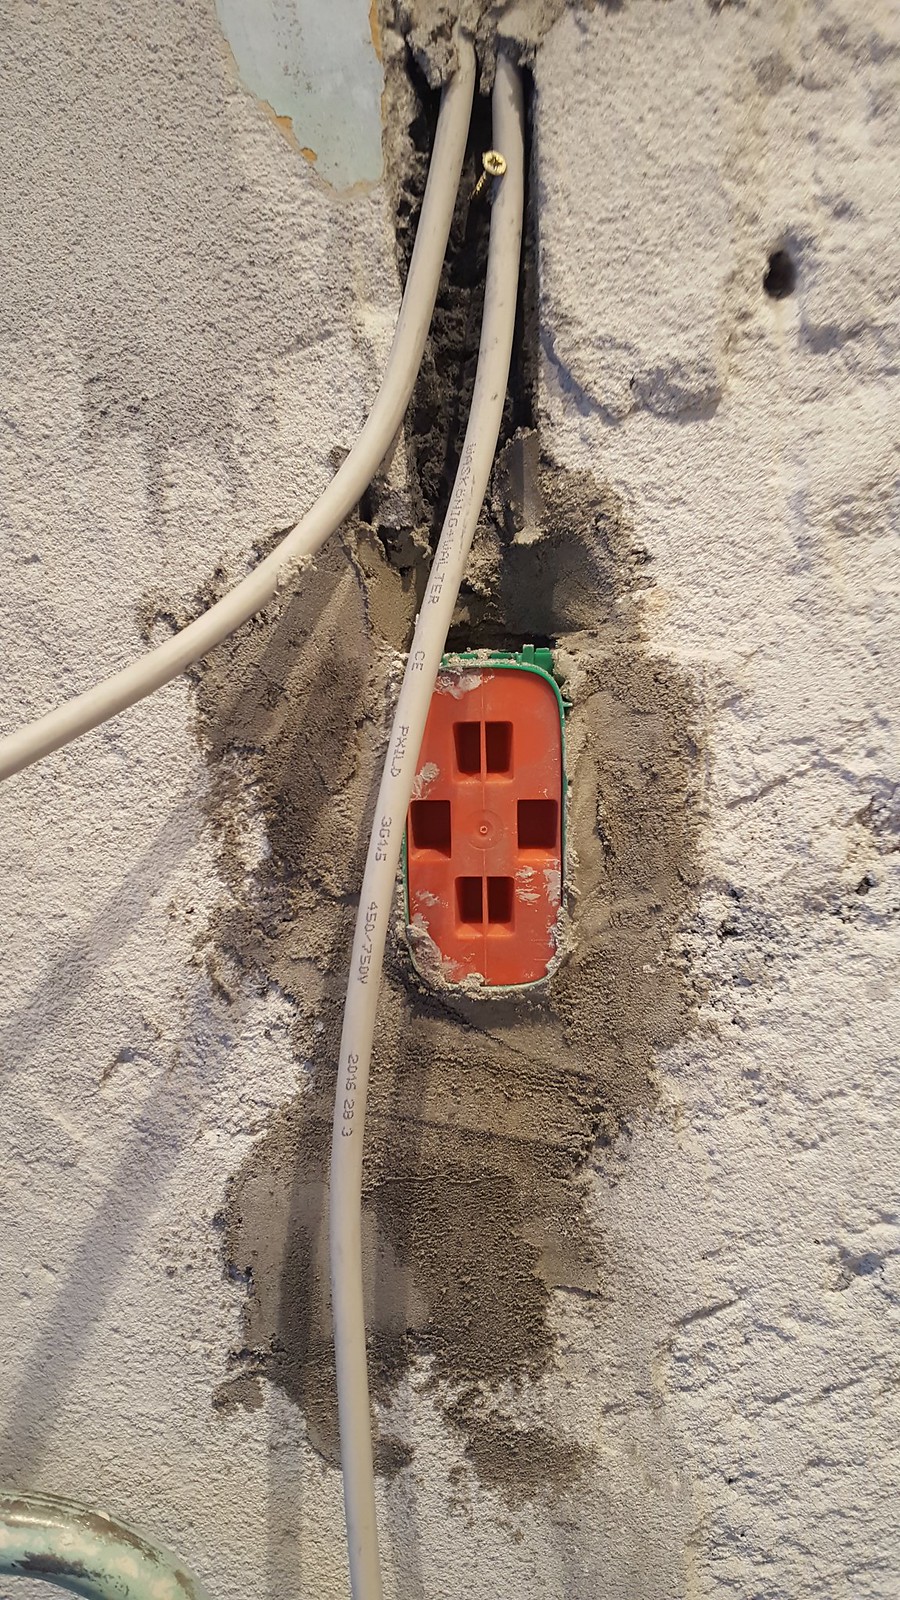
Before I installed my kitchen, I decided to hide the electrical cables inside the walls. This way I have been able to make a nice finish where the wall sockets are installed. Hiding the electrical cables in the wall is actually easy. I just cut grooves in the walls where the cables and the wall sockets would be. Then an electrician made all the wiring of then cables and then I covered the cables with a wall filling material. I finished off with a layer of wallpaper and then white kitchen paint with a relatively high gloss. This way it is easier to wash and clean the walls when they become dirty from all the cooking you are going to do.


Hiding the Electrical Cables

Hiding the Electrical Cables

Repairing the Walls
When I removed the old kitchen, I also had to take down the old tiles. This made the walls stand back in a very bad condition. After I had cut the grooves in the walls for the cables, I repaired all the wall with a filling concrete material. I finished off with a layer of wallpaper and some white paint, as I have described above.


Repairing the Walls

Cleaning and Treating the Floor
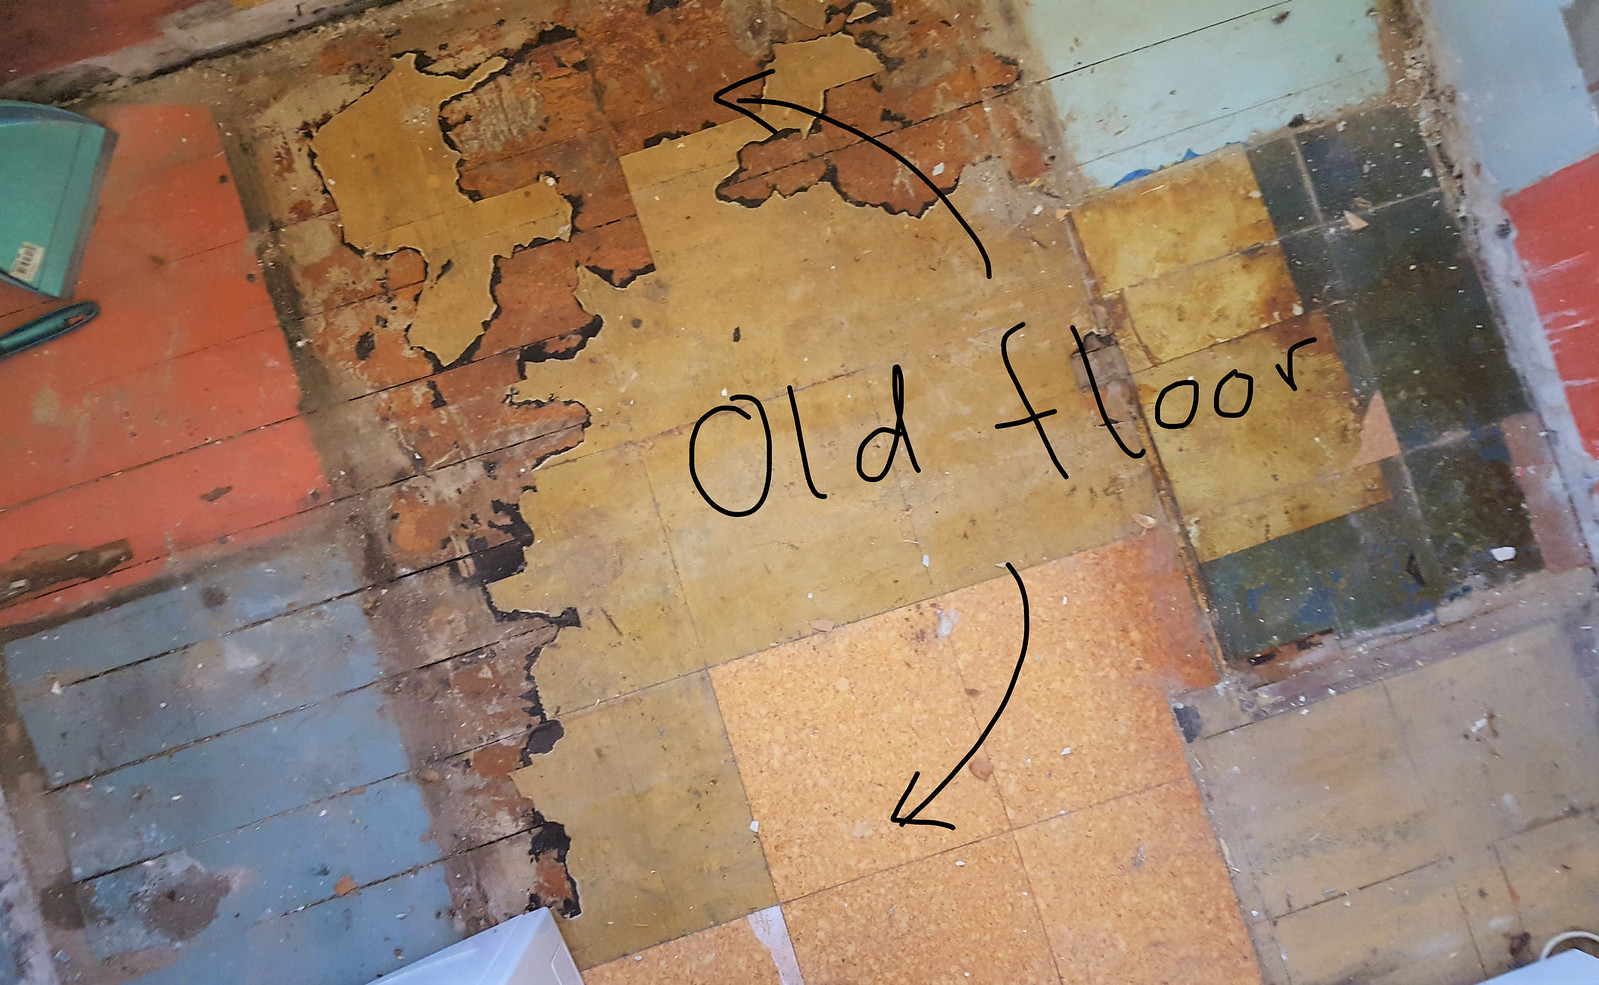
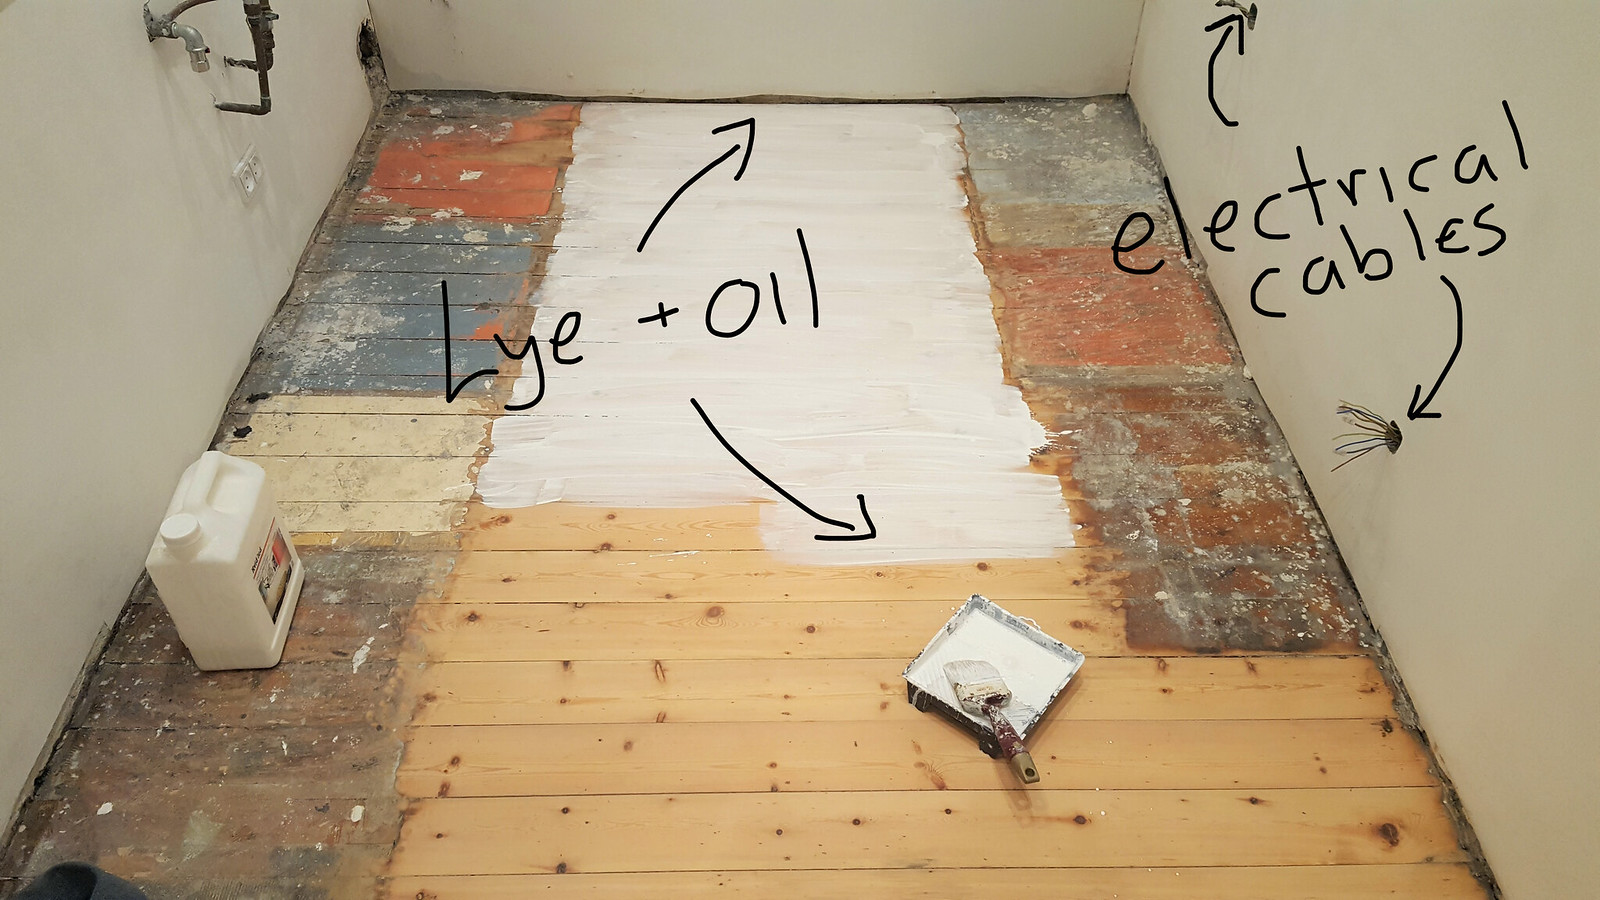
The floor also had to be repaired. The removed the old laminate floor tiles, which revealed the original wooden floor. Then I sanded the floor and treated it with lye and oil. I have made a separate guide on how to do this. You can find this guide on my blog by using the search function.


Cleaning and Treating the Floor

Cleaning and Treating the Floor

Cleaning and Treating the Floor

Installing LED Down Lights
When I was in the process of repairing my entire kitchen, I also decided to lower the ceiling and installing some LED down lights. I personally think this type of lighting is a fantastic way of getting some good lights in a room. The electrical cables and the installation in general are nicely hidden on top of the ceiling. Furthermore, the energy consumption of an LED bulb is much lower compared to regular light bulbs. I think the way of lowering the ceiling and installing down lights is such a great idea that I have decided to make a separate guidepost about this topic. You can find this guide on my blog.


Installing LED Down Lights

Installing LED Down Lights

Installing LED Down Lights

Installing LED Down Lights