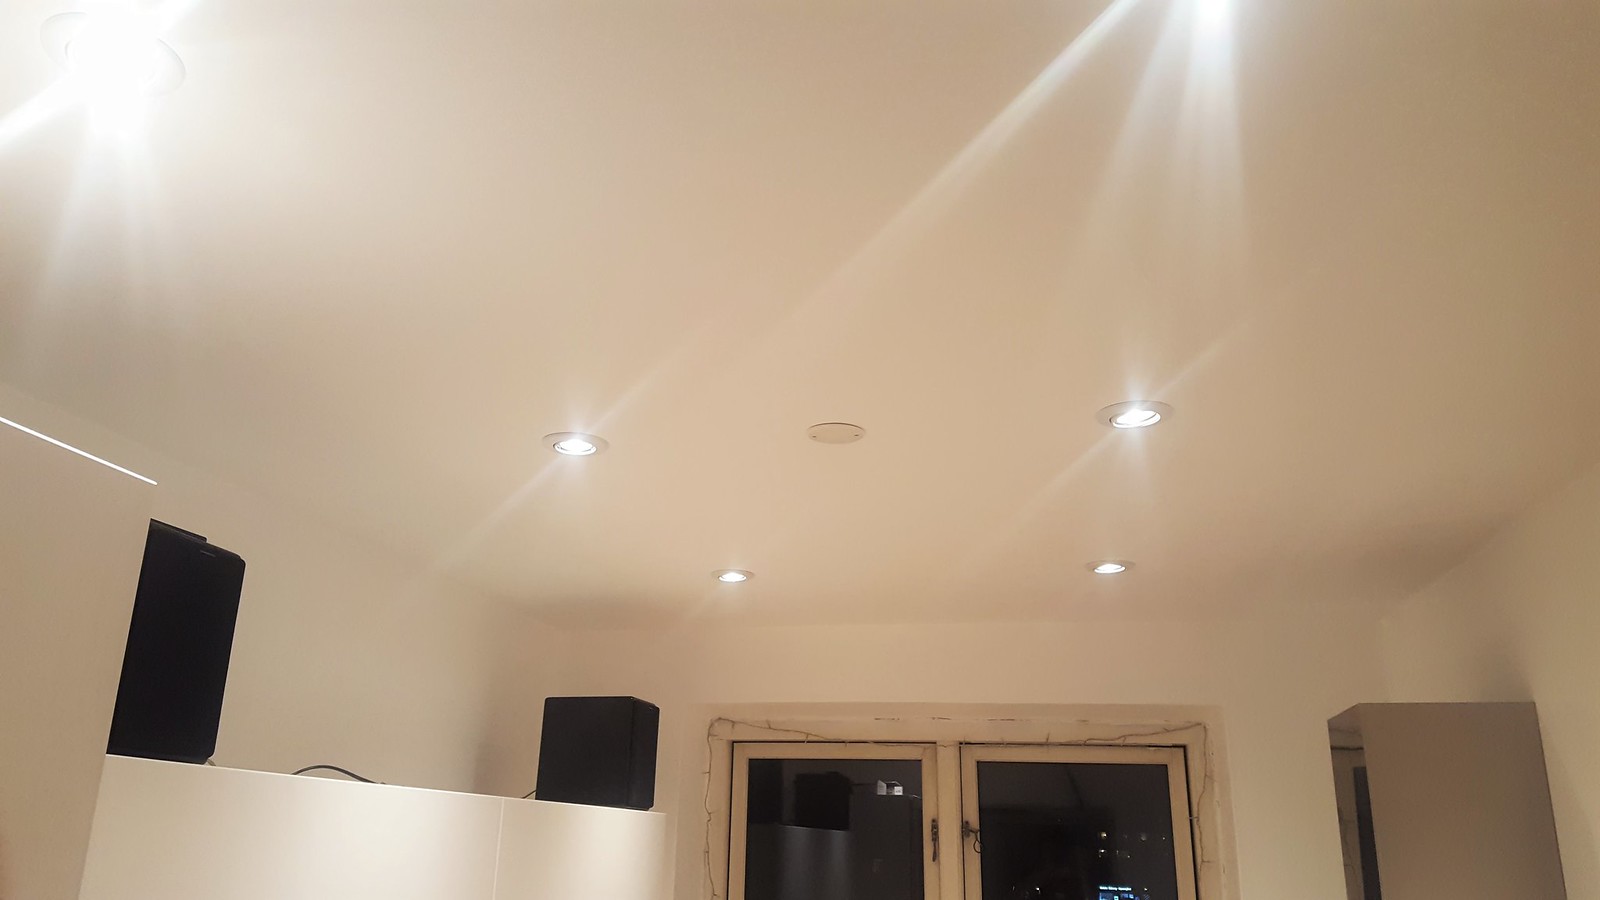
In this small guide I would like to show you how you easily can lower you ceiling a little bit and install some LED downlights. LED downlights are a great way to get a very good distribution of light in a room and that is especially very important in, for instance, the kitchen where you are working several times a day.
There are two important factors you need to consider when buying your new downlights; the design of the actually downlight and then the quality of the LED light bulb. I have described both issues a bit more below.
Design and Installation Height
There are many different types and designs of LED downlights which can be installed in the ceiling. I you plan to lower your ceiling only with the purpose to install downlights then you should look for some lights with the lowest possible installation height. The smaller the installation height is, the less you have to lower your ceiling. This is especially important for smaller rooms. Because the lower you make your ceiling the 'smaller' the room becomes and feels. So look for the smaller downlights which takes the less space.
Quality of the Light
Besides the design and size of the downlight, it is also very important to get some quality LED bulbs. In the resent years there have been a great investment in developing new and better LED bulbs. Today, the best bulbs can replicate the same quality of light as the old and traditional light bulbs. The bad thing is that the market is still flooded with bad LED bulbs which gives a terrible light.
When looking at the quality of the light there are two important factors; the actually color of the light also known as the color temperature and then the quality of color. For most indoor use, and especially in the kitchen, I will recommend a color temperature of 2700 Kelvin. The higher the 'temperature' the more 'colder' the light will gets - yes it is opposite of what makes sense.
The second important factor is the Color Rendering Index (CRI) also sometimes known as RA. This factor goes from 0-100 where 100 is the best quality. For instance the light from the sun is quality 100. Today, the best LED bulbs have a CRI value of about 95 which is very good. However, these bulbs are also in the more expensive end. I will never recommend to install bulbs with a value lower than CRI-80. The CRI valve is an indication how good the color of the light is. For instance, light with a low CRI valve can make you ingredients in your kitchen look gray and boring instead of colorful and fresh.
The problem is that many manufactures do not write this CRI valve on the box where the bulb comes in. I will also not recommend buying a LED bulb where this number is unknown. It typically means that the quality of the light is in the lower end.
Step 1: Installing the Support Frame
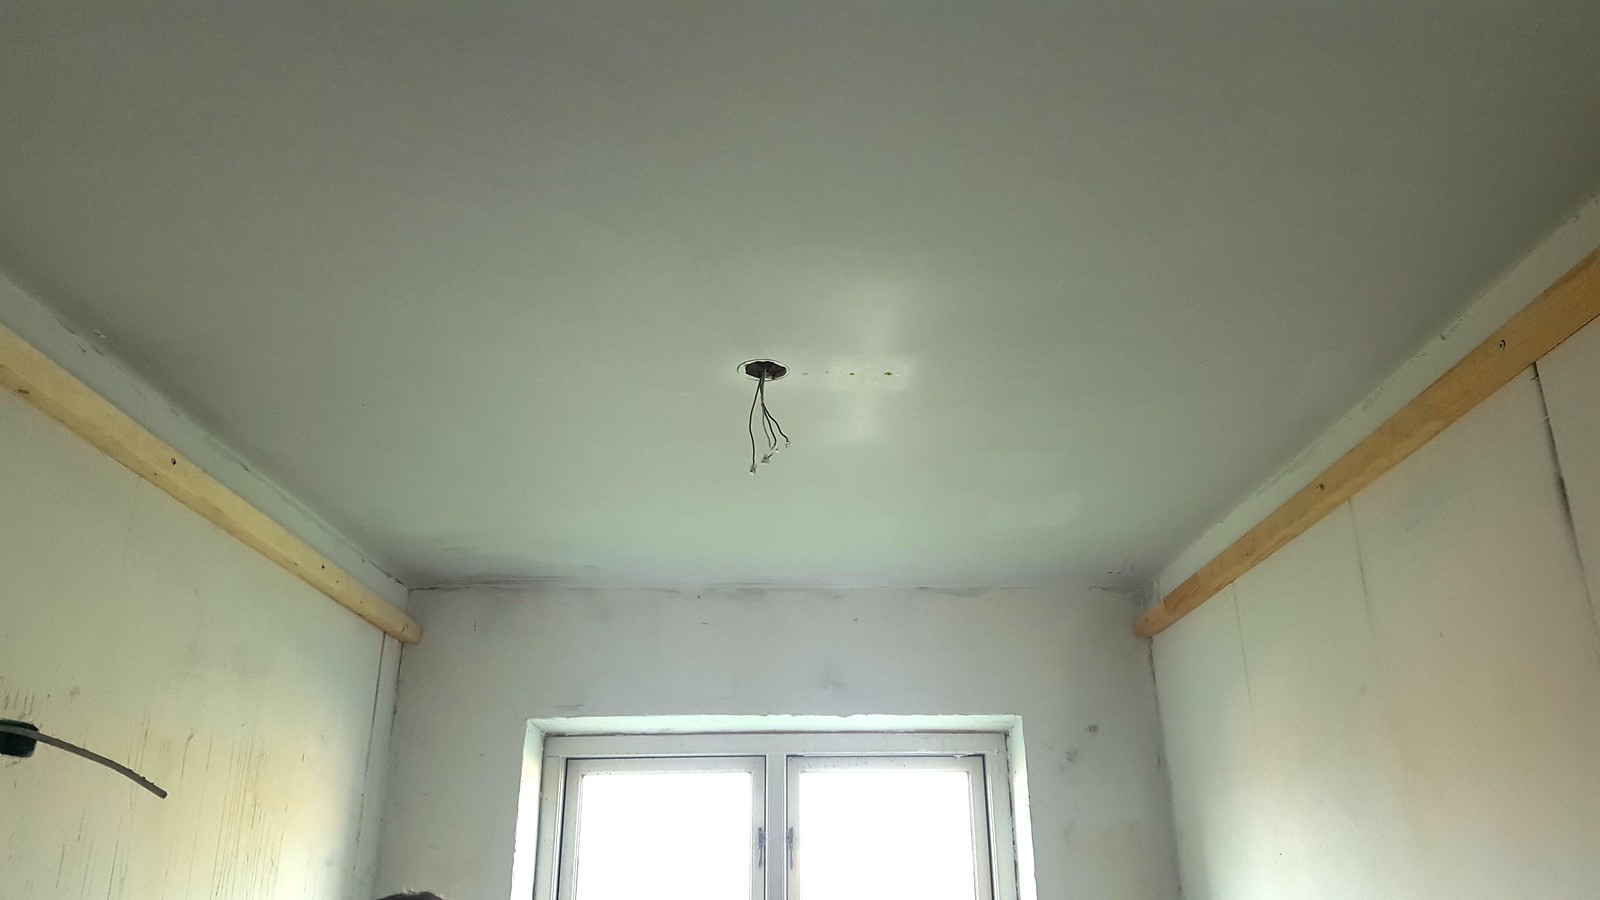
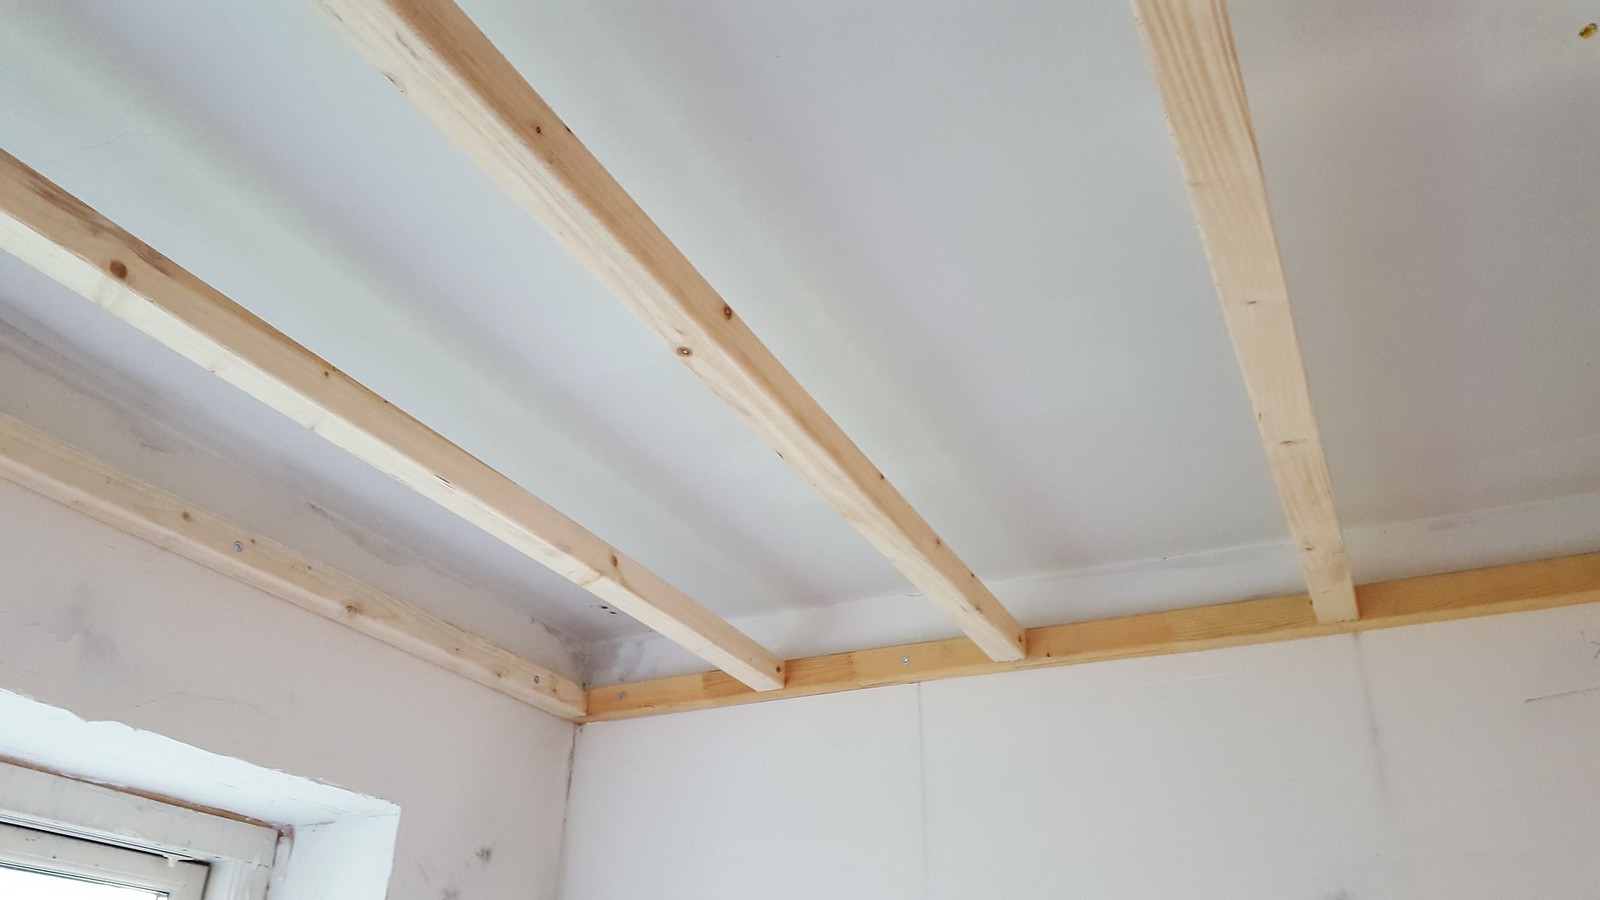
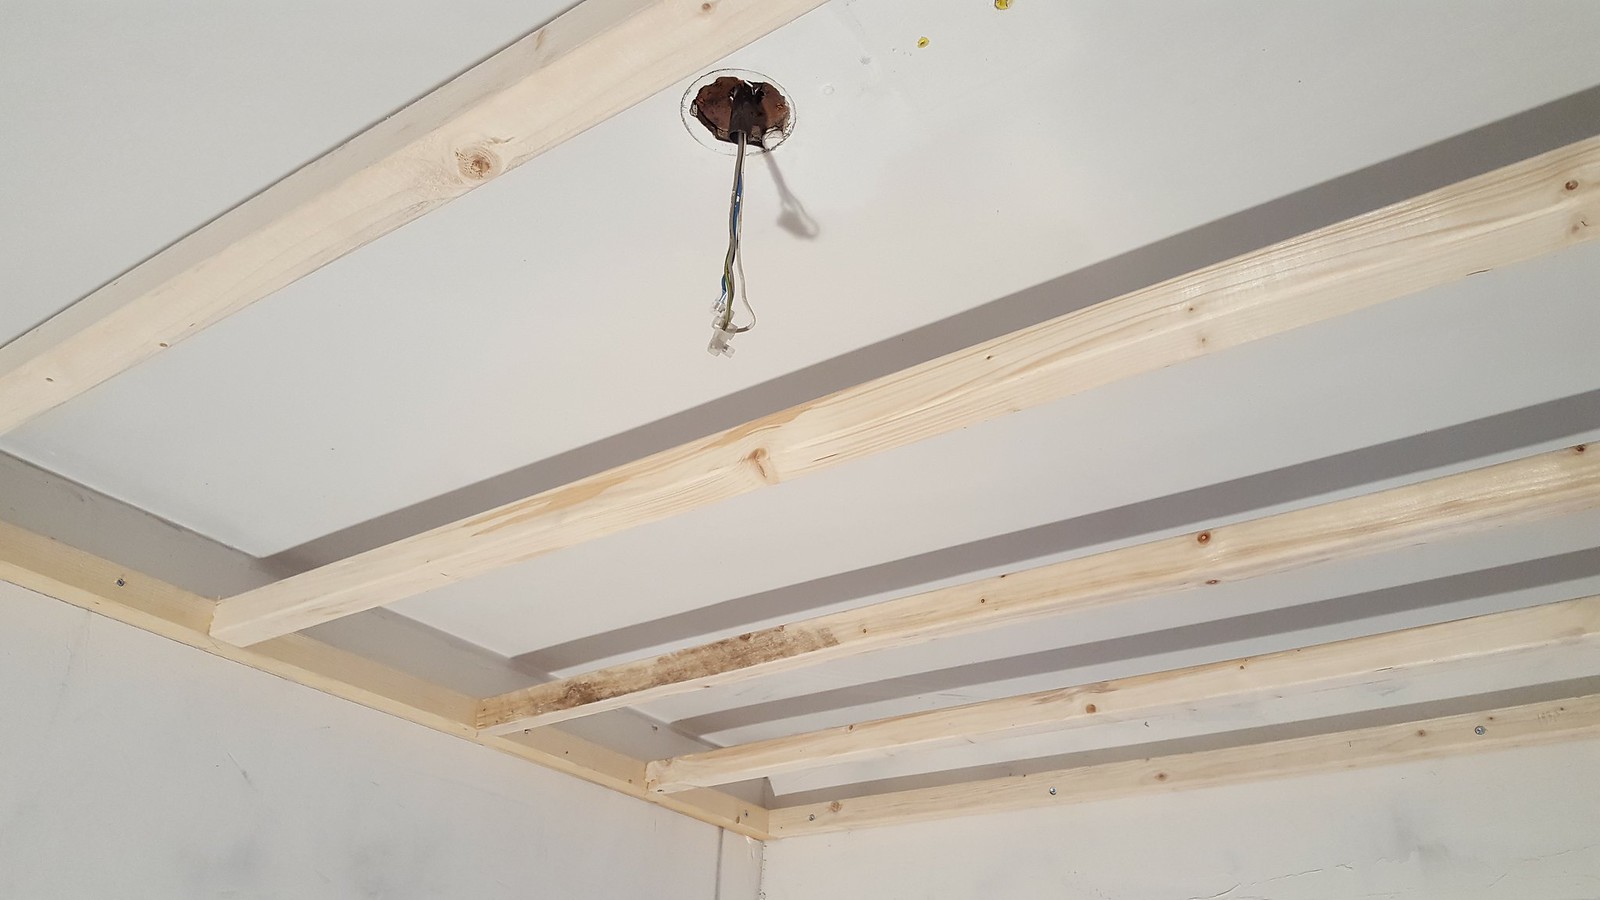
Lowering a ceiling is actually not that difficult as it sounds like. I will recommend start installing an outer supporting frame along the walls. Make sure that the frame is installed so that the total height including the ceiling plates is large enough to accommodate the height of the LED downlights. After you have installed the other frame then mount some transverse beams so that you get some more strength into the frame to carry the load from the weight of the ceiling plates.
Step 2: Cabling
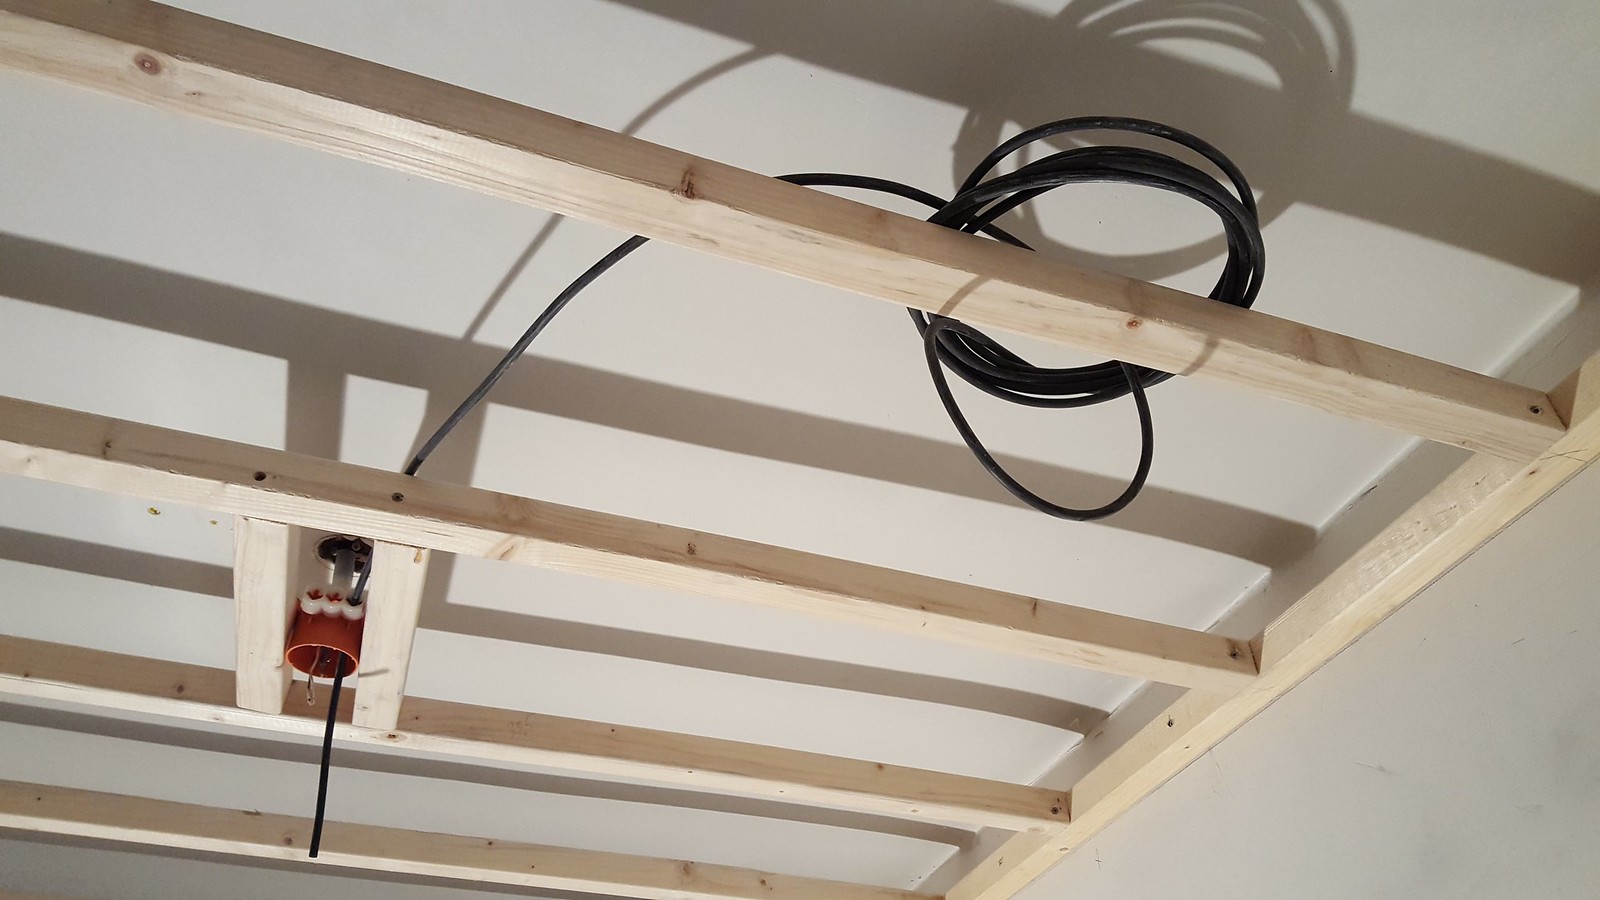
Once the frame is in place it can be a good idea to install the electrical cables before you install the ceiling plates. Once the plates are install the space will be limited to pull the cable from downlight to downlight.
Depending on which part of the world you are from, it is important to check what the local regulations are for types of cables you are allowed to use and if you are allowed to install the downlights yourself. In Denmark we are allowed prepare most of the work but the actually wiring in each end most be done by an authorized electrician.
In my case I found it easier to pull the cables after I installed the ceiling plates. You would have to decide on this in your specific project.
Step 3: Installing Ceiling Plates
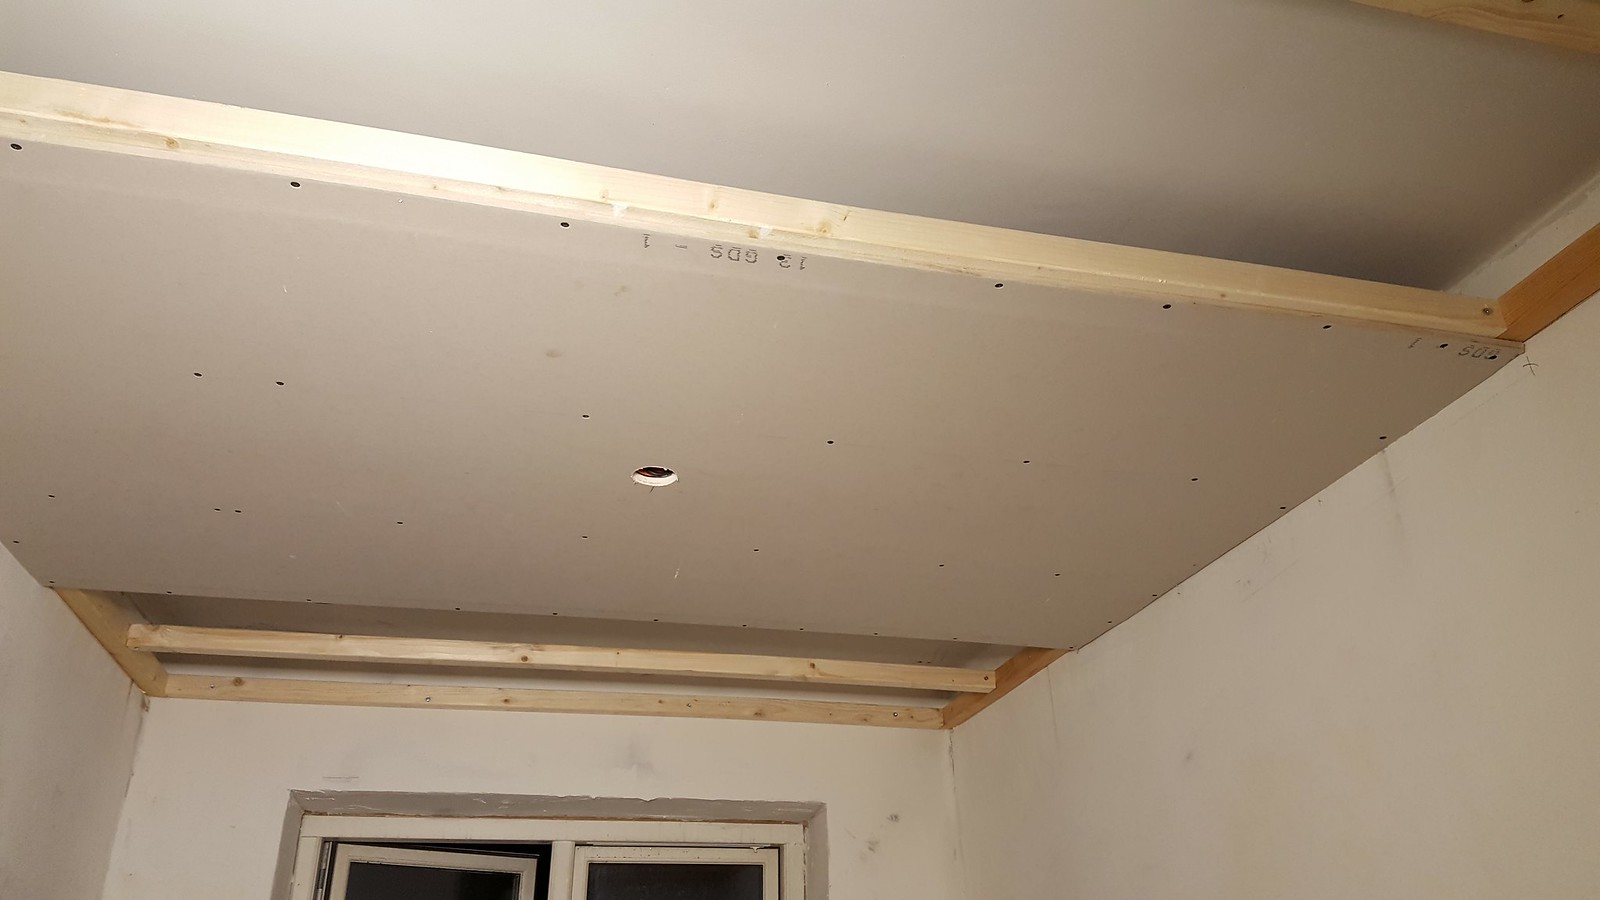
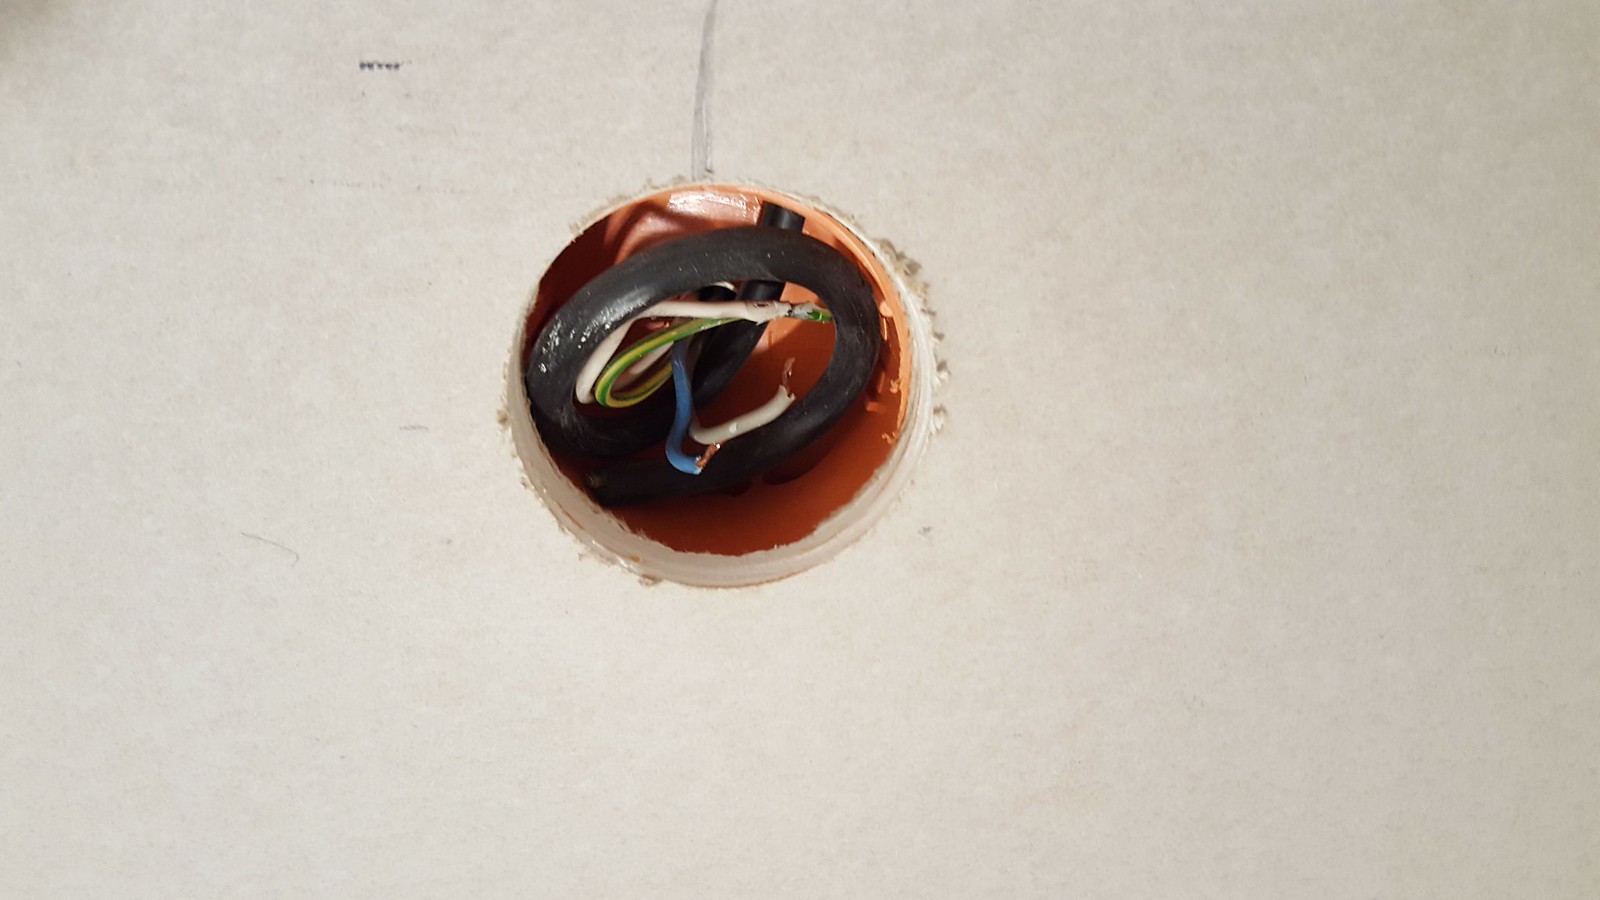
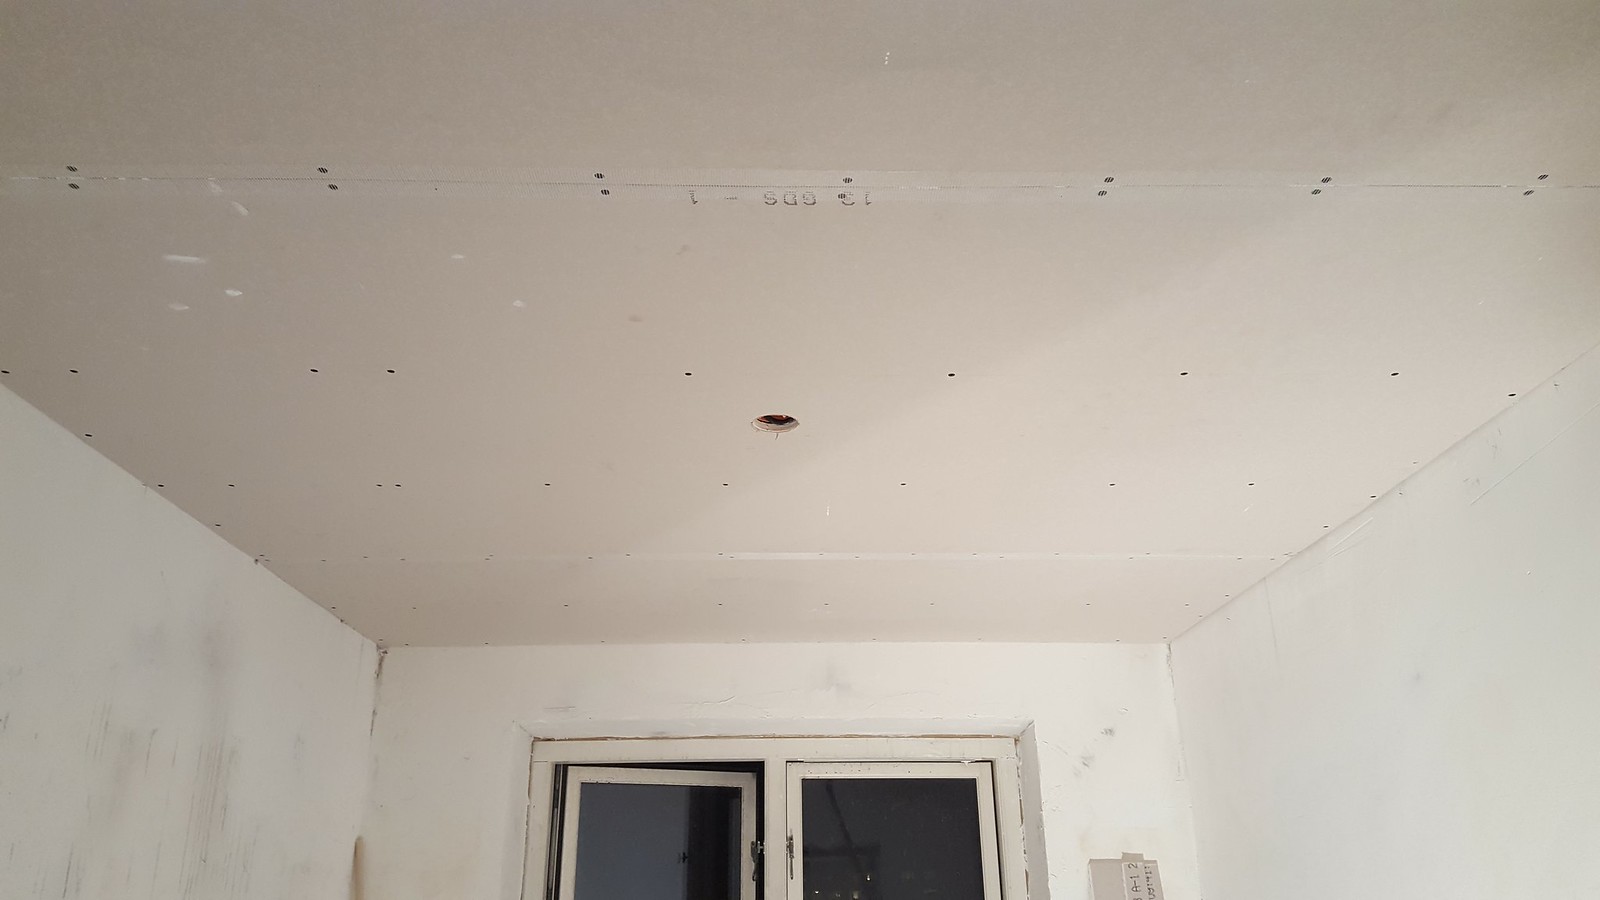
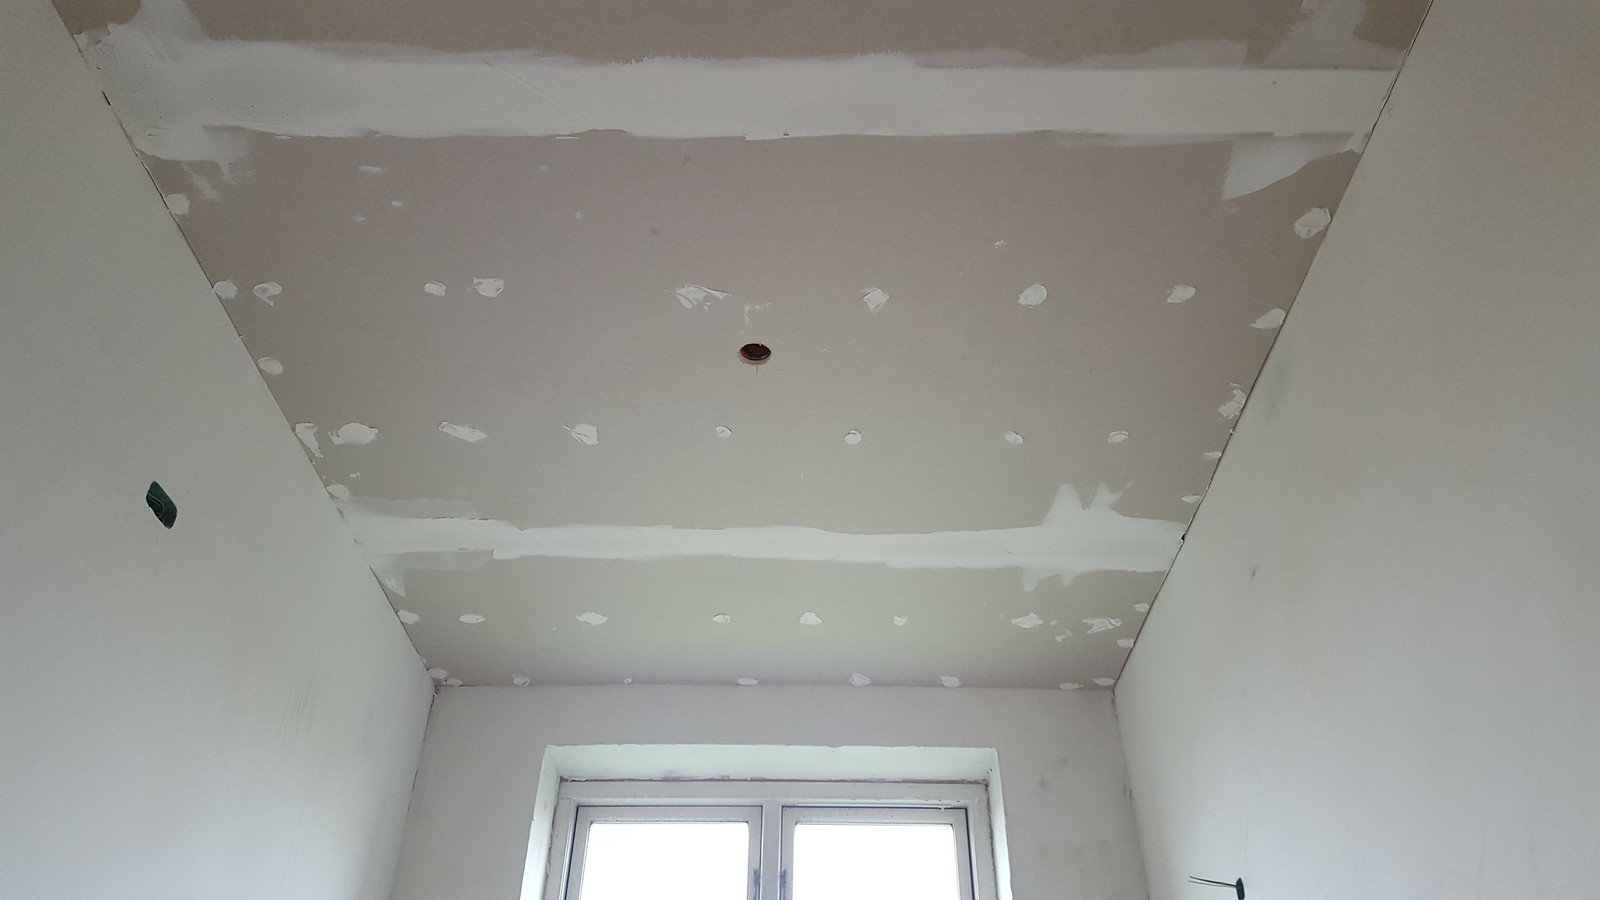
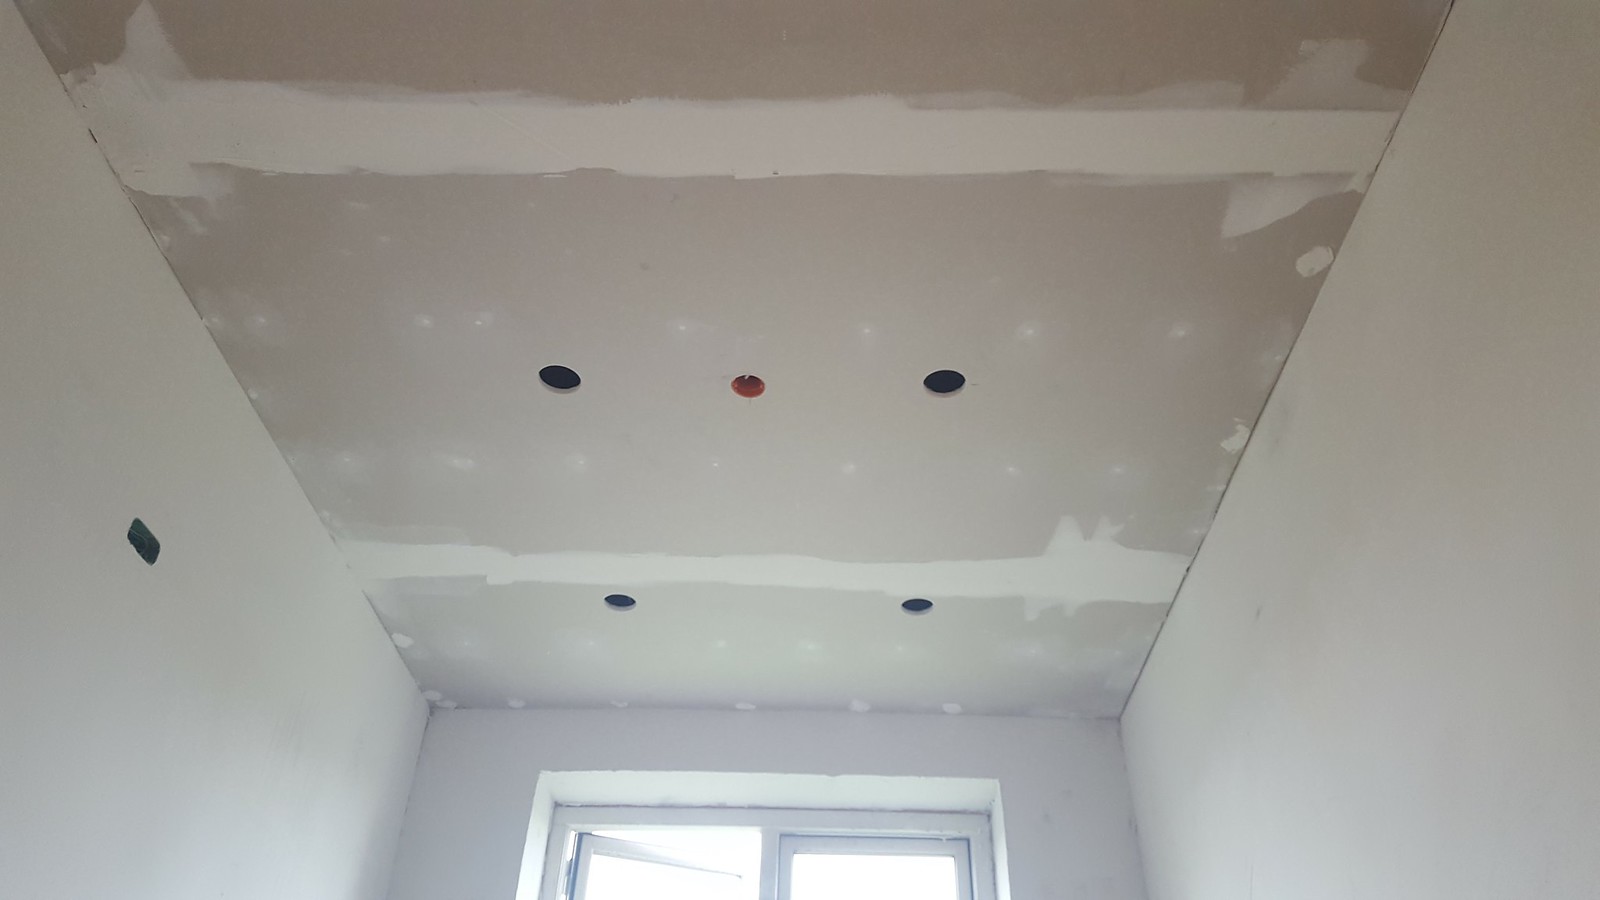
The final step is to install the ceiling plates and drill holes for the downlights. You can also drill the holes for the lights before you install the plates. However, I found it easier to do that once the plates were installed. Before you connect the lights you should cover the screw holes with some filling material and then paint the ceiling with a nice color.
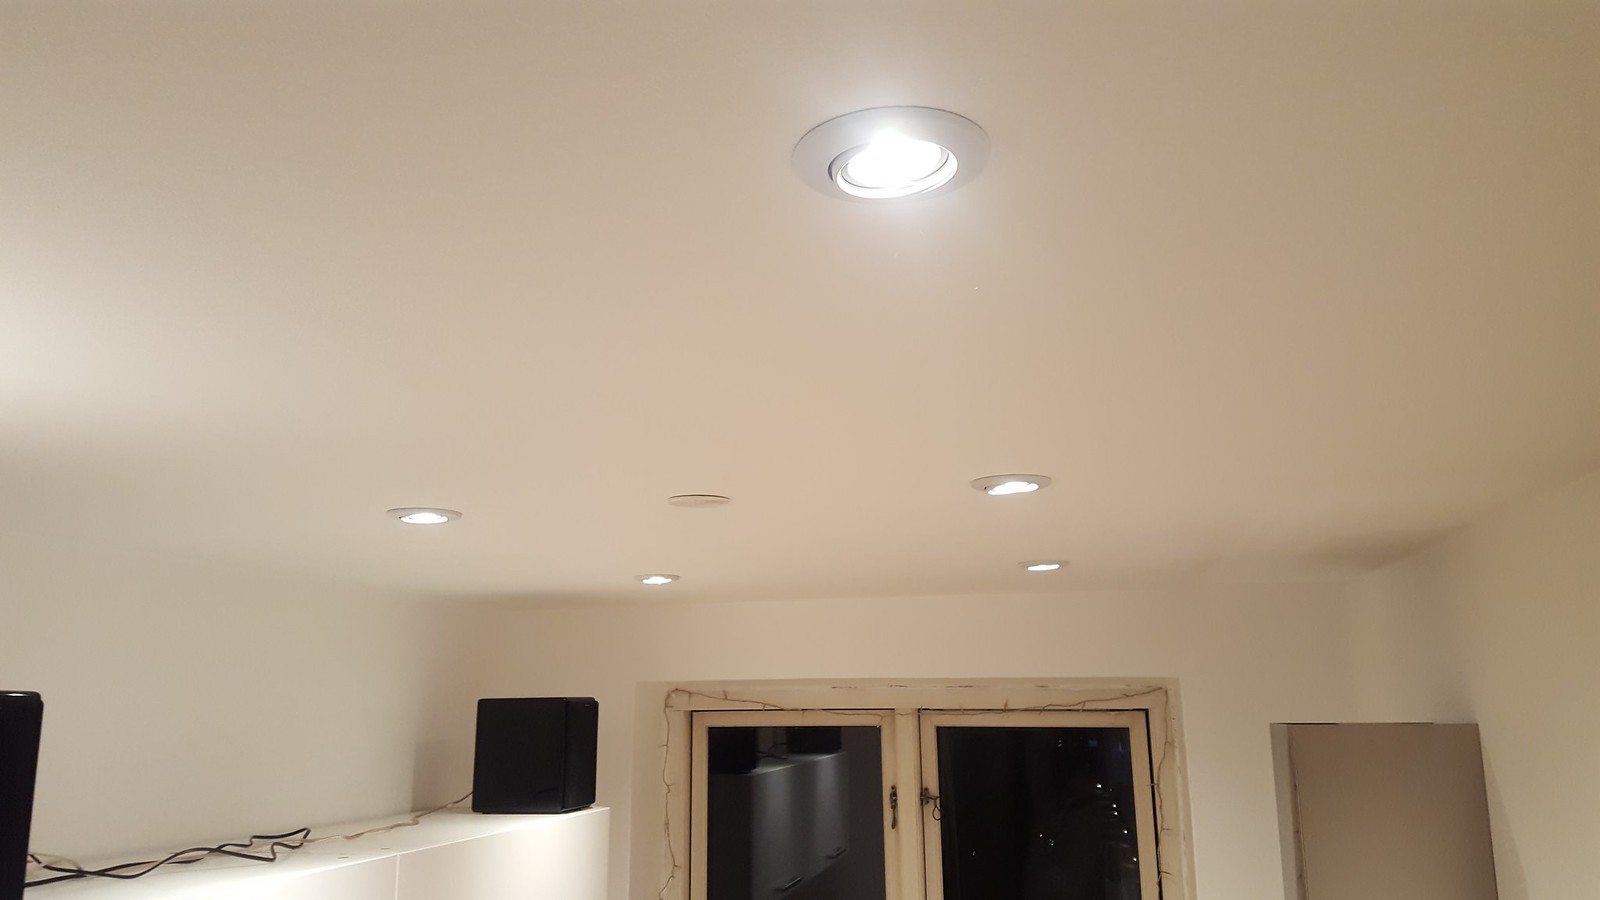
When you have the holes in place and the ceiling is painted, then you can connect the downlights. Remember this step of wiring the downlights must, in some countries, be done by professionals.
Questions or comments
I have tried to cover the most important parts on this page. However, if you have questions to my installation you are absolutely welcome to contact me in the comments section below.

Amro
Thanks a lot for such an elaborated guide. I'm planning to do the same thing all around my house (4 rooms). My house is old and both walls and ceiling are plaster so I'm not sure how will the support frame sit firmly on the wall. Did you encounter such a problem during your renovation?
Cheers
Kim Nielsen
Hi. Thanks for your nice comment I'm happy that you like my guide. My house is also very old and the wall quite weak. The good thing about a frame is that is it strong by is self.
natasha
hello, where did you get the ceiling plates from? what material are they? thank you!
Kim Nielsen
I got the ceiling plates from my local hardware store. The plates are called drywall boards (plasterboard). If you are from the US then you can get them from HomeDepot.
Dido Belezika
Hi!
Thank you for this good illustration and welldone!
My question is how many cm can you lower from the ceilling.
Kim Nielsen
Hi. You are welcome. I'm happy that you can use the guide. I normally just lower the ceiling so that there are just space for the down lights. They normally take up about 10 cm (4 inch) or similar. Regards Kim (NordicFoodLiving.com)